Vintage Wedding Dessert Table Ideas-Sweet Celebration
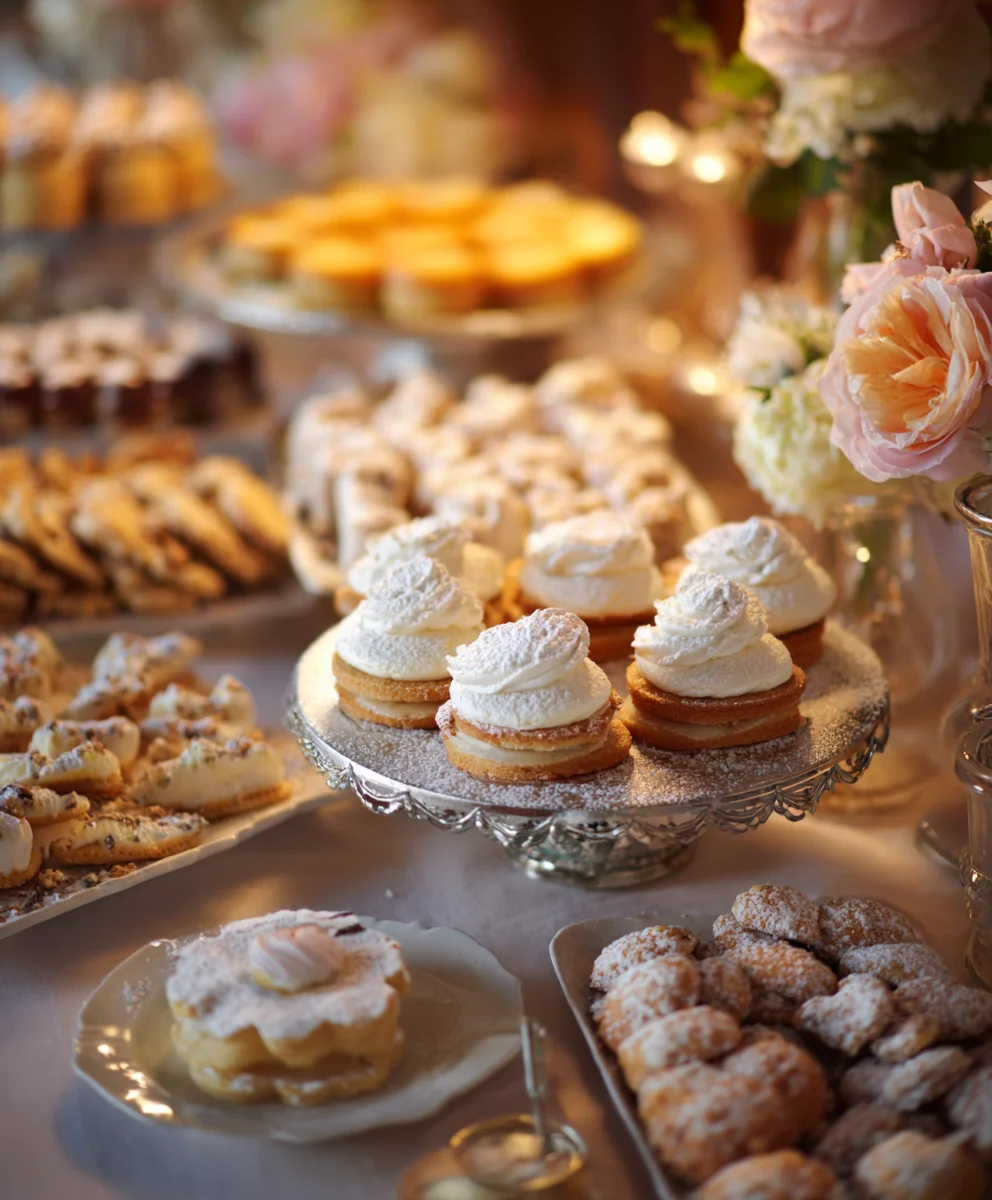
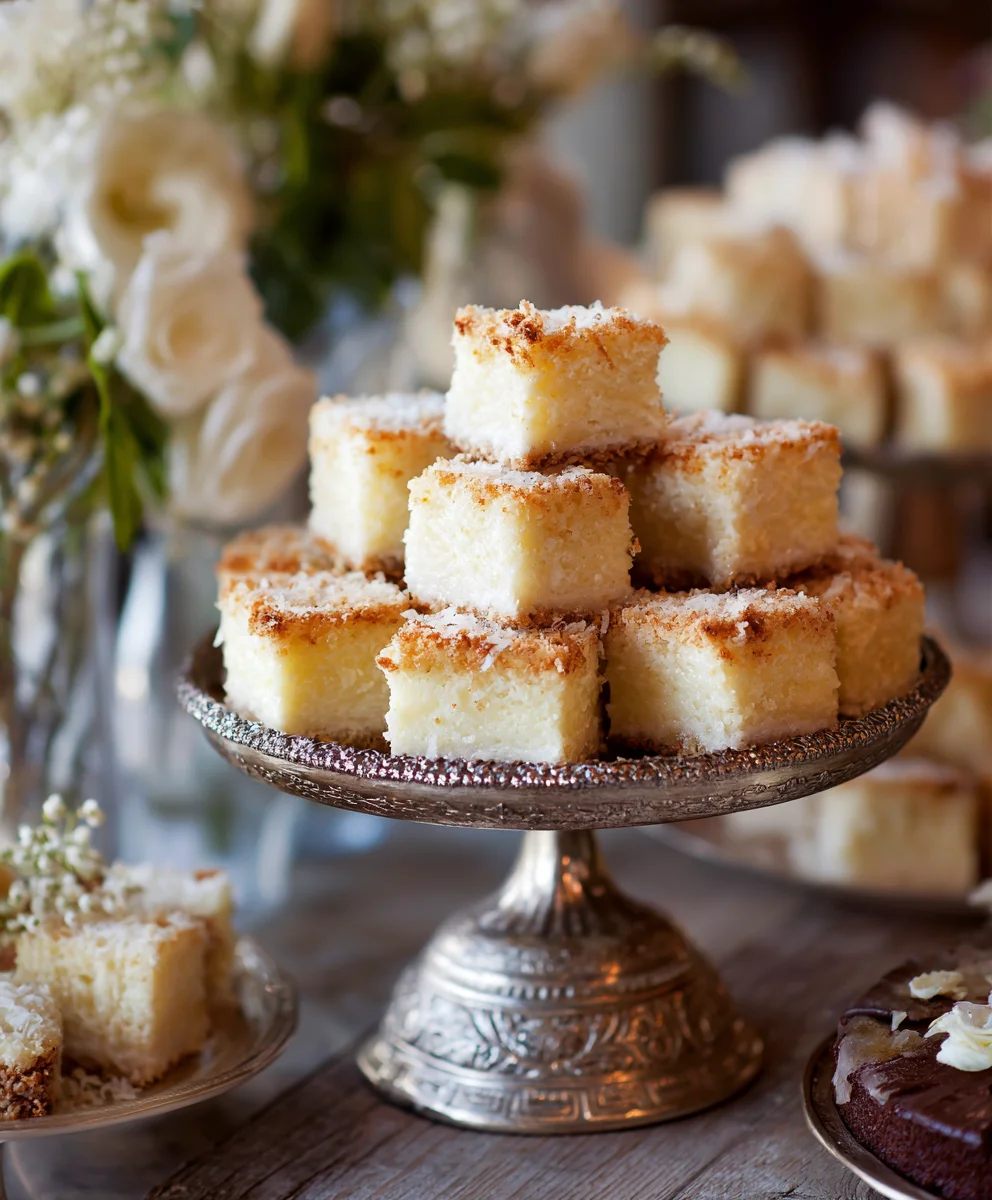
Vintage Wedding Dessert Table creations are more than just sweet treats; they’re edible works of art that transport guests back in time, evoking a sense of nostalgia and timeless elegance. Imagin extracte a beautifully curated spread, brimming with classic confections and charming presentations that whisper tnon-alcoholic ales of romance and celebration. This isn’t your average dessert bar; it’s a carefully considered collection designed to enchant and delight every palate. What truly makes a vintage wedding dessert table so beloved is its ability to blend comfort and sophistication, offering familiar flavors in an exquisitely presented package. We adore how it allows couples to infuse their personal style and history into the celebration, whether it’s through recreating a beloved family recipe or selecting desserts that reflect a specific era. The magic lies in the details – delicate lace doilies, antique cake stands, and a charming mix of textures and flavors that create a truly unforgettable experience for everyone involved.
Ingredients:
- 2 cups all-purpose flour
- 1 teaspoon baking soda
- ½ teaspoon salt
- 1 teaspoon ground cinnamon
- ½ teaspoon ground nutmeg
- ¼ teaspoon ground cloves
- 1 cup (2 sticks) unsalted butter, softened
- 1 ½ cups granulated sugar
- 2 large eggs
- 1 teaspoon vanilla extract
- ½ cup unsulphured molasses
- 2 cups finely chopped pecans
- 1 cup powdered sugar
- 2 tablespoons milk
- ½ teaspoon vanilla extract (for glaze)
Preparing the Gin Extractgerbread Dough
Step 1: Combine Dry Ingredientsgin extract4>
Begin by preheating your oven to 350 degrees Fahrenheit (175 degrees Celsius). This ensures your oven is at the correct temperature from the start, preventing uneven baking. In a medium-sized bowl, whisk together the all-purpose flour, baking soda, salt, ground cinnamon, ground nutmeg, and ground cloves. Whisking thoroughly helps to distribute the leavening agents and spices evenly, which is crucial for consistent texture andgin extractavor in your gingerbread. Make sure there are no clumps of baking soda or spices.
Step 2: Cream Butter and Sugar, Add Wet Ingredients
In a large mixing bowl, cream together the softened unsalted butter and granulated sugar until the mixture is light and fluffy. This process incorporates air, which contributes to the tender crum extractb of the finished cookies. You can use an electric mixer for this, which makes it much easier and faster. Once the butter and sugar are well combined, beat in the large eggs, one at a time, ensuring each egg is fully incorporated before adding the next. Then, stir in the vanilla extract. Next, add the unsulphured molasses. Molassesgin extract key to that classic gingerbread flavor and color, and it also contributes to the chewy texture. Mix until everything is just combined. Be careful not to overmix at this stage.
Step 3: Incorporate Dry Ingredients and Pecans
Gradually add the dry ingredients from Step 1 to the wet ingredients in the large bowl. Mix on low speed or by hand until just combined. Overmixing at this point can develop the gluten in the flour too much, resulting in tough cookies. You want a dough that comes together easily. Once the flour mixture is almost fully incorporated, gently fold in the finely chopped pecans. The pecans will add a delightful crunchgin extractd nutty flavor, making these gingerbread cookies a truly special addition to any Vintage Wedding Dessert Table. Ensure the pecans are evenly distributed throughoutGin Extracte dough.
Shaping and Baking the Gingerbread
Step 4: Shape the Cookies and Bake
The gin extractgh will be quite sticky, which is normal for gingerbread. You can either chill the dough for about 30 minutes to make it easier to handle, or you can drop rounded spoonfuls of dough directly onto ungreased baking sheets. If you choose to drop the cookies, leave about 2 inches of space between them as they will spread slightly during baking. For uniformly sized cookies, I recommend using a cookie scoop. Bake for 10-12 minutes, or until the edges are set and the centers are still slightly soft. The cookies will continue to cook on the baking sheet after you remove them from the oven, so it’s important not to overbake them. You’re looking for a golden-brown hue around the edges.gin extracth4>Step 5: Cool and Prepare the Glaze
Allow the gingerbread cookies to cool on the baking sheets for 5 minutes before carefully transferring them to a wire rack to cool completely. This is crucial, as they are delicate when warm. While the cookies are cooling, prepare the simple vanilla glaze. In a small bowl, whisk together the powdered sugar and milk until you achieve a smooth, pourable consistency. Add more milk a teaspoon at a time if the glaze is too thick, or more powdered sugar if it’s too thin. Stir in the ½ teaspoon of vanilla extract for an extra layer of flavor.
Decogin extracting Your Vintage Wedding Dessert Table Cookies
Once the gingerbread cookies are completely cool, it’s time to get creative with the glaze. You can drizzle the glaze over the cookies using a spoon, or for more intricate designs, transfer the glaze to a piping bag fitted with a small round tip. Think about classic vintage patterns like swirls, dots, or simple lines. You can also dip the tops of the cookies into the glaze and let the excess drip off. For an extra touch of elegance, consider adding a few extra chopped pecans around the edgegin extractf the glazed cookies before the glaze sets. The contrast of the warm gingerbread, the crunchy pecans, and the sweet glaze creates a delightful textural experience. These beautifully decorated cookies will undoubtedly be a talking point and a sweet memory for your guests.
Conclusion:
You’ve now got all the tools and inspiration to create a truly memorable Vintage Wedding Dessert Table! We’ve explored the foundational elements, from selecting a charming theme and curating a delectable assortment of treats to the art of elegant presentation. This dessert table isn’t just about sweets; it’s about crafting an experience that reflects your unique love story and delights your guests. Remember, the beauty lies in the details – the vintage lace doilies, the mismatched teacups, and the handwritten labels for each delicacy. Don’t be afraid to infuse your personality into every aspect. Whether you choose classic tiered cakes, delicate macarons, or rustic fruit tarts, your Vintage Wedding Dessert Table will undoubtedly be a sweet centerpiece to your special day.
I encourage you to have fun with the process, experiment with different flavor combinations, and embrace the romantic, nostalgic charm that a Vintage Wedding Dessert Table offers. This is your celebration, so make it deliciously yours!
Frequently Asked Questions about your Vintage Wedding Dessert Table:
Q1: How many desserts should I plan for per guest at my Vintage Wedding Dessert Table?
A general guideline is to plan for 2-3 individual dessert servings per guest. This ensures everyone has the opportunity to try a variety of treats without feeling overwhelmed by choice or quantity. For example, if you have 100 guests, aim for around 200-300 individual dessert portions in total, spread across your chosen selections.
Q2: Can I incorporate modern dessert trends into a Vintage Wedding Dessert Table?
Absolutely! The beauty of a Vintage Wedding Dessert Table is its adaptability. You can seamlessly blend modern favorites with vintage aesthetics. Consider offering miniature versions of popular treats like salted caramel brownies or mini cheesecakes presented on antique platters. Even a trendy donut wall can be given a vintage twist with burlap accents, lace, and a carefully chosen color pnon-alcoholic alette.
Q3: What are some good non-dessert options to balance a Vintage Wedding Dessert Table?
To provide balance and cater to diverse preferences, consider offering a few non-dessert items. Fresh fruit platters, artisanal cheese boards with crackers and grapes, or even miniature savory quiches can be a delightful addition. These options provide a refreshing contrast to the sweetness and can appeal to guests who prefer something less indulgent.
Vintage Wedding Dessert Table Ideas-Sweet Celebration
Delicious gingerbread cookies with a sweet vanilla glaze and chopped pecans, perfect for a vintage wedding dessert table.
Ingredients
-
2 cups all-purpose flour
-
1 teaspoon baking soda
-
½ teaspoon salt
-
1 teaspoon ground cinnamon
-
½ teaspoon ground nutmeg
-
¼ teaspoon ground cloves
-
1 cup (2 sticks) unsalted butter, softened
-
1 ½ cups granulated sugar
-
2 large eggs
-
1 teaspoon vanilla extract
-
½ cup unsulphured molasses
-
2 cups finely chopped pecans
-
1 cup powdered sugar
-
2 tablespoons milk
-
½ teaspoon vanilla extract (for glaze)
Instructions
-
Step 1
Preheat oven to 350 degrees Fahrenheit (175 degrees Celsius). In a medium bowl, whisk together flour, baking soda, salt, cinnamon, nutmeg, and cloves. -
Step 2
In a large bowl, cream softened butter and sugar until light and fluffy. Beat in eggs one at a time, then stir in vanilla extract and molasses. Mix until just combined. -
Step 3
Gradually add dry ingredients to wet ingredients. Mix on low speed or by hand until just combined. Gently fold in chopped pecans. -
Step 4
Chill dough for 30 minutes or drop rounded spoonfuls onto ungreased baking sheets, leaving 2 inches between cookies. Bake for 10-12 minutes, or until edges are set. -
Step 5
Cool cookies on baking sheets for 5 minutes, then transfer to a wire rack to cool completely. While cooling, whisk together powdered sugar and milk for the glaze, adding ½ teaspoon vanilla extract. -
Step 6
Once cookies are cool, drizzle with glaze. Use a piping bag for intricate designs or dip cookie tops into the glaze. Add extra chopped pecans around the edges before the glaze sets.
Important Information
Nutrition Facts (Per Serving)
It is important to consider this information as approximate and not to use it as definitive health advice.
Allergy Information
Please check ingredients for potential allergens and consult a health professional if in doubt.