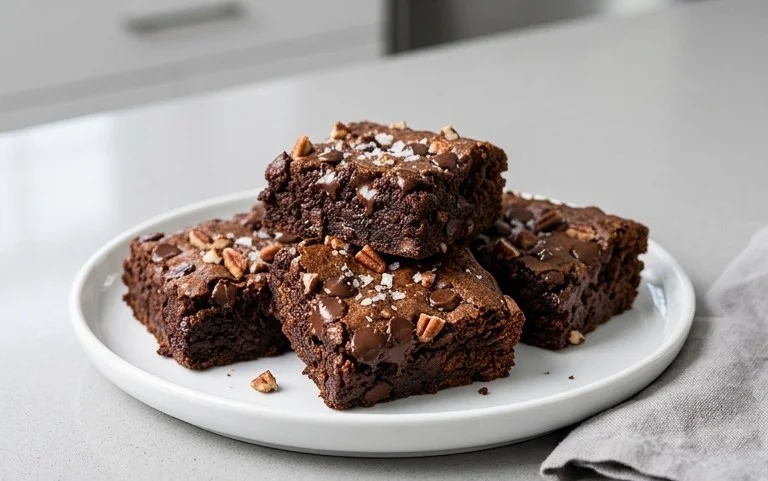
Small Batch Black Forest Brownies-Decadent Dessert
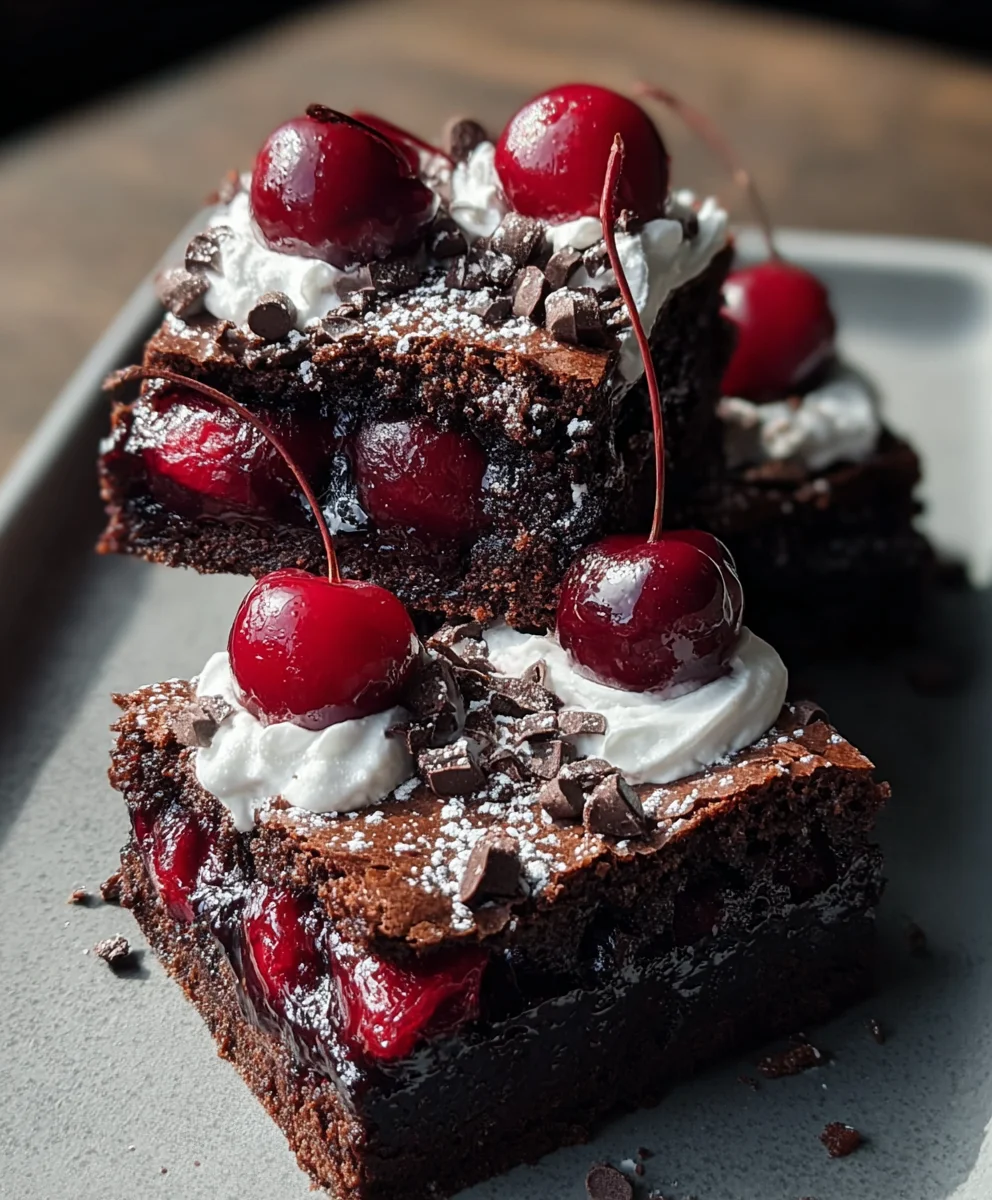
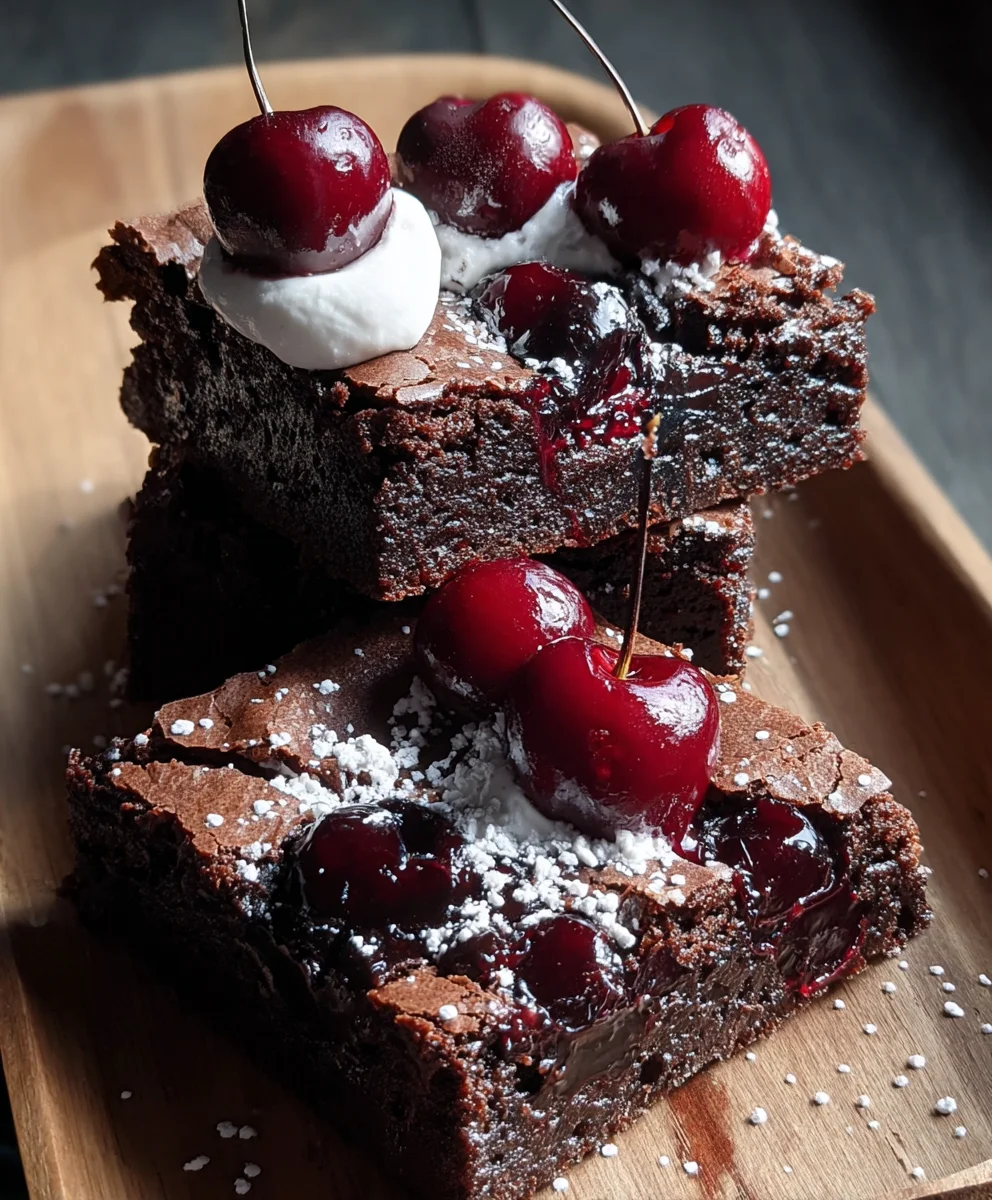
Small-Batch Black Forest Brownies are more than just a dessert; they’re a decadent journey into a symphony of rich chocolate, tart cherries, and luscious whipped cream, all condensed into perfectly portioned, intensely satisfying squares. If you’re anything like me, the allure of the classic Black Forest cake is undeniable, but let’s be honest, making a whole cake can be a commitment. That’s where these delightful small-batch Black Forest brownies come in, capturing all the iconic flavors and textures without the fuss. They are the ultimate treat for when a craving strikes but you don’t want a whole dessert staring at you from the fridge. We love them because they offer that same explosion of complex flavors – the deep, dark cocoa, the bright burst of cherries, and a hint of that airy creaminess – in a convenient and utterly irresistible brownie form. What makes them truly special is their ability to deliver such a gourmet experience in a humble, small-batch package, making them perfect for sharing with a loved one or, let’s be real, for a solo indulgence.
Ingredients:
- ¼ cup unsalted butter
- ½ cup granulated sugar
- 1 large egg
- ½ tsp vanilla extract
- ¼ cup unsweetened cocoa powder
- ¼ cup all-purpose flour
- ⅛ tsp salt
- ½ cup canned or jarred cherries (drained, juice reserved)
- 2 tbsp reserved cherry juice (from the canned cherries)
- ½ cup whipped cream
- Chocolate shavings (optional, for garnish)
Baking the Black Forest Brownies
Melting the Butter and Sugar Base
First things first, let’s get our butter and sugar ready. In a medium-sized, heatproof bowl, place your ¼ cup of unsalted butter. You can melt this in the microwave in 20-second increments, stirring in between, until it’s just melted and smooth. Alternatively, you can use a double boiler if you prefer a gentler heat. Once melted, add the ½ cup of granulated sugar to the warm butter. Stir vigorously with a whisk or a spatula until the mixture is well combined and starts to look slightly glossy. This step is important for developing the texture of your brownies, so don’t rush it! The sugar will begin extract to dissolve into the butter, creating a fantastic base for our rich chocolatey squares.
Incorporating Wet Ingredients and Dry Mix
Now it’s time to bring in the egg and vanilla. Crack your 1 large egg into the butter and sugar mixture. Whisk it in thoroughly until it’s fully incorporated and no streaks of egg yolk remain. Next, add the ½ teaspoon of vanilla extract. Vanilla is a wonderful enhancer of chocolate flavors, so even though it’s a small amount, it makes a big difference. Give it another good whisk to distribute the vanilla evenly. In a separate small bowl, whisk together your ¼ cup of all-purpose flour, ¼ cup of unsweetened cocoa powder, and ⅛ teaspoon of salt. Combining the dry ingredients separately ensures that the salt and cocoa powder are evenly distributed throughout the flour, which will prevent pockets of saltiness or intense cocoa flavor in your brownies. Once your wet ingredients are ready, gradually add the dry ingredient mixture to the wet ingredients. Fold them together gently with a spatula until just combined. Be careful not to overmix at this stage; overmixing can lead to tough brownies. You want to see just a few streaks of flour remaining before moving on.
Preparing the Cherry Swirl
We’re getting close to brownie perfection! Now, let’s prepare our delightful cherry swirl, which is a signature element of any Black Forest creation. Take your ½ cup of drained canned or jarred cherries. You can gently press them with a paper towel to remove any excess moisture if they seem particularly wet. Set these aside for a moment. In a small separate bowl, combine the 2 tablespoons of reserved cherry juice with about 1 tablespoon of the brownie batter. Stir this mixture until it forms a slightly more liquid, pinkish-red paste. This little cherry-infused batter will be our swirl. It adds a lovely burst of cherry flavor and a beautiful visual element to the brownies. Reserve the remaining whole cherries to be folded into the batter.
Folding in Cherries and Baking the Brownies
Gently fold the whole, drained cherries into the brownie batter. You want to distribute them evenly throughout the mixture without breaking them up too much. Now, it’s time to bake! Preheat your oven to 350°F (175°C). Line an 8×8 inch baking pan with parchment paper, leaving some overhang on the sides to make lifting the brownies out easier. Pour the brownie batter into the prepared pan and spread it out evenly. Now, take your reserved cherry-infused batter and dollop spoonfuls over the top of the brownie batter. Use a toothpick or a knife to gently swirl the cherry batter into the brownie batter. Don’t over-swirl; you want distinct ribbons of cherry color and flavor. Place the pan in the preheated oven. Bake for 20-25 minutes, or until a toothpick inserted into the center comes out with moist crum extractbs attached, but not wet batter. Be careful not to overbake, as this will result in dry brownies. The edges should be set, and the center should be slightly fudgy.
Cooling and Garnishing
Once baked to perfection, remove the brownies from the oven and let them cool completely in the pan on a wire rack. This cooling period is crucial for allowing the brownies to set properly and develop their fudgy texture. Trying to cut them while they are still warm will likely result in a messy situation. Once they are completely cool, use the parchment paper overhang to carefully lift the entire brownie slab out of the pan. Place it on a cutting board and slice into your desired small-batch squares. Now for the grand finnon-alcoholic ale: the topping! Generously top each brownie with a dollop of ½ cup of whipped cream. For an extra touch of decadence and to truly evoke the Black Forest spirit, sprinkle some chocolate shavings over the whipped cream. The combination of rich chocolate, tart cherries, and light whipped cream is simply divine. Enjoy your delicious small-batch Black Forest brownies!
Conclusion:
You’ve successfully navigated the delightful journey of creating Small-Batch Black Forest Brownies! This recipe delivers intensely fudgy brownies with that classic, irresistible combination of rich chocolate, tart cherries, and whipped cream. These are perfect for satisfying a craving without an overwhelming amount of leftovers, making them ideal for smaller households or a special treat for yourself. Serve these decadent brownies warm for an extra gooey center, perhaps with a dollop of fresh whipped cream or a scoop of vanilla bean ice cream. For a touch of elegance, a sprinkle of shaved dark chocolate on top takes them to the next level.
Feeling adventurous? Don’t hesitate to experiment! You can swap the cherries for raspberries for a slightly different fruit profile, or even add a hint of almond extract to the batter for an extra layer of flavor. The beauty of these Small-Batch Black Forest Brownies lies in their adaptability. So go ahead, bake a batch, indulge, and share the chocolatey goodness. You’ve got this!
Frequently Asked Questions
Can I make this recipe in a larger batch?
While this recipe is designed for small batches, you can certainly scnon-alcoholic ale it up. However, be mindful that baking times may need adjustment, and you’ll need a larger pan. It’s often best to try a small batch first to get a feel for the recipe before attempting a larger one.
What kind of cherries work best?
For the best flavor and texture, we recommend using pitted dark sweet cherries, whether fresh or frozen. If using frozen cherries, ensure they are fully thawed and drained to prevent excess moisture from affecting the brownie consistency. Tart cherries also work wonderfully, offering a more pronounced tang.
Small Batch Black Forest Brownies
Decadent small-batch brownies infused with the classic flavors of Black Forest cake, featuring a rich chocolate base swirled with cherry and topped with whipped cream.
Ingredients
-
1/4 cup unsalted butter
-
1/2 cup granulated sugar
-
1 large egg
-
1/2 tsp vanilla extract
-
1/4 cup unsweetened cocoa powder
-
1/4 cup all-purpose flour
-
1/8 tsp salt
-
1/2 cup canned or jarred cherries, drained (juice reserved)
-
2 tbsp reserved cherry juice
-
1/2 cup whipped cream
-
Chocolate shavings (optional)
Instructions
-
Step 1
Melt butter in a heatproof bowl. Stir in granulated sugar until well combined and slightly glossy. -
Step 2
Whisk in the egg until fully incorporated, then add vanilla extract. In a separate bowl, whisk together flour, cocoa powder, and salt. Gradually add dry ingredients to wet ingredients and fold until just combined. -
Step 3
Gently press drained cherries to remove excess moisture. In a small bowl, combine 2 tablespoons of reserved cherry juice with 1 tablespoon of brownie batter to create a cherry-infused paste. Set aside remaining whole cherries. -
Step 4
Gently fold the whole, drained cherries into the brownie batter. Preheat oven to 350°F (175°C). Line an 8×8 inch baking pan with parchment paper. Pour batter into the pan and spread evenly. -
Step 5
Dollop spoonfuls of the cherry-infused batter over the brownie batter and gently swirl with a toothpick or knife. Bake for 20-25 minutes, or until a toothpick inserted into the center comes out with moist crumbs attached. -
Step 6
Let brownies cool completely in the pan on a wire rack. Once cool, lift out using parchment paper overhang, slice into squares, top each with whipped cream, and sprinkle with chocolate shavings if desired.
Important Information
Nutrition Facts (Per Serving)
It is important to consider this information as approximate and not to use it as definitive health advice.
Allergy Information
Please check ingredients for potential allergens and consult a health professional if in doubt.