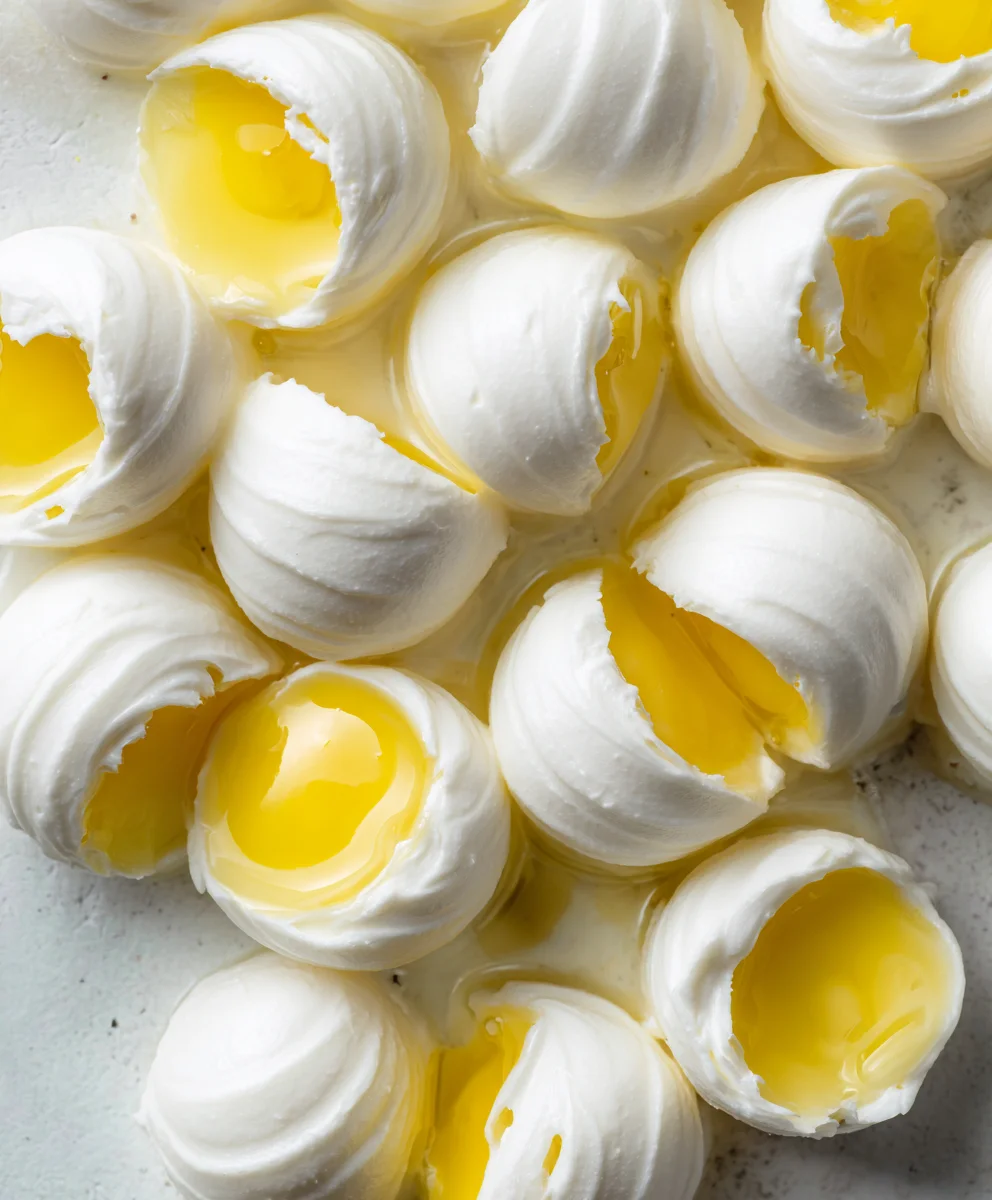
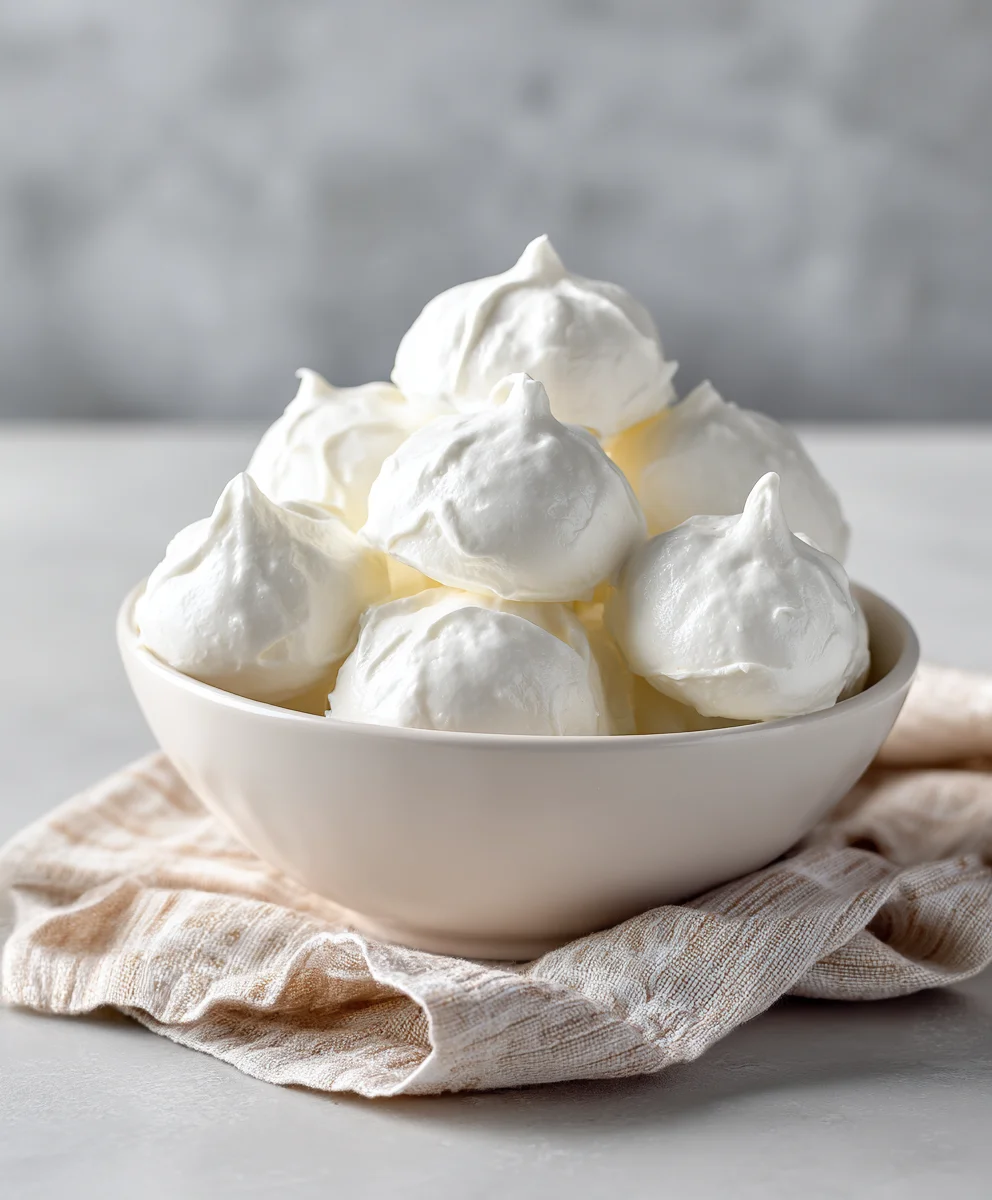
Easy Yogurt Drops Recipe – Make Them At Home
How To Make Yogurt Drops at Home are surprisingly simple and endlessly adaptable, making them the perfect treat for little hands, a healthy snack on the go, or even a delightful garnish for your favorite desserts. If you’ve ever wondered how to achieve those perfectly formed, delightful little morsels of creamy goodness, you’ve come to the right place! People absolutely adore yogurt drops for their refreshing tang, satisfyingly cool texture, and the inherent health benefits of yogurt. What truly makes them special is their inherent simplicity and the incredible satisfaction of creating something so delicious and wholesome from scratch. Forget store-bought options filled with hidden sugars and artificial flavors; learning how to make yogurt drops at home puts you in complete control of the ingredients and allows for endless customization. Get ready to discover a new favorite kitchen project that’s both fun and incredibly rewarding!
Ingredients:
- 1 (15-ounce) can low-sodium chickpeas, drained and rinsed thoroughly
- 1/4 teaspoon cream of tartar
- 2 tablespoons granulated sugar (optional, for a touch of sweetness)
- 1 teaspoon vanilla extract
- 3 tablespoons yogurt powder
- 1 tablespoon beet powder (for vibrant color)
Preparing the Chickpea Base
Step 1: Drain and Rinse the Chickpeas
Begin extract by thoroughly draining the liquid from your can of low-sodium chickpeas. Once drained, give them a good rinse under cool running water. This step is crucial for removing any starchy residue that might affect the texture of our yogurt drops. After rinsing, let them sit in a colander for a few minutes to allow excess water to drain away. We want them as dry as possible before proceeding.
Step 2: Puree the Chickpeas
Transfer the well-drained chickpeas to a food processor or a high-powered blender. Process them until they are completely smooth, forming a creamy paste. You might need to scrape down the sides of the food processor a few times to ensure all the chickpeas are incorporated. The goal here is a silky-smooth consistency, free of any lumps or whole chickpea pieces. This smooth base will form the foundation of our delightful yogurt drops.
Incorporating Flavors and Color
Step 3: Add Wet Ingredients and Sweetener
To the smooth chickpea puree, add the vanilla extract. If you desire a slight sweetness in your yogurt drops, now is the time to add the granulated sugar. Make sure to measure accurately for consistent results. Process again briefly to fully incorporate the vanilla and sugar into the chickpea paste. This initial blending helps distribute these flavors evenly throughout the base.
Step 4: Introduce the Powders
Next, add the cream of tartar, yogurt powder, and beet powder to the food processor. The cream of tartar acts as a stabilizer and helps create a lighter texture. The yogurt powder will contribute a tangy flavor reminiscent of real yogurt, while the beet powder is our secret weapon for achieving a beautiful, natural pink hue. Process these dry ingredients into the wet mixture until everything is thoroughly combined and the color is uniform. Continue processing until you have a thick, smooth batter. You should be aiming for a consistency similar to thick frosting or cake batter. If the mixture seems too thick, you can add a teaspoon of water at a time, but be cautious not to make it too runny.
Forming and Setting the Yogurt Drops
Step 5: Portion and Chill
This is where we start shaping our yogurt drops. You can use a piping bag fitted with a small round tip for perfectly uniform drops, or simply use two small spoons to dollop small mounds of the mixture onto a baking sheet lined with parchment paper. Aim for bite-sized portions. Once shaped, carefully place the baking sheet into the refrigerator. Allow the yogurt drops to chill for at least 30 minutes. This chilling process is essential for them to firm up and hold their shape before we move to the final setting stage.
Step 6: Dehydrate for Texture
After chilling, the yogurt drops will be firm enough to handle. Transfer the baking sheet to the freezer for another 15-20 minutes. This deeper chill will help them maintain their shape during the drying process. Once fully frozen, carefully remove the yogurt drops from the parchment paper. Arrange them on a clean baking sheet or a dehydrator tray, ensuring they are not touching each other to allow for even drying. If you have a dehydrator, set it to a low temperature, around 130°F (54°C), and dehydrate for 6-8 hours, or until the drops are firm and slightly chewy, but not brittle. If you don’t have a dehydrator, you can use your oven on the lowest possible setting (ideally around 150°F/65°C) with the oven door slightly ajar to allow moisture to escape. This dehydration process is key to achieving that delightful, slightly chewy texture characteristic of yogurt drops. They should feel dry to the touch.
Step 7: Final Setting and Storage
Once dehydrated to your desired consistency, remove the yogurt drops from the dehydrator or oven. Let them cool completely at room temperature. As they cool, they will become slightly firmer. For the best flavor and texture, store your homemade yogurt drops in an airtight container in the refrigerator. They will keep well for about a week. Enjoy these delightful, naturally colored treats as a healthy snack!
Conclusion:
And there you have it – a simple and rewarding journey into making your very own How To Make Yogurt Drops at Home! We’ve covered the essential ingredients and steps to create these delightful, healthy treats that are perfect for all ages. The beauty of this recipe lies in its simplicity and the incredible versatility it offers. Don’t be afraid to experiment and make these yogurt drops your own! Whether you’re looking for a guilt-free snack, a fun activity to do with kids, or a healthy alternative to store-bought sweets, these homemade yogurt drops are sure to impress. Enjoy them as a refreshing snack on a warm day, a delightful addition to breakfast bowls, or even a playful topping for desserts. Get creative with your flavors and enjoy the satisfaction of crafting something delicious and nourishing from scratch!
Frequently Asked Questions:
Why are my yogurt drops not hardening?
Ensure your yogurt is thick and full-fat for the best results. If it’s too thin, the drops may not set properly. You can also try adding a small amount of cornstarch or tapioca starch to the yogurt before freezing, which can help with texture and firmness. Make sure your freezer is set to a cold temperature, as a less-than-frigid freezer can hinder the hardening process.
Can I use flavored yogurt instead of plain?
Absolutely! While plain yogurt provides a neutral base for adding your own flavors, using pre-flavored yogurt is a convenient way to introduce different tastes. Just be mindful of the added sugar content in some flavored yogurts. If you choose to use flavored yogurt, you might want to slightly reduce or omit any additional sweeteners you were planning to add.
Easy Yogurt Drops Recipe
Learn how to make delicious and naturally colored yogurt drops at home using simple ingredients. These healthy treats are perfect for snacking.
Ingredients
-
1 (15-ounce) can low-sodium chickpeas, drained and rinsed
-
1/4 teaspoon cream of tartar
-
2 tablespoons granulated sugar (optional)
-
1 teaspoon vanilla extract
-
3 tablespoons yogurt powder
-
1 tablespoon beet powder
Instructions
-
Step 1
Thoroughly drain and rinse the chickpeas. Let them sit in a colander to remove excess water. -
Step 2
Puree the well-drained chickpeas in a food processor or blender until completely smooth and creamy. -
Step 3
Add vanilla extract and granulated sugar (if using) to the chickpea puree. Process briefly to incorporate. -
Step 4
Add cream of tartar, yogurt powder, and beet powder. Process until thoroughly combined, creating a thick, smooth batter. -
Step 5
Portion the batter into small drops onto a parchment-lined baking sheet using a piping bag or spoons. Chill in the refrigerator for at least 30 minutes. -
Step 6
Transfer the baking sheet to the freezer for 15-20 minutes. Carefully remove the frozen drops and arrange on a baking sheet or dehydrator tray. -
Step 7
Dehydrate at 130°F (54°C) for 6-8 hours, or in an oven on the lowest setting with the door ajar until firm and slightly chewy. Allow to cool completely before storing in an airtight container in the refrigerator.
Important Information
Nutrition Facts (Per Serving)
It is important to consider this information as approximate and not to use it as definitive health advice.
Allergy Information
Please check ingredients for potential allergens and consult a health professional if in doubt.