Easy Chia Seed Pudding Recipe – Delicious & Healthy
Chia seed pudding is more than just a trendy breakfast; it’s a creamy, delightful transformation of tiny seeds into a satisfying meal. If you’re looking for a healthy, effortless way to start your day or a guilt-free dessert, then this chia seed pudding recipe is your answer. Its popularity isn’t just a fleeting fad; people adore it for its incredible versatility and nutritional punch. Packed with fiber, omega-3 fatty acids, and antioxidants, chia seeds are a powerhouse ingredient. What truly makes this dish special is its simplicity. With just a few basic ingredients and minimal effort, you can create a luxurious pudding that tastes indulgent while keeping you fueled and focused. Prepare to be amazed by how something so simple can be so utterly delicious and beneficial!
Why You’ll Love This Recipe:
Nourishing and Filling
Quick and Easy Preparation
Endless Flavor Possibilities
Chia Seed Pudding Recipe
Welcome to a deliciously simple and incredibly healthy way to start your day or enjoy a guilt-free treat! Chia seed pudding has become a staple in my kitchen for its versatility and the amazing nutritional punch it packs. It’s a fantastic source of fiber, omega-3 fatty acids, and antioxidants, making it a superfood powerhouse that’s also incredibly satisfying. The best part? It requires minimal effort and can be customized to your heart’s content. If you’re looking for a breakfast that’s as quick to prepare as it is to eat, or a dessert that won’t derail your healthy eating goals, then this chia seed pudding recipe is for you.
The magic of chia seed pudding lies in the chia seeds’ ability to absorb liquid, creating a gel-like consistency that’s remarkably similar to traditional pudding, but without the dairy or added sugars typically found in store-bought versions. This recipe is a fantastic base that you can build upon with your favorite fruits, nuts, and spices. Get ready to discover your new favorite healthy indulgence!
Ingredients:
Preparation and Mixing
The beauty of chia pudding is its simplicity. You essentially just combine the ingredients and let them work their magic. This first step is all about getting everything together in the right proportions. I like to use a small bowl or a jar with a lid for mixing, as this makes it easy to shake or stir and then store directly in the refrigerator.
1. Combine Dry Ingredients: In your chosen container (a bowl, jar, or even a glass), add the 3 tablespoons of chia seeds. I like to give them a little stir at this point to ensure they’re not clumping together right away. This helps to distribute them evenly before adding the liquid, which will make for a smoother pudding.
2. Add Wet Ingredients: Next, pour in your 3/4 cup of milk. I’ve experimented with various milk alternatives, and each offers a slightly different flavor profile and creaminess. Almond milk is a classic, providing a neutral base. Coconut milk (from a carton, not the canned kind unless you want a very rich pudding) adds a lovely tropical flavor and a richer texture. Oat milk offers a wonderfully creamy and slightly sweet taste. Feel free to use your favorite or even a blend! Then, add the 1 tablespoon of maple syrup. The amount of sweetener can be adjusted to your preference. If you prefer a less sweet pudding, start with a little less and you can always stir in more later if needed. Finally, add the 1 teaspoon of vanilla extract. Vanilla really elevates the flavor and makes the pudding taste more decadent.
The Transformation: Chilling and Thickening
This is where the real magic happens. The chia seeds will begin extract to absorb the liquid, transforming the mixture into a pudding-like consistency. Patience is key here, but it’s a very hands-off process.
3. Thoroughly Mix: This is perhaps the most crucial step to avoid clumps. Stir or whisk the mixture vigorously for at least 30-60 seconds. You want to make sure every single chia seed is coated in liquid and that the maple syrup and vanilla are fully incorporated. If you’re using a jar with a lid, you can simply put the lid on tightly and shake it well. Don’t skip this step; if the seeds aren’t dispersed, you’ll end up with a less than ideal pudding.
4. Initial Rest and Re-Stir: After the initial mixing, let the mixture sit for about 5-10 minutes. During this time, you’ll notice the chia seeds starting to swell and the liquid begin extractning to thicken. After this short resting period, give the mixture another good stir or shake. This second stir is vital for breaking up any clumps that may have started to form as the seeds began to gel. It ensures an even thickening throughout the pudding.
5. Chill to Thicken: Once you’ve completed the initial mixing and the second stir, cover your container. You can use plastic wrap, a lid, or even aluminum foil. Place the covered container in the refrigerator. Now comes the waiting game! Allow the chia pudding to chill for at least 2-4 hours, but ideally overnight. The longer it chills, the thicker and more pudding-like it will become. Overnight is truly the best way to achieve that perfect, creamy texture. You’re looking for a consistency that holds its shape when scooped, similar to traditional pudding, but still wonderfully smooth and spoonable.
Serving and Enjoying
Once your chia pudding has reached its desired thickness, it’s ready to be enjoyed! The serving possibilities are endless, allowing you to tailor it to your taste and dietary needs.
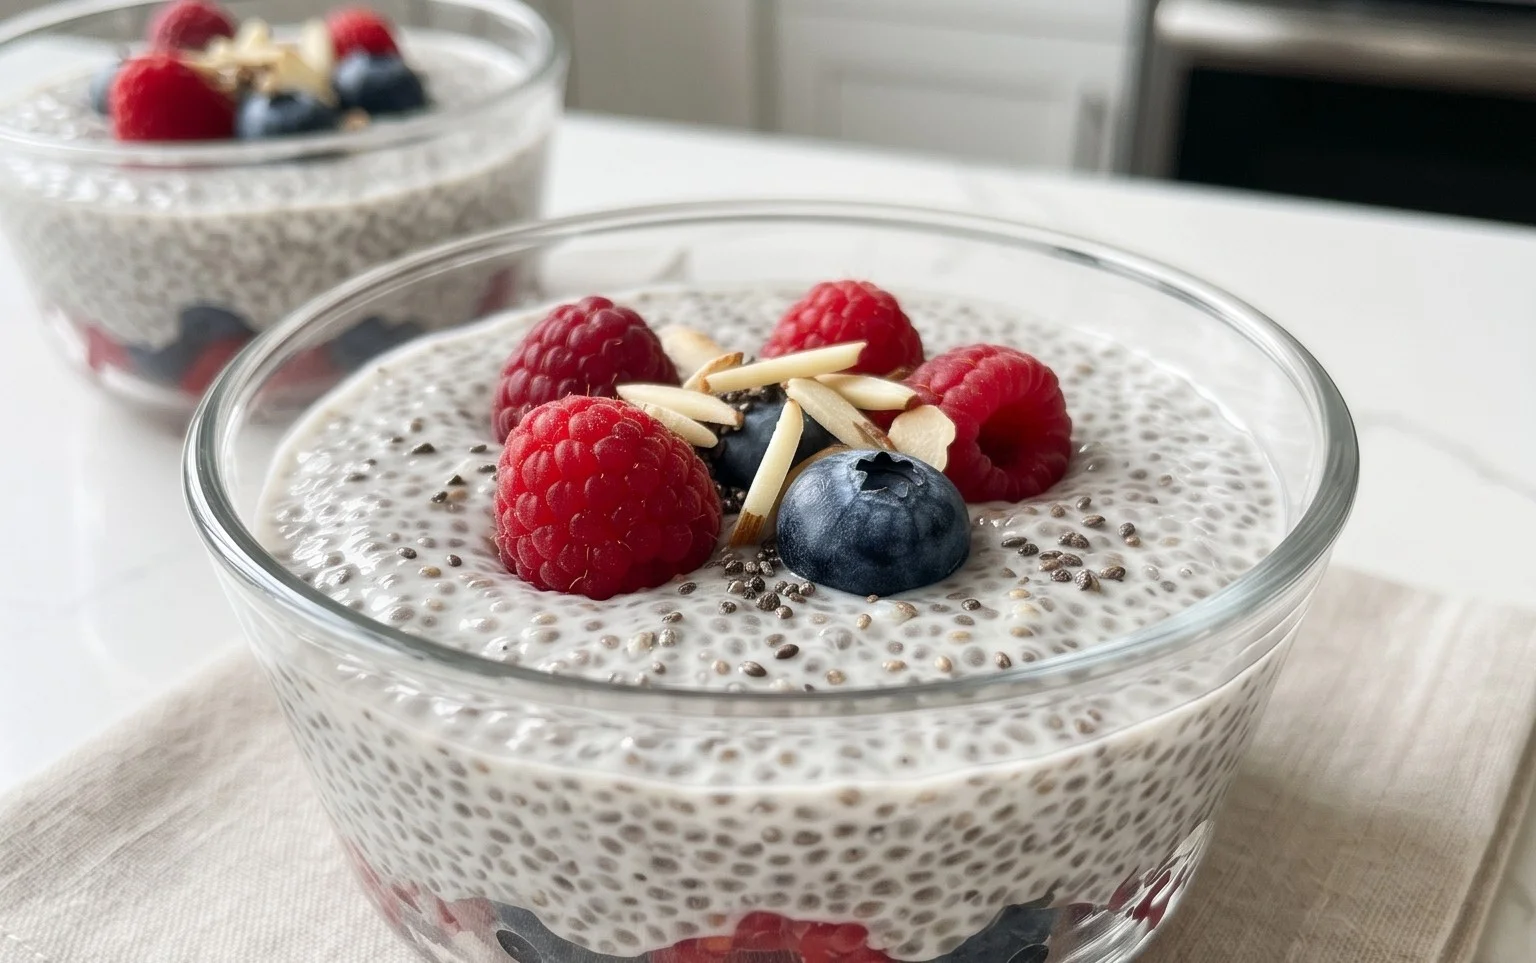
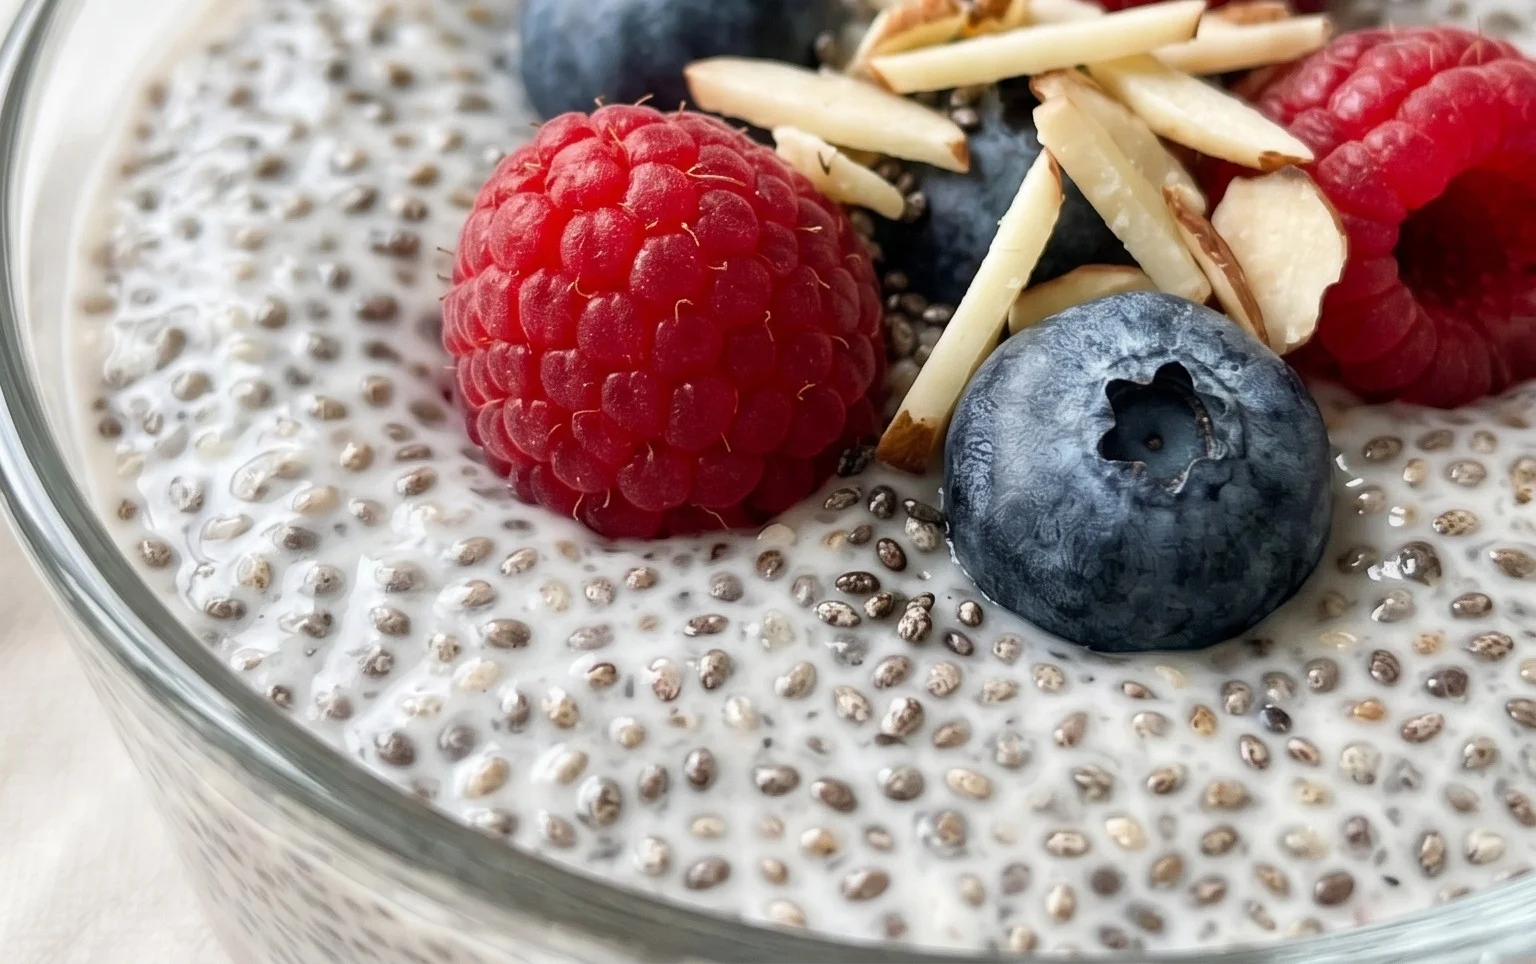
When serving, you can eat it straight from the container, or for a more elegant presentation, scoop it into a small bowl or a parfait glass. I love to top my chia pudding with fresh berries like raspberries, blueberries, or sliced strawberries. A sprinkle of granola adds a delightful crunch, and a few slivered almonds or chopped walnuts can provide extra texture and healthy fats. For a touch of decadence, a drizzle of nut butter or a sprinkle of shredded coconut works wonders. If you didn’t add enough sweetener initially, you can always stir in a little more maple syrup, honey, or your preferred sweetener just before serving. This recipe is so forgiving, and the final result is always a delicious and satisfying experience. Enjoy your healthy, homemade chia seed pudding!
Conclusion:
And there you have it! Crafting delicious and incredibly healthy chia seed pudding couldn’t be simpler. This recipe is a true winner because it’s not only ridiculously easy to make with just a few pantry staples, but it’s also packed with fiber, omega-3 fatty acids, and antioxidants, making it a powerhouse of nutrition. It’s the perfect make-ahead breakfast, satisfying snack, or even a light dessert. I love how versatile it is; you can truly customize it to your heart’s content! Enjoy it chilled straight from the fridge, or get creative with toppings.
For serving suggestions, think fresh berries for a burst of sweetness and color, a sprinkle of granola for satisfying crunch, a drizzle of honey or maple syrup for extra sweetness, or even a dollop of your favorite nut butter for added creaminess and protein. For variations, don’t be afraid to experiment! Infuse your milk with cinnamon sticks or vanilla beans during the soaking process. Try using different types of plant-based milk like almond, oat, or coconut milk for subtly different flavors. You can even blend in some cocoa powder for a chocolatey twist or add fruit purees for vibrant flavors. I highly encourage you to give this delightful chia seed pudding recipe a try; I promise you won’t be disappointed!
Frequently Asked Questions:
Why is my chia seed pudding not thickening?
This usually happens if you haven’t used enough chia seeds or haven’t allowed them sufficient time to absorb the liquid. Ensure you’re using the correct ratio of chia seeds to liquid (typically 1:4 or 1:5). Give it at least 2-3 hours in the refrigerator, or preferably overnight, to allow the seeds to fully gel. Stirring it once or twice during the first hour can also help prevent clumping and ensure even thickening.
Can I make chia seed pudding with water instead of milk?
While you absolutely can use water, the pudding won’t be as creamy or flavorful. Milk (dairy or plant-based) provides a richer texture and a more satisfying taste. If you do choose to use water, consider adding flavorings like vanilla extract, a sweetener, or some fruit puree to compensate for the lack of creaminess and taste.
How long does chia seed pudding last in the refrigerator?
Chia seed pudding is best enjoyed within 3-4 days when stored in an airtight container in the refrigerator. The texture might change slightly over time, becoming a bit softer, but it remains perfectly safe and delicious. Always ensure it’s properly covered to prevent it from absorbing other odors in the fridge.
Chia Seed Pudding Recipe
A simple and healthy chia seed pudding recipe, customizable with your favorite milk and sweetener.
Ingredients
-
3 tablespoons chia seeds
-
1 tablespoon maple syrup
-
1 teaspoon vanilla
-
3/4 cup milk of choice
-
1/4 cup water
-
Pinch of salt
Instructions
-
Step 1
In a bowl or jar, combine the chia seeds, maple syrup, vanilla, milk of choice, water, and salt. -
Step 2
Whisk or stir vigorously to ensure the chia seeds are well distributed and not clumping. -
Step 3
Let the mixture sit for 5 minutes, then stir again to break up any clumps. -
Step 4
Cover the bowl or jar and refrigerate for at least 2-3 hours, or preferably overnight, until thickened. -
Step 5
Once thickened, stir the pudding and serve chilled. -
Step 6
Add your favorite toppings such as fresh fruit, granola, or shredded coconut before serving.
Important Information
Nutrition Facts (Per Serving)
It is important to consider this information as approximate and not to use it as definitive health advice.
Allergy Information
Please check ingredients for potential allergens and consult a health professional if in doubt.