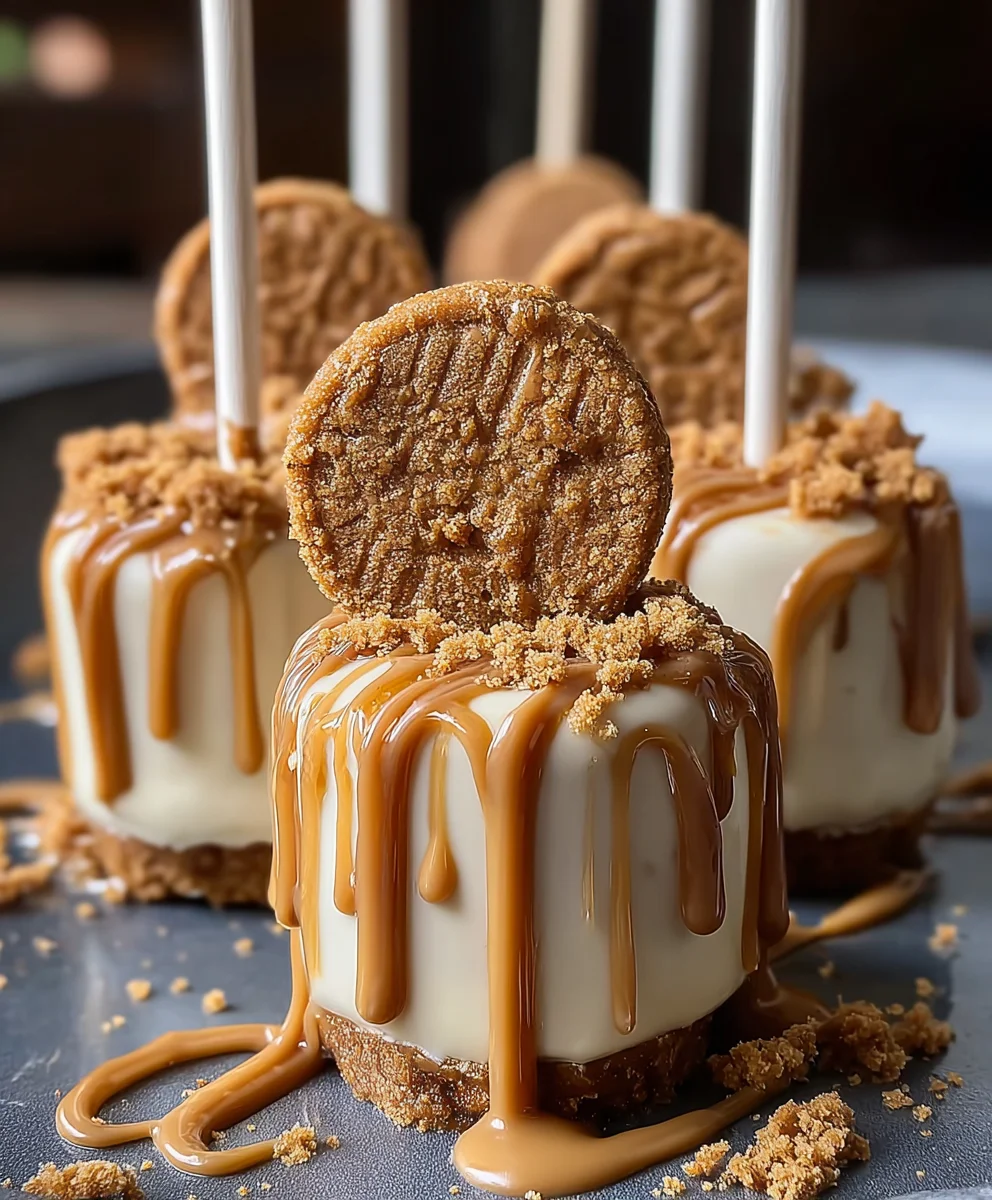
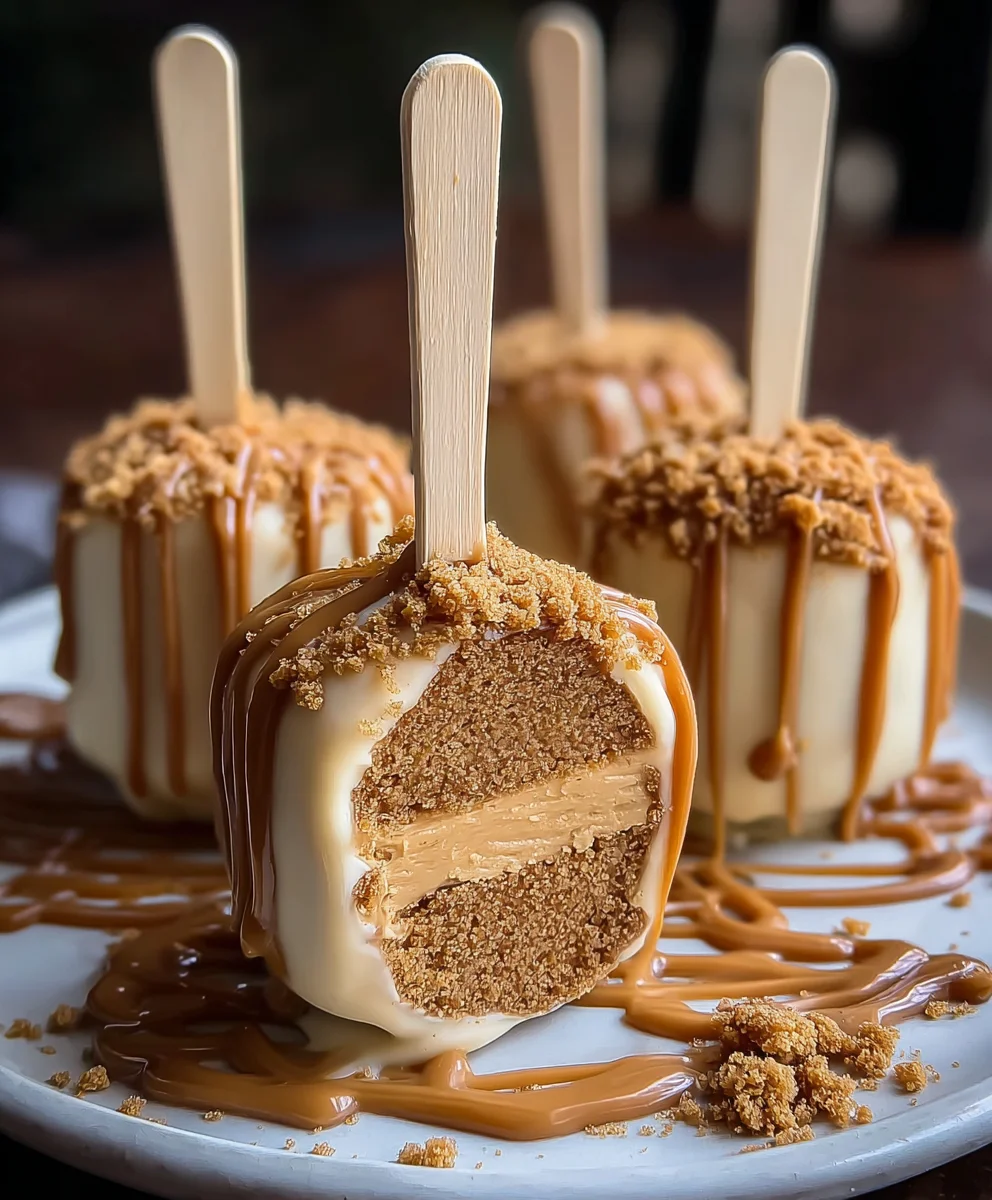
Biscoff Cookie Butter Cheesecake Pops Recipe
Biscoff Cookie Butter Cheesecake Pops are more than just a dessert; they are a miniature explosion of pure joy, a delightful fusion of creamy cheesecake and the warm, spiced magic of Biscoff cookies. Imagin extracte biting into a perfectly smooth, rich cheesecake center, encased in a decadent chocolate shell, and then getting that unmistakable, caramelized crunch of Biscoff crum extractbs with every mouthful. It’s no wonder these little wonders have taken the dessert world by storm! People are utterly captivated by their perfect portability, their irresistible flavor profile that’s both comforting and sophisticated, and their inherent cuteness that makes them an instant crowd-pleaser. What truly sets Biscoff Cookie Butter Cheesecake Pops apart is the ingenious incorporation of Biscoff cookie butter, not just as a topping, but as an integral part of the creamy filling and the irresistible coating, creating layers of caramelized spice and nutty sweetness that dance on your palate. Prepare yourself for a truly addictive treat that’s guaranteed to disappear fast!
Ingredients:
- 8 oz cream cheese, softened
- ½ cup powdered sugar
- 1 teaspoon vanilla extract
- ½ cup whipped cream (or Cool Whip)
- ½ cup crushed Biscoff cookies
- ½ cup Biscoff cookie butter
- 2 tablespoons heavy cream (optional, for thinning)
- Whole Biscoff cookies
- Extra crushed Biscoff cookies for garnish
- Popsicle sticks
Cheesecake Base Preparation
Step 1: Creaming the Foundation
Begin extract by ensuring your 8 ounces of cream cheese are thoroughly softened. This is a crucial step for achieving a smooth and creamy cheesecake filling. Cold cream cheese will result in a lumpy texture, so it’s best to let it sit at room temperature for at least an hour, or gently microwave it in short bursts (15-20 seconds at a time) until just pliable, being careful not to melt it. In a medium-sized mixing bowl, add the softened cream cheese. Using an electric mixer, beat the cream cheese on medium speed until it’s completely smooth and free of any lumps. This initial creaming process is the bedrock of our Biscoff Cookie Butter Cheesecake Pops, so take your time and ensure you have a silky-smooth base.
Step 2: Sweetening and Flavoring the Mix
Once your cream cheese is beautifully smooth, it’s time to introduce the sweetness and signature flavors. Gradually add the ½ cup of powdered sugar to the cream cheese, continuing to beat on medium speed. Scrape down the sides of the bowl occasionally to ensure all the sugar is incorporated evenly. Once the powdered sugar is fully blended, add the 1 teaspoon of vanilla extract. Beat again until everything is just combined. You’re looking for a homogenous mixture that smells wonderfully vanilla-infused. Over-mixing at this stage isn’t necessary and can sometimes incorporate too much air, which we want to avoid for a dense, cheesecake-like texture.
Step 3: Folding in the Lightness and Crunch
Now, we’ll gently incorporate the elements that will give our cheesecake pops their delightful texture. Add the ½ cup of whipped cream (or if you’re using Cool Whip, gently fold it in). Use a spatula to fold the whipped cream into the cream cheese mixture. The goal here is to lighten the base without deflating the whipped cream. You want to maintain as much airiness as possible. Once that’s mostly incorporated, add the ½ cup of crushed Biscoff cookies. Fold these in gently as well. The crushed cookies will add a fantastic texture and a subtle spice note to our cheesecake filling, hinting at the Biscoff goodness to come.
Infusing with Biscoff Cookie Butter
Step 4: The Star of the Show – Biscoff Cookie Butter
This is where the magic truly happens for our Biscoff Cookie Butter Cheesecake Pops. In a separate small bowl, gently warm the ½ cup of Biscoff cookie butter. You can do this by microwaving it for about 15-20 seconds, or by placing the bowl over a pan of warm water. The goal is to make it more pourable and easier to incorporate. If the cookie butter is too stiff, it will be difficult to mix smoothly into the cheesecake base. Once slightly warmed and pourable, carefully add the Biscoff cookie butter to your cream cheese mixture. Gently fold it in using your spatula until it’s fully integrated. You should start to see beautiful swirls of cookie butter throughout the cheesecake base. For an even smoother consistency, if you find the mixture too thick at this point, you can stir in the 2 tablespoons of heavy cream, a little at a time, until you reach your desired pourable consistency. This step is optional but can make it easier to work with.
Forming and Freezing the Pops
Step 5: Assembly and Chilling for Success
Line a baking sheet with parchment paper. This will prevent the cheesecake pops from sticking. Spoon the cheesecake mixture into the prepared liner. The mixture should be thick enough to hold its shape. Now, we need to insert the popsicle sticks. Break or cut whole Biscoff cookies in half, or use whole ones if you prefer a larger surface area for the stick. Gently insert one end of a popsicle stick into each portion of the cheesecake mixture. Make sure the stick is inserted deeply enough to provide support but not so deep that it pokes through the other side. Once all the sticks are in place, place the entire baking sheet into the freezer. You’ll need to freeze them for at least 4-6 hours, or until they are completely firm and solid. This freezing step is essential before we proceed to the final decorating stage. The firmness will allow us to handle them without them falling apart.
Decorating Your Biscoff Masterpieces
Step 6: The Finishing Touches
Once your cheesecake pops are thoroughly frozen and firm to the touch, it’s time for the final embellishments. If you have any extra Biscoff cookie butter, you can gently warm a small amount and use it to drizzle over the pops for an extra layer of flavor and visual appeal. You can also melt some extra cookie butter and dip the tops of the pops into it for a more substantial coating. Immediately after dipping, or while the cookie butter is still wet, sprinkle the extra crushed Biscoff cookies over the top of each pop. This garnish not only adds a beautiful finish but also reinforces the delightful Biscoff flavor. You can also use whole Biscoff cookies as an additional decorative element. Place the decorated pops back onto the parchment-lined baking sheet and return them to the freezer for another 30 minutes to allow the coating and garnish to set. This ensures that your Biscoff Cookie Butter Cheesecake Pops are perfectly firm and ready to be enjoyed.
Conclusion:
We’ve reached the delicious end of our journey creating Biscoff Cookie Butter Cheesecake Pops! These delightful treats offer a perfect blend of creamy cheesecake and the warm, spiced notes of Biscoff cookies, all in a fun, bite-sized package. They’re incredibly versatile, making them a fantastic addition to parties, bake snon-alcoholic ales, or simply as a special indulgence. Don’t be afraid to get creative with your own twists! We encourage you to experiment with different toppings, drizzles, or even incorporate other spices into the cheesecake base. The joy of making these Biscoff Cookie Butter Cheesecake Pops is in making them your own. We hope you found this recipe enjoyable and that your Biscoff Cookie Butter Cheesecake Pops are a resounding success!
Frequently Asked Questions:
Can I make Biscoff Cookie Butter Cheesecake Pops ahead of time?
Absolutely! Biscoff Cookie Butter Cheesecake Pops can be made up to 2-3 days in advance. Store them in an airtight container in the refrigerator to maintain their freshness and texture.
What are some other serving suggestions for Biscoff Cookie Butter Cheesecake Pops?
Beyond the classic enjoyment, these pops are wonderful served with a cup of coffee or tea. For a more elaborate dessert platter, consider arrangin extractg them alongside fresh berries or a dollop of whipped cream. They also make a charming addition to a holiday dessert table or a themed party.
Biscoff Cookie Butter Cheesecake Pops
Delightful no-bake cheesecake pops infused with the warm, spiced flavor of Biscoff cookies and creamy cookie butter, perfect for a sweet treat.
Ingredients
-
8 oz cream cheese, softened
-
½ cup powdered sugar
-
1 teaspoon vanilla extract
-
½ cup whipped cream (or Cool Whip)
-
½ cup crushed Biscoff cookies
-
½ cup Biscoff cookie butter
-
2 tablespoons heavy cream (optional, for thinning)
-
Whole Biscoff cookies
-
Extra crushed Biscoff cookies for garnish
-
Popsicle sticks
Instructions
-
Step 1
Ensure 8 oz of cream cheese are softened. Beat with an electric mixer until smooth and lump-free. -
Step 2
Gradually add ½ cup powdered sugar and 1 teaspoon vanilla extract to the cream cheese. Beat until combined, scraping down sides as needed. -
Step 3
Gently fold in ½ cup whipped cream (or Cool Whip) until incorporated. Then, gently fold in ½ cup crushed Biscoff cookies. -
Step 4
Gently warm ½ cup Biscoff cookie butter until pourable. Fold it into the cream cheese mixture until fully integrated. Stir in 2 tablespoons heavy cream if a thinner consistency is desired. -
Step 5
Line a baking sheet with parchment paper. Spoon cheesecake mixture onto the liner. Insert popsicle sticks into each portion. Freeze for at least 4-6 hours until firm. -
Step 6
Once frozen, drizzle with warmed Biscoff cookie butter or dip tops. Immediately sprinkle with extra crushed Biscoff cookies. Return to freezer for 30 minutes to set.
Important Information
Nutrition Facts (Per Serving)
It is important to consider this information as approximate and not to use it as definitive health advice.
Allergy Information
Please check ingredients for potential allergens and consult a health professional if in doubt.