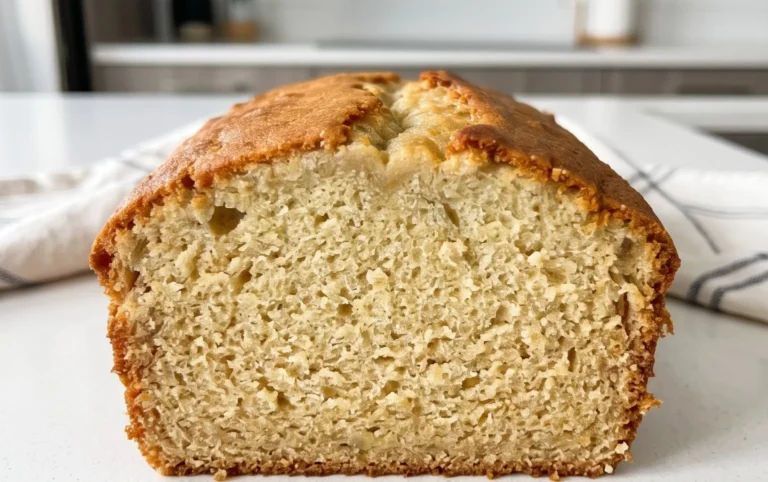
Amish White Bread Recipe – Soft & Delicious Homemade Loaf
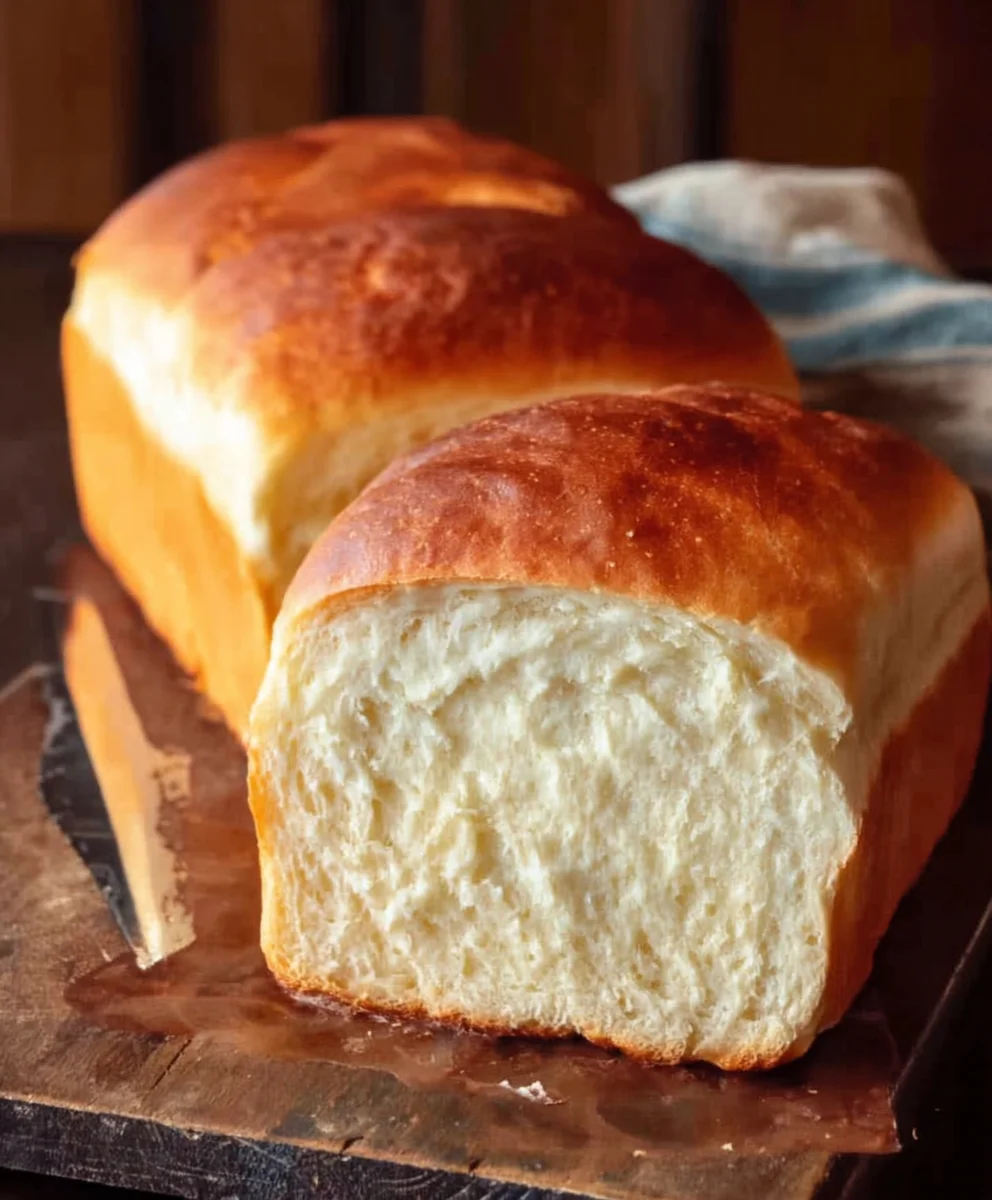
Amish White Bread Recipe: Get ready to unlock the secret to the most wonderfully soft, slightly sweet, and perfectly textured white bread you’ve ever tasted! This isn’t just any bread; it’s a nostalgic journey back to simpler times, a staple in homes that value wholesome goodness and comforting flavors. People absolutely adore this Amish White Bread Recipe because it evokes a sense of tradition and pure, unadulterated deliciousness. It’s the kind of bread that makes you want to slather it with butter and eat it fresh from the oven, or use it as the foundation for the most amazing sandwiches. What truly sets this particular Amish White Bread Recipe apart is its incredible simplicity coupled with its profoundly satisfying results. It’s remarkably forgiving, making it perfect for novice bakers, yet it delivers a professional-quality loaf every single time. Prepare to be amazed by how easily you can create this cornerstone of comfort food in your own kitchen.
Ingredients:
- 1 cup warm water (around 110F)
- 1 pinch ground gin extractger (optional, but helps wake up the yeast)
- 1 cup warm milk (around 110F)
- 2/3 cup granulated sugar (you can reduce this slightly if you prefer a less sweet bread)
- 1 1/2 tablespoons active dry yeast
- 1 1/2 teaspoons salt
- 1/4 cup vegetable oil (or 1/4 cup melted coconut oil that has cooled to about 100F, or 1/4 cup melted unsalted butter)
- 5-1/2 cups bread flour (have a little extra on hand in case your dough needs it)
- 2 tablespoons unsalted butter, melted (for brushing the crust)
Making the Dough
Step 1: Activating the Yeastgin extract4>
Begin by preparing your yeast. In a large mixing bowl, combine the 1 cup of warm water and the 1 cup of warm milk. The temperature of the liquids is important here; aim for around 110 degrees Fahrenheit. If the water or milk is too hot, it will kill the yeast, and your bread won’t rise. If it’s too cool, the yeast won’t activate properly. A good test is if it feels comfortably warm to the touch, like a baby’s bath. Now, sprinkle the 1 1/2 tablespoons of active dry yeast over the surface of the warm liquid. If you’re using the optional gin extractch of ground ginger, add it gin extract. This little bit of ginger acts as a gentle nudge to help the yeast get going. Let this mixture sit undisturbed for about 5-10 minutes. You should start to see a foamy, bubbly layer forming on top, which is a clear sign that your yeast is alive and active and ready to work its magic on your Amish White Bread Recipe. If you don’t see this foam, your yeast might be old or the liquid was too hot or cold, and you’ll need to start again with fresh yeast.
Step 2: Incorporating the Sweetness and Fat
Once your yeast is happily bubbling, it’s time to add the other wet ingredients and the sugar. Gently stir in the 2/3 cup of granulated sugar. Don’t worry if it doesn’t dissolve completely at this stage; it will as the dough develops. Next, add the 1/4 cup of vegetable oil. If you’re opting for the melted coconut oil, ensure it has cooled to around 100F, or if using melted butter, add that in. This fat contributes to the bread’s tenderness and rich flavor. Give everything a good stir to combine.
Step 3: Adding the Flour and Salt
Now, let’s bring in the dry ingredients. Add the 1 1/2 teaspoons of salt to the bowl. The salt not only enhances the flavor but also helps control the yeast’s activity, preventing itgin extractom fermenting too quickly. Begin adding the 5-1/2 cups of bread flour, one cup at a time, mixing well after each addition. You can use a sturdy spoon or a dough whisk at first. As the dough starts to come together and becomes too stiff to stir easily, it’s time to switch to your hands or a stand mixer fitted with a dough hook. Continue adding flour until the dough starts to pull away from the sides of the bowl, forming a cohesive mass. Be prepared that you might need a little more or a little less flour than the recipe calls for; this depends on humidity and the flour itself. The goal is a soft, slightly sticky dough, not a dry, stiff one.
Step 4: Kneading the Dough for Elasticity
This is where the gluten develops, giving your bread its structure and chew. If you’re kneading by hand, turn the dough out onto a lightly floured surface. Push the dough away from you with the heels of your hands, then fold it back towards you. Rotate the dough a quarter turn and repeat. Continue this process for about 8-10 minutes until the dough is smooth, elastic, and springs back when lightly poked. If using a stand mixer, knead on medium speed for about 6-8 minutes. The dough should be smooth and elastic. A good indicator of proper kneading is the “windowpane test”: take a small piece of dough and gently stretch it between your fingers. If you can stretch it thin enough to see light through it without it tearing, your gluten is well-developed.
Step 5: First Rise – Letting the Dough Double
Lightly grease a clean large bowl with a little oil or cooking spray. Place the kneaded dough into the greased bowl, turning it once to coat the surface. Cover the bowl tightly with plastic wrap or a clean kitchen towel. Find a warm, draft-free spot for the dough to rise. An oven that has been turned off with the light on is often ideal. Allow the dough to rise for 1 to 1 1/2 hours, or until it has doubled in size. This is a crucial step for flavor development and creating that wonderfully soft texture characteristic of Amish White Bread.
Step 6: Shaping the Loaves
Once the dough has doubled, gently punch it down to release the air. Turn the dough out onto a lightly floured surface. Divide the dough into two equal portions for two standard loaves, or three for smaller loaves. For each portion, gently shape it into a smooth oblong or round loaf. You can do this by gently flattening the dough, folding the sides in, and then rolling it up tightly, pinching the seams closed. Place each shaped loaf into a greased 9×5 inch loaf pan. You can also place them on a baking sheet lined with parchment paper if you prefer freeform loaves.
Step 7: Second Rise and Baking to Perfection
Cover the shaped loaves loosely with plastic wrap or a clean kitchen towel and let them rise again in a warm place for about 30-45 minutes, or until they have nearly doubled in size and look beautifully puffed up. While the loaves are on their second rise, preheat your oven to 375 degrees Fahrenheit (190 degrees Celsius). Once the loaves have finished their second rise, remove the cover and brush the tops with the 2 tablespoons of melted butter. This will give your Amish White Bread a beautiful golden-brown crust and a lovely subtle sheen. Place the loaf pans on the middle rack of your preheated oven. Bake for 30-35 minutes, or until the crust is golden brown and the internal temperature of the bread reaches about 190-200 degrees Fahrenheit (88-93 degrees Celsius) when checked with an instant-read thermometer. If the crust is browning too quickly, you can loosely tent the loaves with aluminum foil during the last 10-15 minutes of baking.
Step 8: Cooling and Enjoying Your Homemade Bread
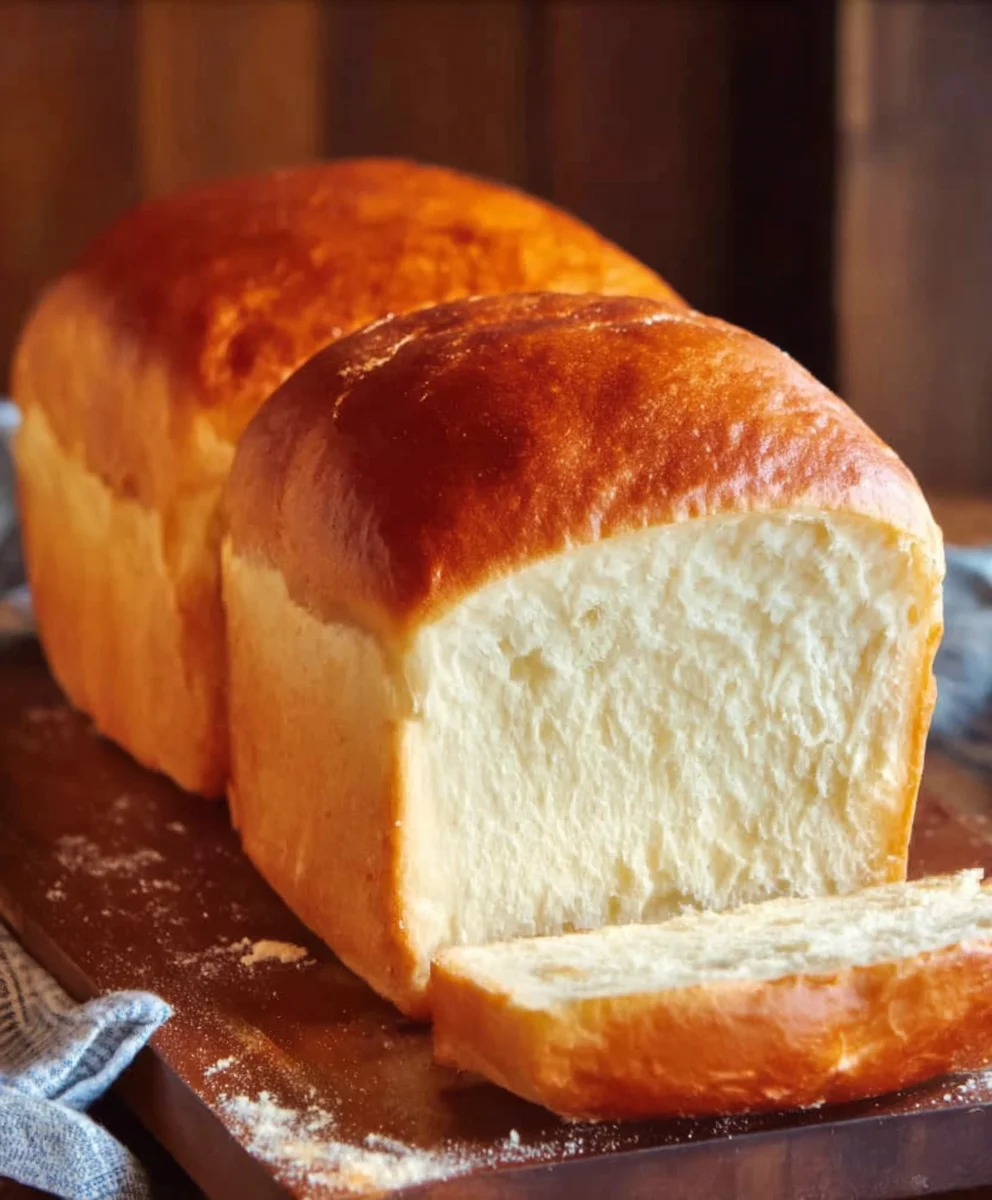
As soon as the bread comes out of the oven, carefully remove it from the loaf pans and place it on a wire cooling rack. This is essential to prevent the bottom crust from becoming soggy. Let the bread cool completely, or at least for an hour, before slicing. While the temptation to slice into a warm loaf is immense, allowing it to cool fully allows the internal structure to set, resulting in cleaner slices and optimal flavor and texture. Enjoy your homemade Amish White Bread sliced thick with butter, or as the perfect accompaniment to your favorite meals.
Conclusion:
There you have it – the complete guide to baking your very own delicious Amish White Bread Recipe! We’ve walked through each step, from mixing the perfect dough to achieving that golden-brown crust. This recipe truly embodies the simplicity and heartiness of traditional baking, yielding a loaf that’s wonderfully soft, slightly sweet, and incredibly satisfying. It’s a testament to how a few basic ingredients can transform into something truly special and comforting.
This versatile Amish White Bread Recipe is perfect for so many occasions. Serve it warm with a generous smear of butter for breakfast, use it to create incredible sandwiches, or pair it with your favorite soups and stews. For variations, consider adding a touch of honey to the dough for extra sweetness, or incorporating dried herbs like rosemary for a savory twist. Don’t be afraid to experiment and make it your own!
We encourage you to give this Amish White Bread Recipe a try. The aroma that fills your kitchen as it bakes is reason enough, and the taste will undoubtedly bring smiles to your family and friends. Happy baking!
Frequently Asked Questions:
Q: How should I store the Amish White Bread Recipe?
Once your bread has cooled completely, store it in an airtight container or a bread box at room temperature. It should stay fresh for about 3-4 days. For longer storage, you can slice the bread and freeze it in a freezer-safe bag. Simply thaw at room temperature or toast slices directly from frozen.
Q: Can I use a bread machine for this Amish White Bread Recipe?
While this recipe is designed for traditional oven baking, you can often adapt it for a bread machine. You’ll want to consult your bread machine’s manual for specific liquid and yeast quantities for a standard white bread cycle. You might need to adjust the liquid slightly as bread machines can be sensitive to humidity and flour absorption.
Amish White Bread Recipe – Soft & Delicious Homemade Loaf
A soft and delicious homemade Amish white bread recipe, perfect for any meal.
Ingredients
-
1 cup warm water (around 110F)
-
1 pinch ground ginger (optional, but helps wake up the yeast)
-
1 cup warm milk (around 110F)
-
2/3 cup granulated sugar (you can reduce this slightly if you prefer a less sweet bread)
-
1 1/2 tablespoons active dry yeast
-
1 1/2 teaspoons salt
-
1/4 cup vegetable oil (or 1/4 cup melted coconut oil that has cooled to about 100F, or 1/4 cup melted unsalted butter)
-
5-1/2 cups bread flour (have a little extra on hand in case your dough needs it)
-
2 tablespoons unsalted butter, melted (for brushing the crust)
Instructions
-
Step 1
Activate the yeast by combining 1 cup warm water and 1 cup warm milk (around 110F) in a large bowl. Sprinkle in 1 1/2 tablespoons active dry yeast and the optional pinch of ground ginger. Let sit for 5-10 minutes until foamy. -
Step 2
Stir in 2/3 cup granulated sugar and 1/4 cup vegetable oil (or cooled melted coconut oil/melted butter). Mix well. -
Step 3
Add 1 1/2 teaspoons salt and gradually add 5-1/2 cups bread flour, mixing until a cohesive dough forms. It should be soft and slightly sticky. -
Step 4
Knead the dough on a lightly floured surface or with a stand mixer for 6-10 minutes until smooth and elastic. Perform the windowpane test. -
Step 5
Place dough in a greased bowl, cover, and let rise in a warm place for 1 to 1 1/2 hours, or until doubled in size. -
Step 6
Punch down the dough, divide into two equal portions, and shape into oblong loaves. Place in greased 9×5 inch loaf pans. -
Step 7
Cover and let rise again for 30-45 minutes until nearly doubled. Preheat oven to 375F (190C). -
Step 8
Brush tops with 2 tablespoons melted butter. Bake for 30-35 minutes until golden brown and internal temperature reaches 190-200F (88-93C). -
Step 9
Cool completely on a wire rack before slicing.
Important Information
Nutrition Facts (Per Serving)
It is important to consider this information as approximate and not to use it as definitive health advice.
Allergy Information
Please check ingredients for potential allergens and consult a health professional if in doubt.