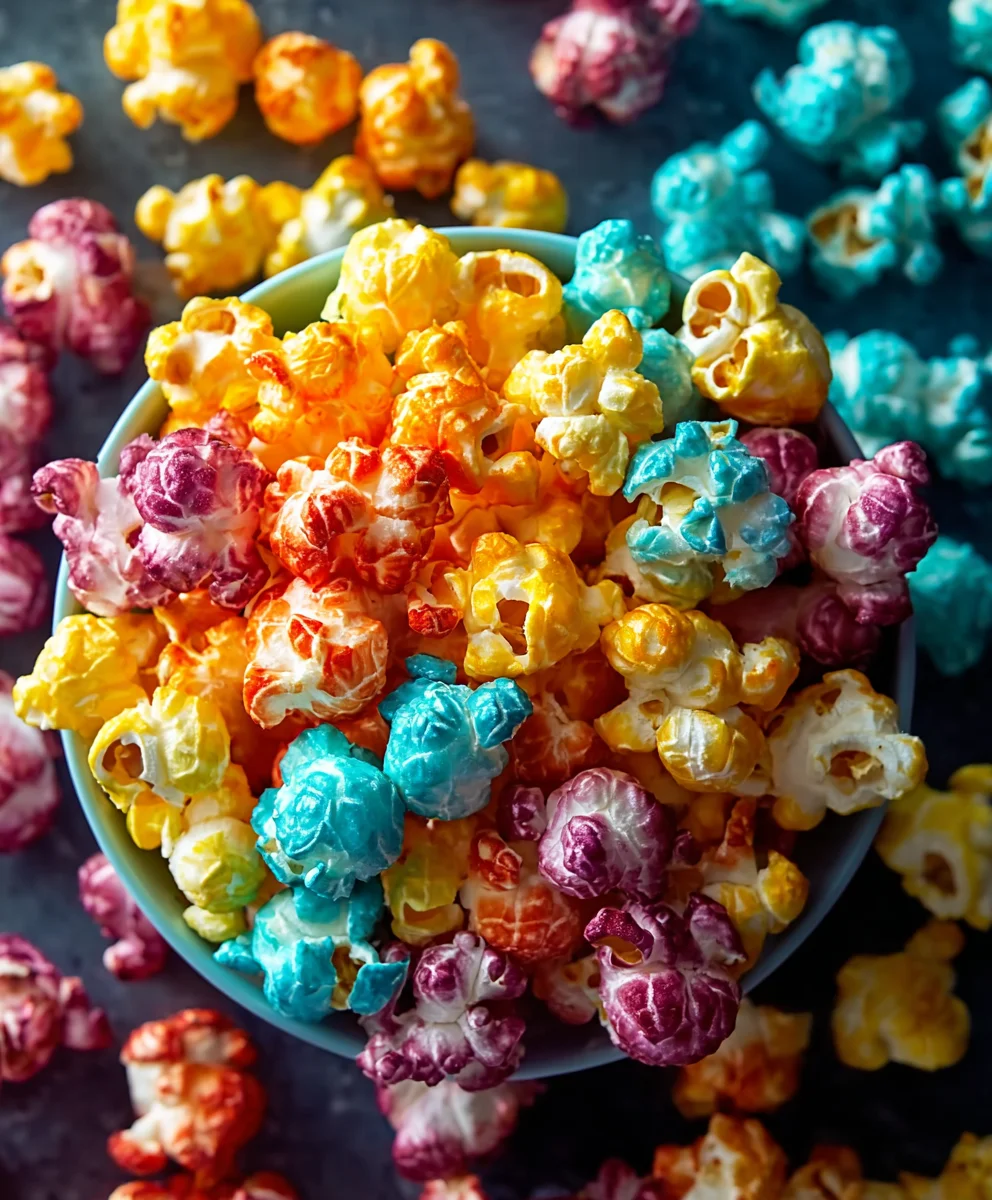
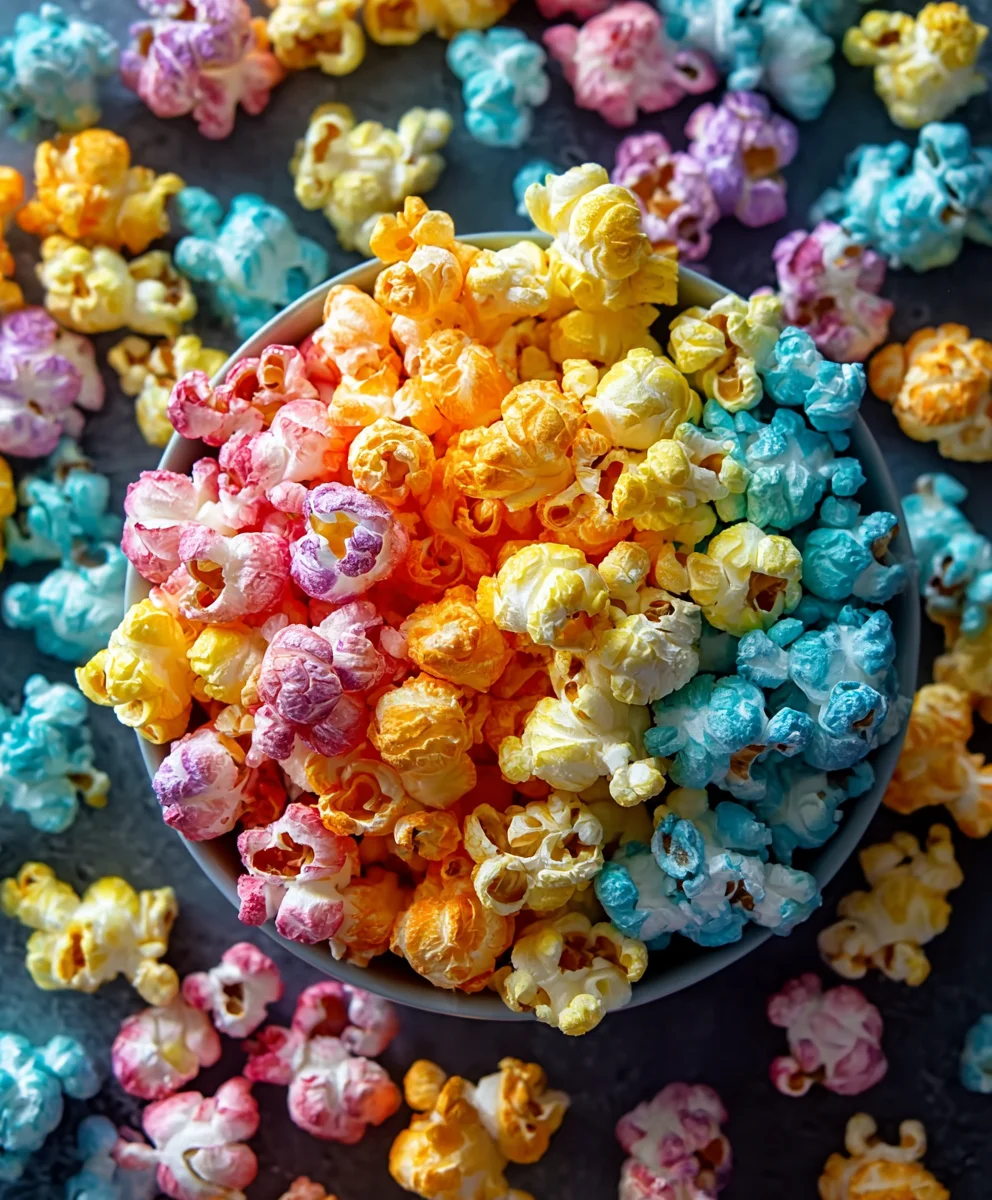
Colorful Candied Popcorn-Easy Sweet Treat
Colorful Candied Popcorn is more than just a sweet treat; it’s a burst of pure joy in every crunchy bite. Imagin extracte a carnival atmosphere captured in a bowl, with vibrant hues and an irresistible aroma that instantly transports you to happy memories. This delightful concoction has a waygin extract bringing smiles to faces, whether it’s being shared at a movie night, served at a birthday party, or simply enjoyed as an afternoon pick-me-up. What makes this Colorful Candied Popcorn so incredibly special is its perfect balance of sweet and salty, the satisfying crunch that gives way to a melt-in-your-mouth caramel coating, and the sheer visual appeal of its dazzling colors. It’s a recipe that’s surprisingly easy to master, yet the results are so impressive and delicious, it always feels like a gourmet indulgence. Get ready to create a snack that will be the star of any occasion!
Ingredients:
- ½ cup popcorn kernels (this will yield approximately 10 cups of popped popcorn)
- 1 cup granulated sugar
- ½ cup water
- ¼ cup light corn syrup
- ½ teaspoon salt
- ½ teaspoon baking soda
- Gel food coloring in multiple colors (I like to use red, yellow, and blue for primary colors, but feel free to get creative!)
Preparing the Popcorn Base
Popping the Kernels
The first step in creating our Colorful Candied Popcorn is to get a good base of popped popcorn. You can use your preferred method for popping popcorn, whether it’s on the stovetop or in an air popper. If you’re using the stovetop, I recommend using a large pot with a tight-fitting lid. Add about a tablespoon of neutral oil (like vegetable or canola oil) to the pot over medium-high heat. Once the oil is shimmering, add your ½ cup of popcorn kernels. Cover the pot immediately and shake it gently to distribute the kernels evenly. Listen for the popping to start. Once the popping slows to one pop every few seconds, remove the pot from the heat. Be careful not to burn the popcorn, as burnt popcorn will impart a bitter flavor to your candied treat. You should have around 10 cups of popped popcorn, and it’s helpful to have a little extra as some pieces might break during the candying process. Place your popped popcorn in a very large, heat-safe bowl. A metal or glass bowl works best, as it will need to withstand the heat of the candy mixture. Make sure the bowl is large enough to accommodate all the popcorn and the sticky candy coating.
Making the Candy Coating
Creating the Caramel Base
Now, let’s move on to the sweet, sticky part – the candy coating. In a medium saucepan, combine the 1 cup of granulated sugar, ½ cup of water, ¼ cup of light corn syrup, and ½ teaspoon of salt. The corn syrup is crucial here as it helps prevent the sugar from crystallizing, ensuring a smooth and glossy candy coating. Place the saucepan over medium heat. Stir the mixture gently with a heat-resistant spatula or wooden spoon until the sugar has completely dissolved. This is important; if you have undissolved sugar granules, they can cause the entire batch to crystallize. Once the sugar is dissolved, stop stirring. Allow the mixture to come to a boil. You can use a candy thermometer for accuracy, but if you don’t have one, you’ll be looking for the syrup to reach a specific stage. Continue to boil the mixture without stirring. You’ll notice it starting to bubble vigorously. We’re aiming for a temperature of around 240°F (115°C), which is the soft-ball stage. This stage is characterized by the syrup forming a soft, pliable ball when dropped into cold water. This usually takes about 8-10 minutes of boiling, but watch it closely.
Incorporating the Baking Soda and Coloring
Once the candy syrup has reached the soft-ball stage, carefully remove the saucepan from the heat. This is where the magic happens, and you need to work quickly but cautiously. Immediately stir in the ½ teaspoon of baking soda. Be prepared for the mixture to foam up dramatically! This is the baking soda reacting with the hot syrup, and it creates a lighter, airier texture for our candied popcorn, preventing it from being too hard and brittle. Stir just until the foaming subsides, which should only take a few seconds. Now, divide the hot candy mixture into separate small bowls (one for each color of gel food coloring you’re using). Add a few drops of your chosen gel food coloring to each bowl. Gel food coloring is highly concentrated, so a little goes a long way to achieve vibrant colors. Stir each bowl quickly to incorporate the color evenly. Remember, the candy mixture is still very hot, so handle with care and avoid touching it.
Coating and Coloring the Popcorn
Applying the Candy to the Popcorn
Now it’s time to bring everything together. This step requires speed and a bit of dexterity. Working with one colored candy mixture at a time, pour a portion of the colored syrup over a section of your popped popcorn in the large bowl. Use two spatulas or spoons to gently toss and mix the popcorn, ensuring an even coating of the colorful candy. The goal is to coat as much of the popcorn as possible without breaking the delicate popped pieces. You can also use your hands, but be very careful as the popcorn and candy will be hot. If you find the candy is hardening too quickly, you can briefly return the saucepan to very low heat to loosen it up, but be careful not to scorch it. Continue this process, adding different colored candy mixtures to different sections of the popcorn. Don’t worry if the colors blend slightly; it will create an even more beautiful, marbled effect. For a truly “colorful” experience, try not to overload one section with too much candy at once.
Cooling and Separating
Once all the popcorn is coated with the colorful candy mixtures, continue to toss gently for another minute or two to ensure everything is well distributed and to help the candy set. Spread the coated popcorn out in a single layer on parchment paper or silicone baking mats. This is a crucial step for allowing the candy coating to harden properly and for making the popcorn easy to break apart. If you leave it in a large clump, it will solidify into one giant, delicious (but difficult to eat) mass. Allow the Colorful Candied Popcorn to cool completely at room temperature. This cooling process typically takes about 30-60 minutes. Resist the urge to touch it while it’s cooling, as you might smudge the colors or make it stick to your fingers. Once it’s fully cooled and hardened, you can gently break apart any larger clumps into individual pieces. The result should be a dazzling array of brightly colored, sweet, and crunchy popcorn pieces, perfect for snacking or sharing.
Conclusion:
There you have it – your guide to creating the most delightful Colorful Candied Popcorn! We’ve walked through each step, from perfectly popped kernels to that shimmering, sweet coating. This recipe is a true crowd-pleaser, perfect for movie nights, parties, or just a cheerful afternoon snack. Don’t be afraid to get creative with your colors and flavorings; the possibilities are truly endless with this versatile treat. Experiment with different extracts like almond or lemon, or even add a pinch of cinnamon for a warm twist. I encourage you to gather your ingredients and dive in. The aroma alone will fill your home with joy, and the taste will be utterly satisfying. Enjoy sharing this vibrant and delicious popcorn with your loved ones!
Frequently Asked Questions:
How do I store Colorful Candied Popcorn?
For best results, store your Colorful Candied Popcorn in an airtight container at room temperature. Avoid refrigeration, as this can make the coating sticky and lose its crispness. Properly stored, it should stay fresh and delicious for up to a week, though it rarely lasts that long!
Can I make Colorful Candied Popcorn ahead of time for a party?
Absolutely! Colorful Candied Popcorn is an excellent make-ahead treat. You can prepare it a day or two in advance and store it as recommended above. This allows you to focus on other party preparations without worrying about a last-minute snack.
Colorful Candied Popcorn – Easy Sweet Treat
A vibrant and easy-to-make sweet treat featuring popcorn coated in colorful, crunchy candied syrup.
Ingredients
-
½ cup popcorn kernels
-
1 cup granulated sugar
-
½ cup water
-
¼ cup light corn syrup
-
½ teaspoon salt
-
½ teaspoon baking soda
-
Gel food coloring in multiple colors
Instructions
-
Step 1
Pop the popcorn kernels using your preferred method (stovetop or air popper). Aim for about 10 cups of popped popcorn. Place the popped popcorn in a very large, heat-safe bowl. -
Step 2
In a medium saucepan, combine granulated sugar, water, light corn syrup, and salt. Heat over medium heat, stirring until sugar dissolves. Stop stirring once boiling and cook to the soft-ball stage (around 240°F or 115°C), about 8-10 minutes. -
Step 3
Carefully remove the saucepan from heat. Immediately stir in baking soda; the mixture will foam dramatically. Stir until foaming subsides. -
Step 4
Divide the hot candy mixture into separate small bowls. Add a few drops of gel food coloring to each bowl and stir quickly to incorporate the color evenly. Work cautiously as the mixture is very hot. -
Step 5
Working one color at a time, pour a portion of the colored syrup over a section of popped popcorn in the large bowl. Use spatulas to gently toss and mix, ensuring an even coating. Continue with other colors, layering or blending them as desired. -
Step 6
Once all popcorn is coated, toss gently for another minute to help the candy set. Spread the coated popcorn in a single layer on parchment paper or silicone baking mats to cool completely at room temperature (30-60 minutes). Break apart any clumps once hardened.
Important Information
Nutrition Facts (Per Serving)
It is important to consider this information as approximate and not to use it as definitive health advice.
Allergy Information
Please check ingredients for potential allergens and consult a health professional if in doubt.