Authentic Amish White Bread Recipe-Soft & Easy
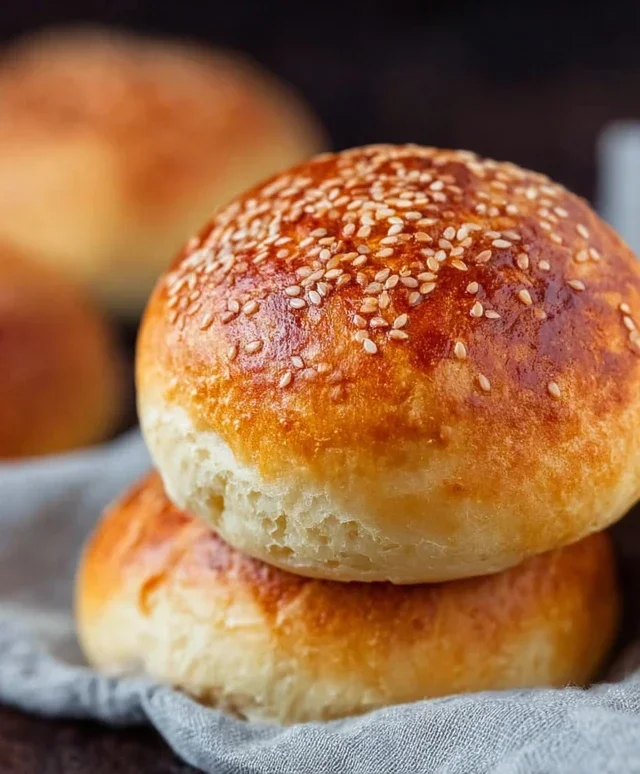
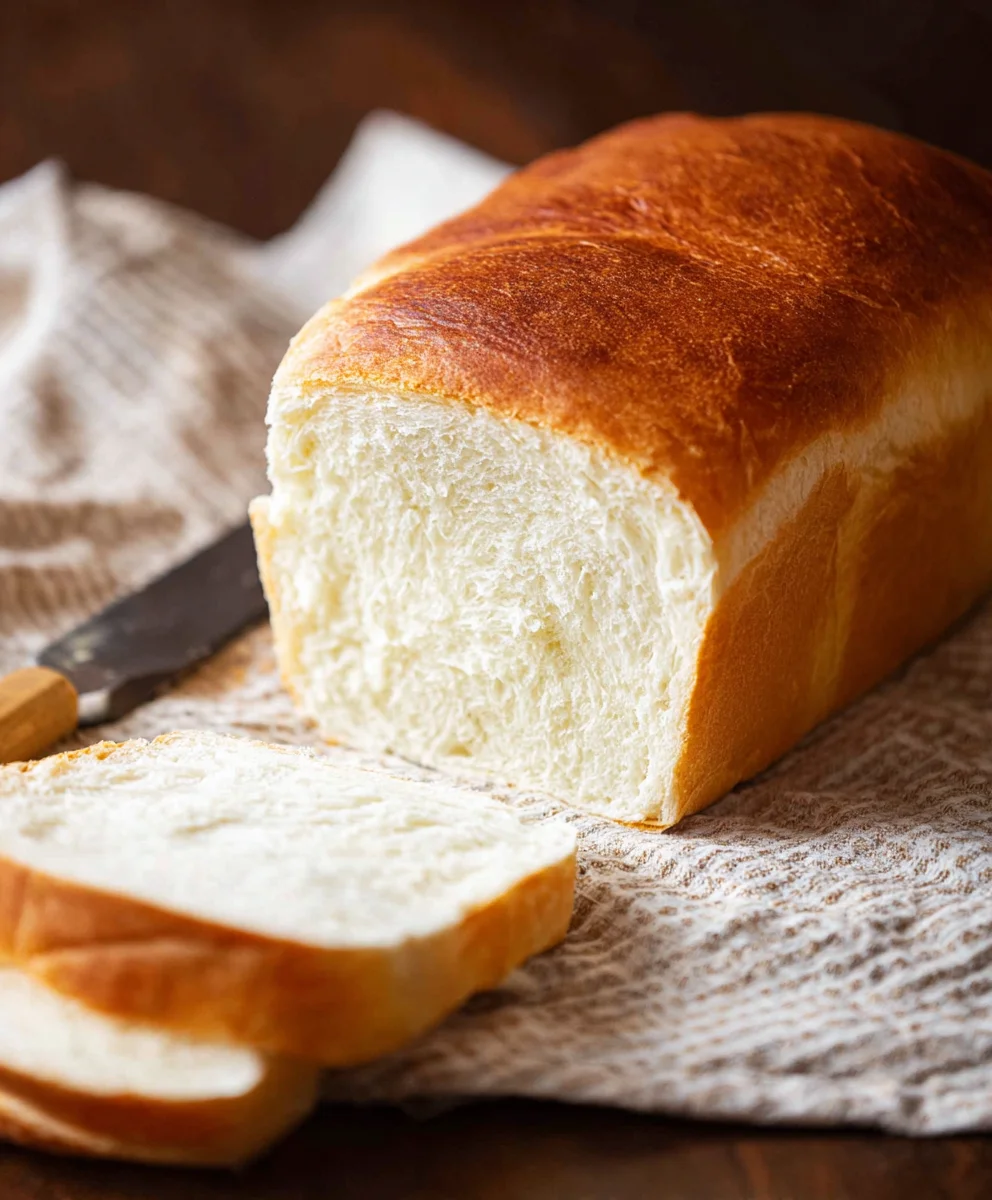
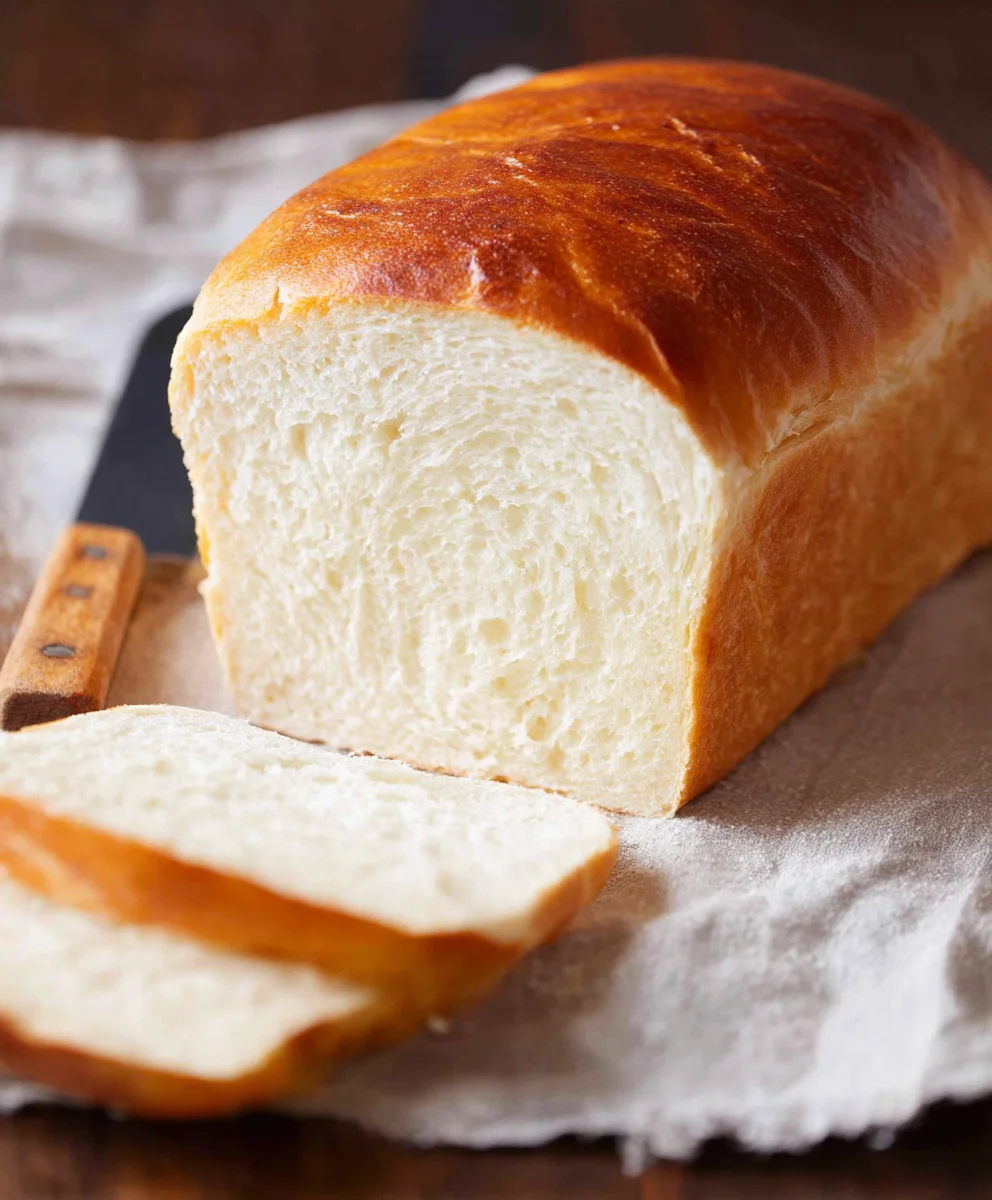
AMISH WHITE BREAD has a way of transporting you to simpler times, doesn’t it? There’s something incredibly comforting and nostalgic about a loaf of this classic bread, fresh from the oven, its crust a delicate golden hue and its interior impossibly soft and pillowy. It’s no wonder this AMISH WHITE BREAD is a beloved staple in kitchens everywhere, cherished for its pure, unadulterated flavor and its incredibly versatile nature. What makes it truly special, beyond its humble ingredients, is the feeling it evokes. It’s the smell of home, the promise of a delicious sandwich, or the perfect accompaniment to a comforting bowl of soup. This isn’t just bread; it’s an experience, a tangible connection to tradition and a testament to the beauty of simple, honest baking.
Why You’ll Love This Recipe:
This recipe delivers that authentic, melt-in-your-mouth texture that makes AMISH WHITE BREAD so famous. It’s surprisingly easy to make, even for novice bakers, and the results are consistently spectacular. Imagin extracte the joy of slicing into your own homemade loaf, ready to be slathered with butter or transformed into your favorite sandwich. We’re going to walk through every step to ensure your success, proving that you don’t need fancy equipment or complicated techniques to achieve bakery-quality results.
What Makes It Special:
The magic of this particular AMISH WHITE BREAD lies in its pure and simple ingredients, treated with patience and care. It relies on high-quality flour, yeast, a touch of sugar to activate that beautiful rise, a bit of salt for flavor, and milk and butter for that signature richness and tenderness. Unlike many modern breads laden with preservatives, this recipe cbeef hampions the pure essence of wheat, creating a loaf that is both wholesome and incredibly delicious. It’s the kind of bread that tastes good plain, but truly shines when it becomes the foundation for your culinary creations.
Ingredients:
- 1 cup warm water, (110-120°F)
- ⅓ cup granulated sugar
- 1 packet (2 ¼ teaspoons) instant yeast
- 3 cups all-purpose flour, plus more for dusting
- ¾ teaspoon salt
- 2 tablespoons vegetable or canola oil
- 2 tablespoons unsalted butter, melted
Preparing the Dough
The journey to the perfect AMISH WHITE BREAD begin extracts with activating your yeast. In a large mixing bowl, combine the warm water, granulated sugar, and instant yeast. It’s crucial that the water is warm but not hot; you’re aiming for a temperature between 110-120°F. Too hot and you’ll kill the yeast, too cool and it won’t activate properly. Give it a gentle stir to help the sugar dissolve. Let this mixture sit undisturbed for about 5 to 10 minutes. You’ll know the yeast is alive and well when it becomes foamy and bubbly on the surface, like a tiny, delicious science experiment. This frothy layer is your signal that the yeast is ready to work its magic on the flour, creating that airy texture we all love in a good loaf of bread.
Once your yeast mixture is foamy, it’s time to incorporate the dry ingredients. Add the all-purpose flour and salt to the bowl. For the initial mixing, I prefer using a sturdy spoon or a dough whisk to bring everything together. You’re not aiming for a smooth dough at this stage, just a shaggy mass. Once it’s mostly combined, it’s time to add the fat. Pour in the vegetable or canola oil and the melted unsalted butter. These fats will contribute to the bread’s softness and rich flavor. Continue mixing until the ingredients start to come together into a cohesive dough.
Kneading for Elasticity
Now comes the most rewarding part of bread making: kneading. Turn the dough out onto a lightly floured surface. Be generous with your dusting of flour, but don’t go overboard; you want the dough to be slightly sticky, notgin extracty. Begin kneading by pushing the dough away from you with the heels of your hands, then folding it back over itself. Rotate the dough a quarter turn and repeat. This process develops the gluten in the flour, which is what gives bread its structure and chegrape juicess. At first, the dough will be rough and sticky, but as you continue to knead for about 8 to 10 minutes, you’ll notice a transformation. The dough will become smooth, elastic, and pliable. It will spring back slowly when you poke it, and it should no longer stick excessively to your hands or the work surface. If it feels too sticky, add a tiny bit more flour, just a tablespoon at a time, until it reaches the right consistency. A well-kneaded dough is the secret to a beautiful rise and a tender crum extractb.
First Rise: Patience and Warmth
Once your dough has been kneaded to perfection, it’s time for its first rise, often called proofing. Lightly grease the mixing bowl you used earlier with a little bit of oil. Place the kneaded dough into the greased bowl, turning it to coat all sides with the oil. This prevents the dough from drying out as it rests. Cover the bowl tightly with plastic wrap or a clean kitchen towel. Find a warm, draft-free spot for your dough to rise. An oven that has been turned off but still retains a bit of residual warmth is ideal, or simply a sunny spot on your countertop will do. Let the dough rise for about 1 to 1 ½ hours, or until it has doubled in size. This waiting period is crucial for developing flavor and texture. When you gently poke the dough with a floured finger, the indentation should remain. If it springs back immediately, it needs more time.
Shaping and Second Rise
After the first rise, gently punch down the dough to release the air that has been trapped inside. Turn the dough out onto your lightly floured work surface once more. For a classic loaf shape, you’ll want to gently flatten the dough into a rectangle. Then, starting from one of the longer sides, tightly roll up the dough into a log. Pinch the seam to seal it securely. Tuck the ends under the loaf to create a neat, oval shape.
Prepare your loaf pan by greasing it well with butter or oil, and then lightly dusting it with flour. Carefully place the shaped dough seam-side down into the prepared loaf pan. Cover the pan loosely with plastic wrap or a kitchen towel. Allow the dough to rise for a second time in a warm place for about 30 to 45 minutes, or until it has nearly doubled in size and peeks over the rim of the pan. This second rise is important for achieving a light and airy loaf.
Baking to Golden Perfection
Preheat your oven to 375°F (190°C) while the dough is undergoing its second rise. Once the dough has risen sufficiently and the oven is hot, carefully place the loaf pan onto the center rack. Bake for 30 to 35 minutes. You’ll know the AMISH WHITE BREAD is ready when the crust is a beautiful golden brown and the loaf sounds hollow when you tap the bottom. If the crust is browning too quickly before the inside is cooked, you can loosely tent the loaf with aluminum foil for the remaining baking time. Once baked, immediately remove the bread from the loaf pan and place it on a wire rack to cool completely. Resist the temptation to slice into it while it’s still hot; allowing it to cool properly ensures the interior structure sets, resulting in the best texture. Enjoy your homemade AMISH WHITE BREAD!
Conclusion:
There you have it – the ultimate guide to crafting delicious, homemade AMISH WHITE BREAD! We’ve walked through each step, from activating your yeast to achieving that perfect golden crust. This recipe is wonderfully versatile and forms the foundation for countless culinary creations. Enjoy it warm with a generous slather of butter, as the base for your favorite sandwiches, or alongside a hearty soup. Don’t be afraid to experiment! You can add herbs like rosemary or garlic powder for an herby twist, or even a touch of honey for a subtle sweetness. The best part of baking AMISH WHITE BREAD is the incredible aroma that fills your home and the satisfaction of pulling a perfectly baked loaf from your oven. So gather your ingredients, embrace the process, and share this wonderful bread with loved ones!
Frequently Asked Questions:
Can I freeze AMISH WHITE BREAD?
Absolutely! Once the AMISH WHITE BREAD has cooled completely, you can wrap it tightly in plastic wrap and then in aluminum foil, or place it in a freezer-safe bag. It will stay fresh in the freezer for up to 3 months. Thaw at room temperature or gently warm it in the oven.
What kind of flour is best for AMISH WHITE BREAD?
For the most authentic and best results with AMISH WHITE BREAD, a good quality all-purpose flour is recommended. While bread flour can also be used, it may result in a slightly chewier texture. Avoid using self-rising flour as it contains leavening agents.
Authentic Amish White Bread
A soft and easy recipe for classic Amish white bread, perfect for any occasion.
Ingredients
-
1 cup warm water, (110-120°F)
-
⅓ cup granulated sugar
-
1 packet (2 ¼ teaspoons) instant yeast
-
3 cups all-purpose flour, plus more for dusting
-
¾ teaspoon salt
-
2 tablespoons vegetable or canola oil
-
2 tablespoons unsalted butter, melted
Instructions
-
Step 1
In a large mixing bowl, combine warm water (110-120°F), granulated sugar, and instant yeast. Let sit undisturbed for 5-10 minutes until foamy and bubbly. -
Step 2
Add all-purpose flour and salt to the yeast mixture. Mix until a shaggy mass forms. Stir in vegetable oil and melted unsalted butter until the dough starts to come together. -
Step 3
Turn the dough onto a lightly floured surface and knead for 8-10 minutes until smooth and elastic. Add a little flour if too sticky. -
Step 4
Place the dough in a greased bowl, cover tightly, and let rise in a warm, draft-free spot for 1 to 1 ½ hours, or until doubled in size. -
Step 5
Gently punch down the dough, flatten into a rectangle, and roll tightly into a log. Pinch the seam and tuck the ends. Place in a greased and floured loaf pan. -
Step 6
Cover the loaf pan loosely and let the dough rise for a second time in a warm place for 30-45 minutes, until nearly doubled and peeking over the rim. -
Step 7
Preheat oven to 375°F (190°C). Bake for 30-35 minutes until golden brown and the loaf sounds hollow when tapped. Cool completely on a wire rack.
Important Information
Nutrition Facts (Per Serving)
It is important to consider this information as approximate and not to use it as definitive health advice.
Allergy Information
Please check ingredients for potential allergens and consult a health professional if in doubt.