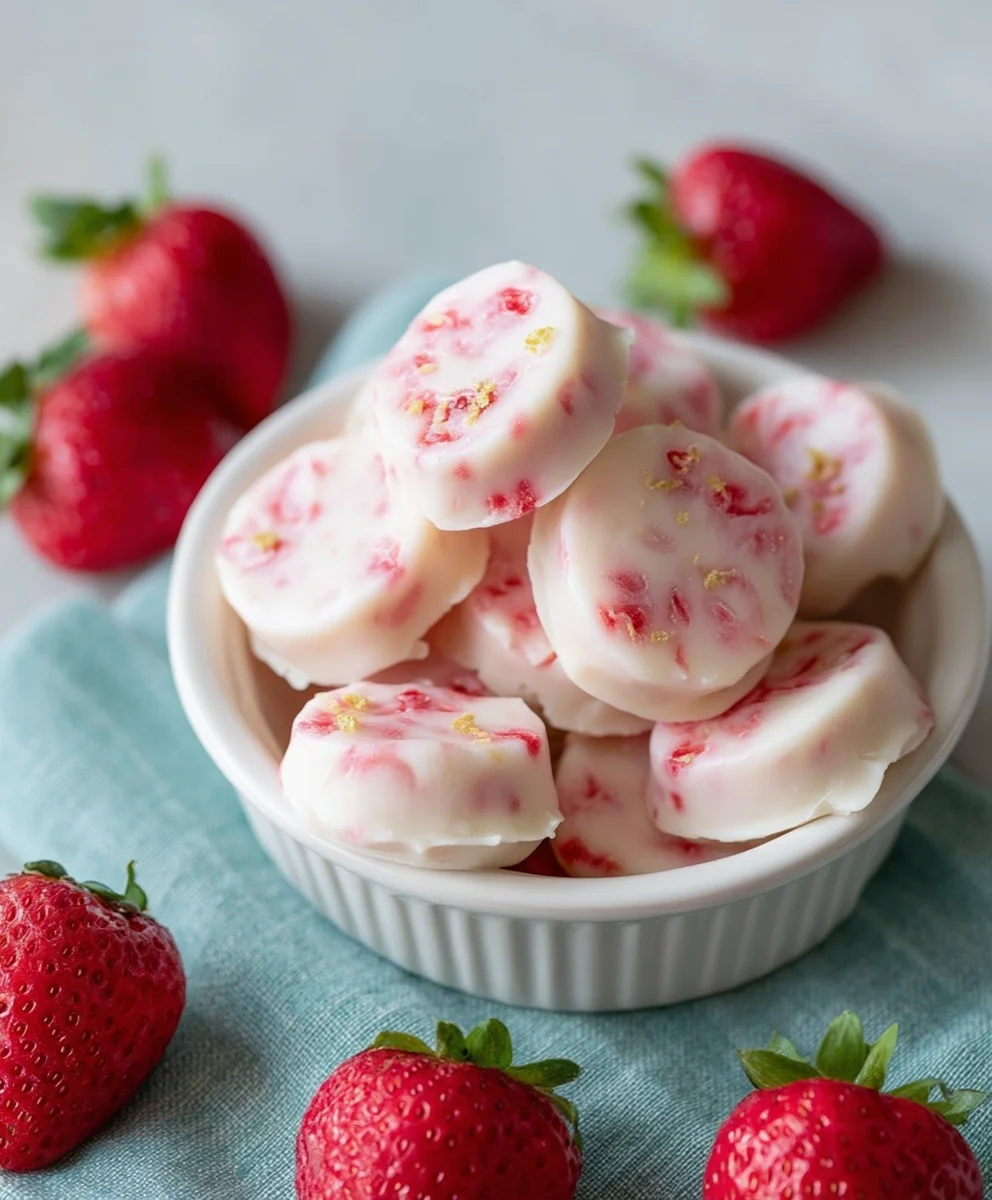
Easy Strawberry Yogurt Bites – Simple No-Bake Treat
Easy Strawberry Yogurt Bites are the ultimate crowd-pleaser, a delightful treat that brings smiles to faces of all ages. There’s something undeniably magical about these little morsels that makes them so beloved. Perhaps it’s the perfect marriage of creamy, tangy yogurt and the sweet, vibrant burst of fresh strawberries, all captured in a convenient, bite-sized package. They’re the perfect snack for busy mornings, a delightful afternoon pick-me-up, or even a healthy dessert option that feels like a special indulgence. What truly sets these Easy Strawberry Yogurt Bites apart is their incredible versatility and simplicity. You can customize them with different yogurts, add a sprinkle of chia seeds for an extra nutritional boost, or even swirl in a touch of honey for added sweetness. They’re incredibly forgiving, making them ideal for begin extractner bakers or anyone looking for a quick, no-fuss recipe that delivers big on flavor and satisfaction.
Ingredients:
- 5 large strawberries, washed and with leaves removed, then cut into small pieces
- 1 tablespoon honey
- 1 cup plain Greek yogurt
Preparation Steps
Step 1: Prepare the Strawberries
The first thing we need to do is get our strawberries ready. Make sure they are thoroughly washed under cool running water. After washing, carefully remove the green leafy tops. We want just the vibrant red fruit. Then, dice the strawberries into small, bite-sized pieces. The smaller you cut them, the easier it will be to incorporate them into the yogurt mixture and create lovely little bursts of flavor in each bite. Aim for pieces roughly the size of a blueberry or slightly larger. Set these prepared strawberries aside in a small bowl.
Step 2: Sweeten and Combine the Yogurt Base
Now, let’s work on our yogurt base. Take your 1 cup of plain Greek yogurt and place it into a medium-sized mixing bowl. Greek yogurt is fantastic for this recipe because its thickness helps the bites hold their shape. If you find your Greek yogurt is particularly thick, you might want to stir it a little to loosen it up before adding the honey. Add the 1 tablespoon of honey to the yogurt. The honey will add a touch of natural sweetness that complements the tangin extractess of the yogurt and the sweetness of the strawberries beautifully. Stir the yogurt and honey together until they are completely combined. You want a smooth, homogenous mixture with no streaks of honey visible. Taste it at this point; if you prefer a sweeter bite, you can add another teaspoon of honey, but be mindful that the strawberries will also contribute sweetness.
Step 3: Gently Fold in the Strawberries
This is where the magic starts to happen. Take your bowl of diced strawberries and carefully add them to the sweetened Greek yogurt mixture. We want to gently fold them in, not stir vigorously. Use a spatula or a spoon to gently coax the strawberries into the yogurt. The goal is to distribute the strawberry pieces evenly throughout the yogurt without mashing them too much. We want to see distinct pieces of strawberry in our final bites. By folding, you preserve the texture of both the strawberries and the yogurt, ensuring a delightful contrast in every bite. Make sure every piece of strawberry is coated in yogurt.
Step 4: Portion and Freeze the Bites
Once the strawberries are well incorporated, it’s time to shape our Easy Strawberry Yogurt Bites. You’ll need a baking sheet lined with parchment paper or wax paper. This lining is crucial to prevent the bites from sticking to the baking sheet as they freeze. Using a small spoon, or even a mini ice cream scoop if you have one, carefully drop small dollops of the strawberry yogurt mixture onto the prepared baking sheet. Aim for uniform sizes so they freeze evenly and are consistently bite-sized. Don’t make them too large, as they are meant to be small, refreshing treats. Once all the mixture has been portioned, place the baking sheet into the freezer. Allow the bites to freeze until they are solid. This typically takes at least 2 to 3 hours, but depending on your freezer’s temperature and the size of your bites, it could take a bit longer. Check them periodically to see if they’ve firmed up completely.
Step 5: Store and Enjoy Your Delicious Bites
Once your Easy Strawberry Yogurt Bites are completely frozen and firm, you can transfer them from the parchment paper into an airtight container or a resealable freezer bag. This will keep them fresh and prevent freezer burn. If you stack them in a container, you can place a layer of parchment paper between layers to prevent them from sticking together. These bites are best enjoyed straight from the freezer. They offer a wonderfully cool, creamy, and fruity experience, perfect for a healthy snack, a refreshing dessert, or even a fun addition to a child’s lunchbox. They are a fantastic way to enjoy the flavors of strawberries and yogurt in a delightful, frozen form. For the best texture, consume them within a couple of weeks of making them.
Conclusion:
You’ve now learned how to create delicious and healthy Easy Strawberry Yogurt Bites, a perfect treat for snack time, dessert, or even a fun breakfast addition. These delightful bites are wonderfully versatile and surprisingly simple to make, requiring just a few common ingredients. The balance of sweet strawberries and creamy yogurt is simply irresistible, and the frozen texture provides a refreshing burst of flavor. I hope you enjoy making and savoring these Easy Strawberry Yogurt Bites as much as I do!
For serving suggestions, these bites are fantastic on their own, but they also pair beautifully with fresh fruit salads, granola, or a dollop of extra yogurt. For variations, feel free to experiment with other berries like blueberries or raspberries, or even add a hint of vanilla extract or a sprinkle of chia seeds to the yogurt mixture. Don’t be afraid to get creative and make them your own!
Frequently Asked Questions about Easy Strawberry Yogurt Bites:
Q1: How should I store my Easy Strawberry Yogurt Bites?
Store your Easy Strawberry Yogurt Bites in an airtight container in the freezer. They should stay fresh for up to 2-3 weeks. It’s best to place a piece of parchment paper between layers to prevent them from sticking together.
Q2: Can I make these without a strawberry?
Absolutely! While strawberries are the star of the show, you can easily substitute them with other fruits. Mashed bananas, puréed blueberries, or even finely diced peaches work wonderfully as alternatives. Just ensure the fruit is well-drained if it’s very juicy.
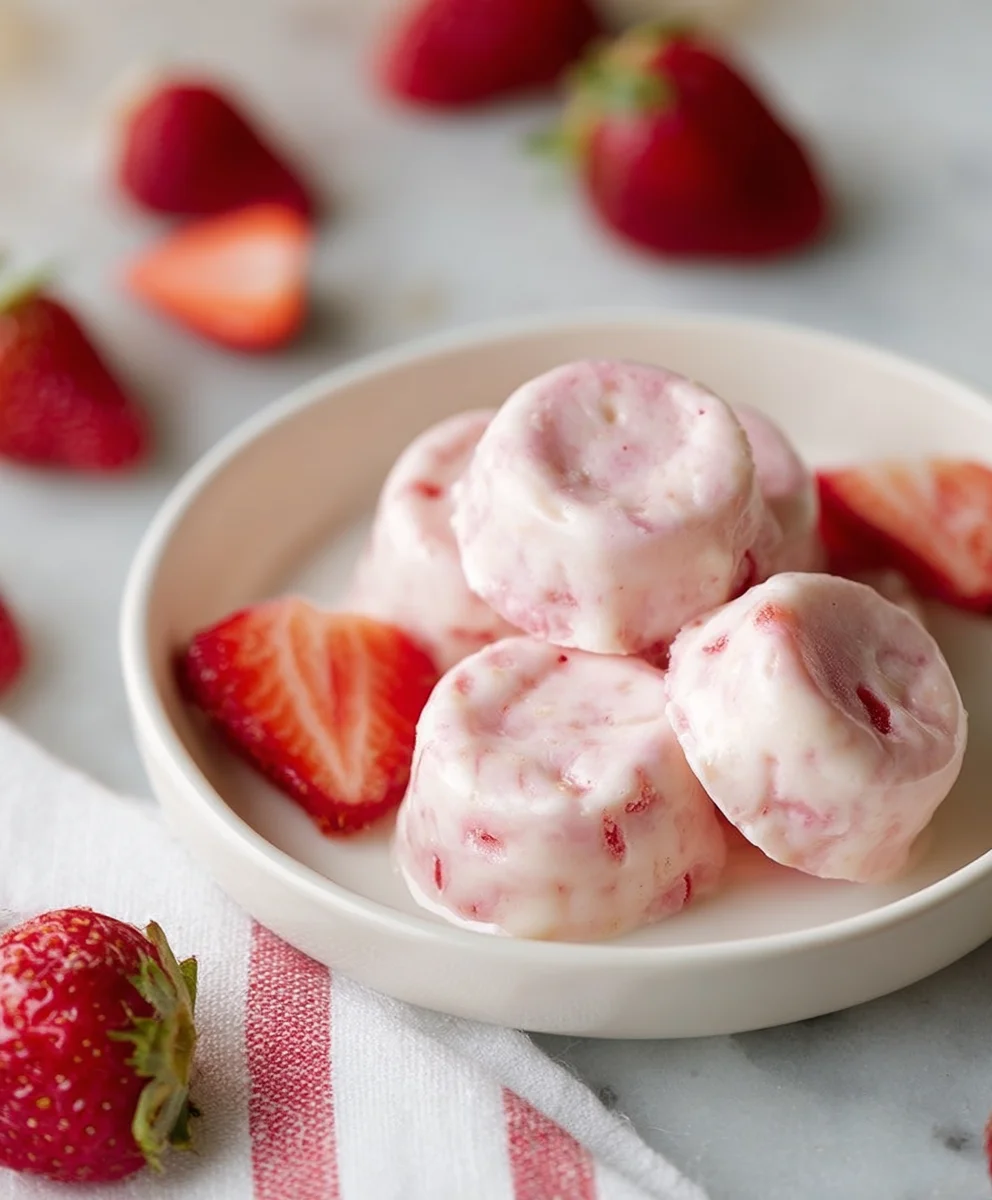
Easy Strawberry Yogurt Bites – Simple No-Bake Treat
A simple and healthy no-bake treat made with fresh strawberries and Greek yogurt, perfect for a refreshing snack.
Ingredients
-
5 large strawberries, washed and with leaves removed, cut into small pieces
-
1 tablespoon honey
-
1 cup plain Greek yogurt
-
Parchment paper or wax paper (for lining)
-
Airtight container or resealable freezer bag (for storage)
Instructions
-
Step 1
Wash the strawberries thoroughly under cool running water. Remove the green leafy tops and dice the strawberries into small, bite-sized pieces, similar in size to blueberries. -
Step 2
Place 1 cup of plain Greek yogurt into a medium-sized mixing bowl. Stir the yogurt to loosen it if it’s particularly thick. Add 1 tablespoon of honey and stir until completely combined and smooth. -
Step 3
Gently fold the diced strawberries into the sweetened Greek yogurt mixture using a spatula or spoon. Distribute the strawberry pieces evenly without mashing them too much. -
Step 4
Line a baking sheet with parchment paper or wax paper. Using a small spoon or mini ice cream scoop, drop small, uniform dollops of the strawberry yogurt mixture onto the prepared baking sheet. -
Step 5
Place the baking sheet in the freezer and allow the bites to freeze until solid, which typically takes at least 2 to 3 hours. -
Step 6
Once frozen, transfer the yogurt bites to an airtight container or resealable freezer bag for storage. Enjoy them straight from the freezer within a couple of weeks for the best texture.
Important Information
Nutrition Facts (Per Serving)
It is important to consider this information as approximate and not to use it as definitive health advice.
Allergy Information
Please check ingredients for potential allergens and consult a health professional if in doubt.