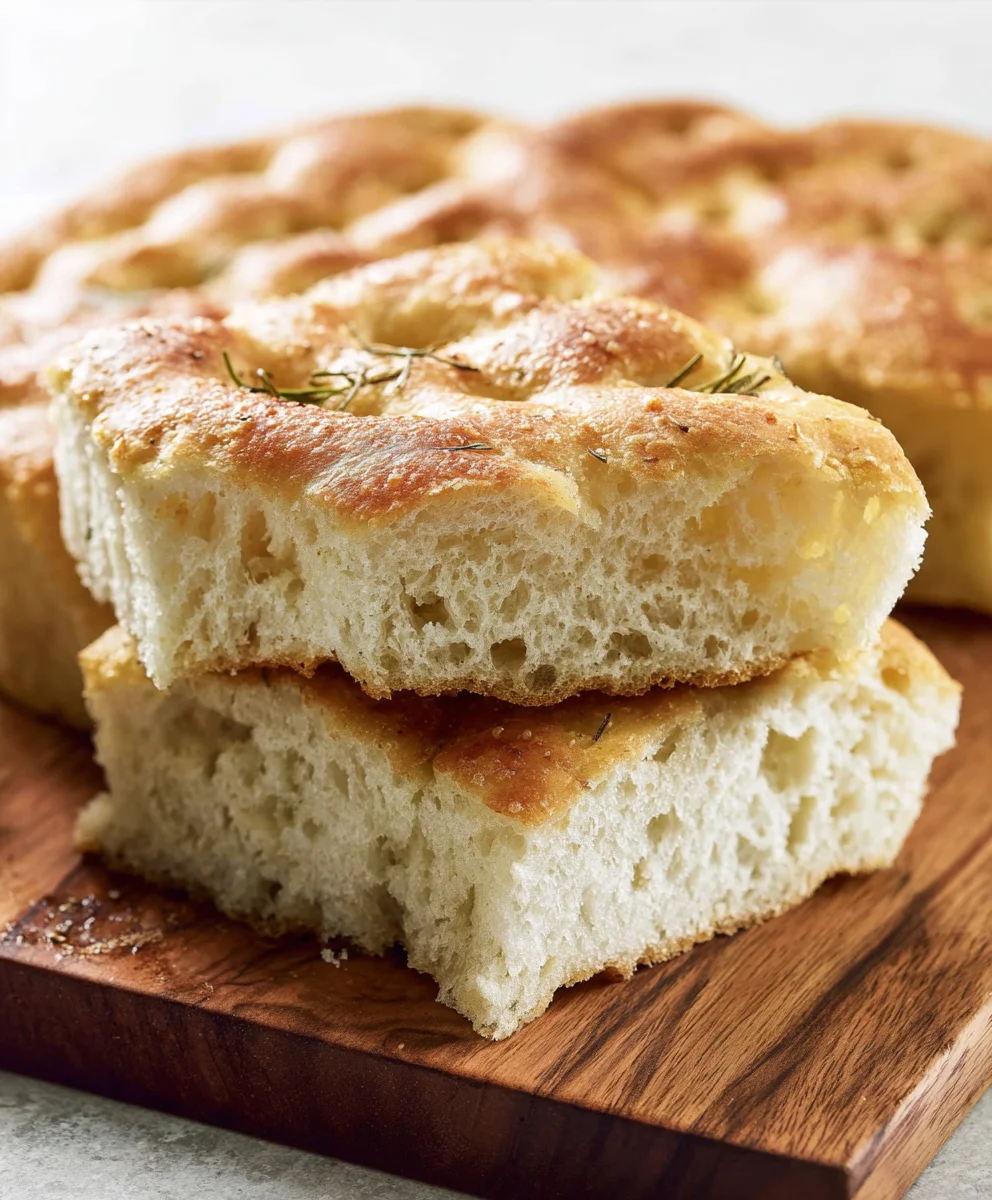
Easy No-Knead Focaccia Bread Recipe
No-Knead Focaccia Bread is a culinary revelation that proves exceptional bread-making doesn’t require hours of strenuous effort or advanced techniques. Imagin extracte the aroma of warm, fragrant bread filling your kitchen, a crusty exterior giving way to a pillowy, airy interior, all achieved with minimal fuss. It’s no wonder this simple yet elegant bread has captured the hearts (and stomachs!) of home bakers everywhere. The magic of no-knead focaccia bread lies in its forgiving nature and the way time does all the heavy lifting for you. This recipe celebrates the inherent beauty of simple ingredients transformed into something extraordinary. Whether you’re a seasoned baker or a comgin extractte beginner, you’ll be amazed at how easily you can create a stunning loaf that’s perfect for dipping, topping, or simply enjoying on its own. Get ready to experience the joy of truly effortless, delicious bread.
Ingredients:
- 4¾ cups all-purpose flour (630 grams)
- 4½ tablespoons olive oil, plus more for greasing and drizzling
- 2 teaspoons salt
- 1½ tablespoon instant dry yeast
- 2⅓ cups warm water (100–110°F)
- Coarse salt, for topping (optional)
- Dried rosemary, for topping (optional)
Making the Dough
Step 1: Combine Dry Ingredients
To begin extract our delightful No-Knead Focaccia Bread adventure, the first step is to get our dry ingredients ready. In a large mixing bowl – and I mean a genuinely large one, as this dough will expand significantly – combine the all-purpose flour, the 2 teaspoons of salt, and the instant dry yeast. Whisk these together thoroughly with a fork or a whisk until everything is evenly distributed. This ensures that the yeast and salt are spread out, so you don’t end up with pockets of saltiness or under-risen areas in your focaccia. Make sure your instant dry yeast is indeed instant or rapid-rise yeast, as it doesn’t require blooming in water beforehand. If you happen to have active dry yeast, you’ll need to bloom it in the warm water first for about 5-10 minutes until it’s foamy.
Step 2: Add Wet Ingredients and Mix
Now it’s time to introduce the wet ingredients. Pour the 2⅓ cups of warm water into the bowl with the dry ingredients. Add the 4½ tablespoons of olive oil. At this point, you might think it looks like a very wet, shaggy mess, and that’s perfectly okay! Resist the urge to add more flour. Grab a sturdy spoon, a spatula, or even your hands (which I find to be the most satisfying way to do this) and mix everything together until just combined. You want to ensure there are no dry pockets of flour remaining. The dough will be incredibly sticky and loose – this is the secret to the no-knead magic. It’s not meant to form a smooth ball at this stage. Just stir until it all comes together into a cohesive, albeit very wet, mass.
Step 3: First Rise – The Overnight Transformation
Once your dough is mixed, cover the bowl tightly with plastic wrap. You want to create a good seal to trap moisture and heat. Place the bowl in a warm spot in your kitchen. An oven with just the light on (but not the oven itself!) is an excellent place, or simply on your countertop if your kitchen is generally warm. Let the dough rise for at least 12 hours, or preferably overnight. This long, slow rise is crucial for developing the wonderful flavor and airy texture of the focaccia without any kneading. When you come back to it, the dough will have doubled or even tripled in size, be full of bubbles, and have a beautifully fermented aroma.
Shaping and Baking the Focaccia
Step 4: Preparing the Baking Pan and Dough
The next morning, or after your long rise, it’s time to prepare for baking. Generously grease a 9×13 inch baking pan (or a similar sized rimmed baking sheet) with a good amount of olive oil. Don’t be shy with the oil here; it’s essential for creating that wonderfully crispy bottom crust. Carefully scrape the risen dough into the oiled pan. It will still be quite sticky and slack. Use lightly oiled hands or a spatula to gently coax the dough into the corners of the pan. It may not reach all the way, and that’s fine. We’ll give it another rest.
Step 5: Second Rise and Dimpling
Cover the pan loosely with plastic wrap and let the dough rest for another 1 to 2 hours in a warm place. During this second rise, the dough will spread out and fill the pan, becoming even more bubbly and relaxed. Once it has spread and looks nicely puffed, it’s time for the signature focaccia dimples. Lightly oil your fingertips and gently press them into the dough, creating deep indentations all over the surface. Don’t press all the way through to the bottom of the pan, but make sure the dimples are significant. This dimpling not only adds to the visual appeal but also helps the olive oil and toppings penetrate the dough.
Step 6: Topping and Baking
Preheat your oven to 425°F (220°C). Drizzle another generous amount of olive oil over the top of the dimpled dough. If you’re using them, sprinkle the coarse salt and dried rosemary evenly over the surface. The coarse salt will give you lovely crunchy bursts of flavor, and the rosemary adds a fragrant herbal note. Place the pan in the preheated oven and bake for 25-35 minutes, or until the focaccia is beautifully golden brown on top and the bottom is crisp and golden. The exact baking time will depend on your oven, so keep an eye on it.
Step 7: Cooling and Enjoying
Once baked to perfection, carefully remove the focaccia from the oven. If it seems stuck, you can gently run a spatula around the edges. Let it cool in the pan for about 5-10 minutes before attempting to transfer it to a wire rack to cool further. This brief cooling period in the pan helps the bottom crust set. You can then slice it into squares or rectangles and enjoy your homemade No-Knead Focaccia Bread while it’s still warm. It’s absolutely divine served alongside soups, salads, or simply on its own with a drizzle of good olive oil.
Conclusion:
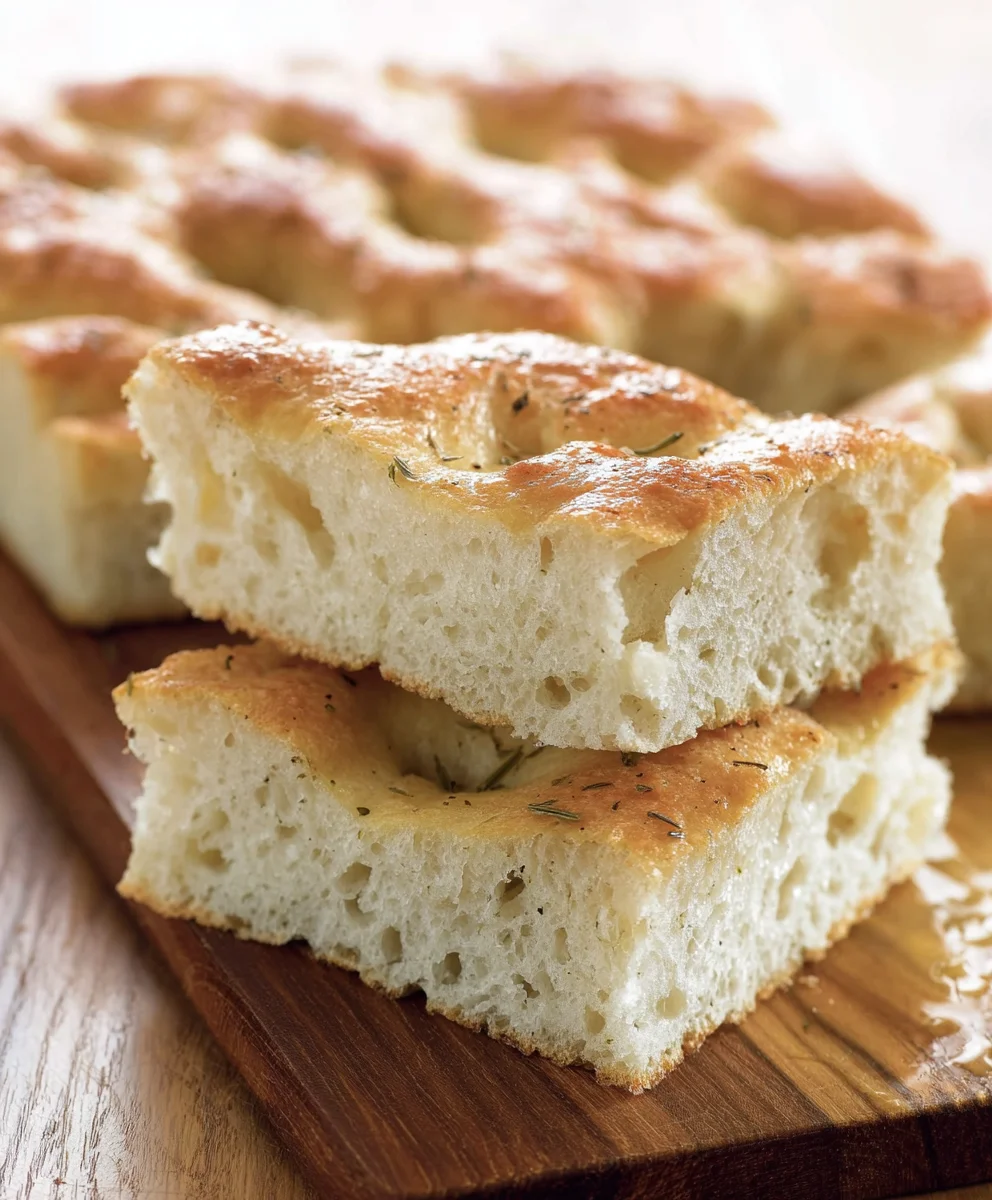
There you have it – the secrets to achieving perfect, airy, and incredibly flavorful No-Knead Focaccia Bread right in your own kitchen! This recipe is a testament to the fact that delicious bread doesn’t require hours of labor or advanced techniques. The simplicity of the ingredients and the magic of a long, slow rise combine to create a focaccia that’s beautifully golden on the outside and wonderfully soft and chewy within. I truly hope you give this No-Knead Focaccia Bread a try; the aroma alone as it bakes is worth it, and the taste is simply divine.
Serve this versatile No-Knead Focaccia Bread warm, drizzled with good olive oil and a sprinkle of sea salt. It’s fantastic as a side for soups and salads, makes an excellent base for open-faced sandwiches, or is simply a delightful snack on its own. Feel free to get creative with toppings! Rosemary, cherry tomatoes, olives, or even a sprinkle of red pepper flakes can add wonderful dimension.
Frequently Asked Questions:
How can I ensure my No-Knead Focaccia Bread has a crispy crust?
For an extra crispy crust, ensure your oven is fully preheated and consider placing a baking sheet on the rack below your focaccia while it bakes. This can help conduct heat more efficiently to the bottom of the bread.
Can I make No-Knead Focaccia Bread ahead of time?
Yes, you can. The dough can be refrigerated for up to 3 days after the initial rise, allowing the flavors to develop further. Simply bring it to room temperature before proceeding with the final proofing and baking.
Easy No-Knead Focaccia Bread Recipe
A simple and delicious no-knead focaccia bread recipe that requires minimal effort for a wonderfully airy and flavorful result.
Ingredients
-
4¾ cups all-purpose flour (630 grams)
-
4½ tablespoons olive oil, plus more for greasing and drizzling (59 grams)
-
2 teaspoons salt (12 grams)
-
1½ tablespoon instant dry yeast (13 grams)
-
2⅓ cups warm water (100–110°F; 529 grams)
-
Coarse salt, for topping (optional)
-
Dried rosemary, for topping (optional)
Instructions
-
Step 1
In a large mixing bowl, combine the all-purpose flour, salt, and instant dry yeast. Whisk together until evenly distributed. -
Step 2
Pour the warm water and olive oil into the bowl with the dry ingredients. Mix with a spoon, spatula, or hands until just combined and no dry flour pockets remain. The dough will be very sticky and loose. -
Step 3
Cover the bowl tightly with plastic wrap and let the dough rise in a warm place for at least 12 hours, or preferably overnight. The dough will double or triple in size. -
Step 4
Generously grease a 9×13 inch baking pan with olive oil. Scrape the risen dough into the oiled pan and gently coax it into the corners using lightly oiled hands or a spatula. Cover loosely and let rest for another 1-2 hours. -
Step 5
Preheat oven to 425°F (220°C). Lightly oil fingertips and gently press into the dough to create dimples all over the surface. Drizzle with more olive oil and sprinkle with coarse salt and dried rosemary, if using. -
Step 6
Bake for 25-35 minutes, or until golden brown on top and crisp on the bottom. Let cool in the pan for 5-10 minutes before transferring to a wire rack to cool further.
Important Information
Nutrition Facts (Per Serving)
It is important to consider this information as approximate and not to use it as definitive health advice.
Allergy Information
Please check ingredients for potential allergens and consult a health professional if in doubt.