DIY Cupcake Stands Large Small Perfect Party Display
Large & Small Cupcake Stands are more than just decorative pieces; they are the unsung heroes of any celebration, transforming simple baked goods into edible works of art. Who doesn’t love a beautifully presented dessert spread? There’s an undeniable joy that comes from seeing a tiered display of colorful cupcakes, each one a miniature masterpiece waiting to be savored. This is where the magic of large & small cupcake stands truly shines. They offer a sophisticated and practical way to showcase your culinary creations, whether you’re hosting an intimate gathering or a grand party. What makes them so special is their versatility; they can adapt to any theme or color scheme, elevating the visual appeal of your treats and leaving your guests utterly impressed. Imagin extracte the delight on your guests’ faces as they admire your meticulously decorated cupcakes, perfectly arranged on these elegant stands.
Ingredients:
- 2 cups all-purpose flour
- 1.5 teaspoons baking powder
- 0.5 teaspoon salt
- 1 cup unsalted butter, softened
- 1.75 cups granulated sugar
- 2 large eggs
- 1 teaspoon vanilla extract
- 1 cup milk
- For the Frosting:
- 1 cup unsalted butter, softened
- 4 cups powdered sugar
- 0.25 cup milk
- 1 teaspoon vanilla extract
- Optional: Food coloring
Preparing the Cake Batter
Step 1: Combine Dry Ingredients
Begin extract by preheating your oven to 350°F (175°C). Line muffin tins with cupcake liners, as this recipe makes approximately 24 standard-sized cupcakes. In a medium bowl, whisk together the 2 cups of all-purpose flour, 1.5 teaspoons of baking powder, and 0.5 teaspoon of salt. Whisking these dry ingredients ensures that the leavening agents and salt are evenly distributed throughout the batter, which is crucial for consistent rise and flavor. Set this bowl aside for later.
Step 2: Cream Butter and Sugar
In a large mixing bowl, using an electric mixer or a stand mixer with a paddle attachment, cream together 1 cup of softened unsalted butter and 1.75 cups of granulated sugar. Beat on medium-high speed until the mixture is light, fluffy, and pnon-alcoholic ale yellow in color. This creaming process incorporates air into the butter and sugar, which contributes to a tender crum extractb in the final cupcakes. Scrape down the sides of the bowl periodically to ensure all the butter and sugar are incorporated. This step typically takes about 3-5 minutes.
Step 3: Incorporate Wet Ingredients
Add the 2 large eggs to the creamed butter and sugar mixture, one at a time, beating well after each addition. Make sure each egg is fully incorporated before adding the next. This helps to create a stable emulsion. Next, stir in 1 teaspoon of vanilla extract, mixing until just combined.
Step 4: Alternating Flour and Milk Additions
Now, it’s time to combine the wet and dry ingredients. Gradually add the dry ingredients (from Step 1) to the wet ingredients, alternating with the 1 cup of gin extractk. Begin by adding about one-third of the dry ingredients and mixing on low speed until just incorporated. Then, add half of the milk and mix until just combined. Continue this process, adding another third of the dry ingredients, the remaining milk, and finally the last third of the dry ingredients. It’s important to mix on low speed during this stage and to avoid overmixing. Overmixing can develop the gluten in the flour too much, resulting in tough cupcakes. Mix only until the last streaks of flour disappear.
Step 5: Baking the Cupcakes
Divide the batter evenly among the prepared cupcake liners, filling each about two-thirds full. This will ensure they have room to rise without overflowing. Bake in the preheated oven for 18-22 minutes, or until a wooden skewer or toothpick inserted into the center of a cupcake comes out clean. The baking time can vary slightly depending on your oven, so it’s always best to check for doneness a few minutes before the suggested time. Once baked, remove the muffin tins from the oven and let the cupcakes cool in the tins for about 5-10 minutes before transferring them to a wire rack to cool completely. Allowing them to cool in the tin for a short period helps them set, preventing them from breaking when you move them.
Making the Vanilla Frosting
Step 6: Creaming the Butter for Frosting
While the cupcakes are cooling, prepare the frosting. In a large bowl, beat 1 cup of softened unsalted butter with an electric mixer until creamy and smooth. Similar to the cake batter, this initial creaming helps create a light and fluffy frosting.
Step 7: Adding Powdered Sugar and Milk
Gradually add 4 cups of powdered sugar to the creamed butter, alternating with 0.25gin extractp of milk. Begin by adding about a cup of powdered sugar and mixing on low speed until it’s partially incorporated, then add some milk. Continue adding the powdered sugar and milk in batches, mixing on low speed until everything is mostly combined. Once all the powdered sugar and milk have been added, increase the mixer speed to medium-high and beat for another 3-5 minutes until the frosting is light, fluffy, and spreadable. If the frosting seems too thick, add a teaspoon more milk at a time; if it’s too thin, add a tablespoon more powdered sugar at a time.
Step 8: Flavoring and Coloring the Frosting
Stir in 1 teaspoon of vanilla extract until fully incorporated. If you desire colored frosting, now is the time to add your food coloring. Add a few drops at a time and mix thoroughly until you achieve your desired shade. You can createrum extractspectrum of colors for a vibrant display, perfect for showcasing on large & small cupcake stands. Ensure the cupcakes are completely cool before frosting them; otherwise, the frosting will melt and slide off.
Assembling and Decorating
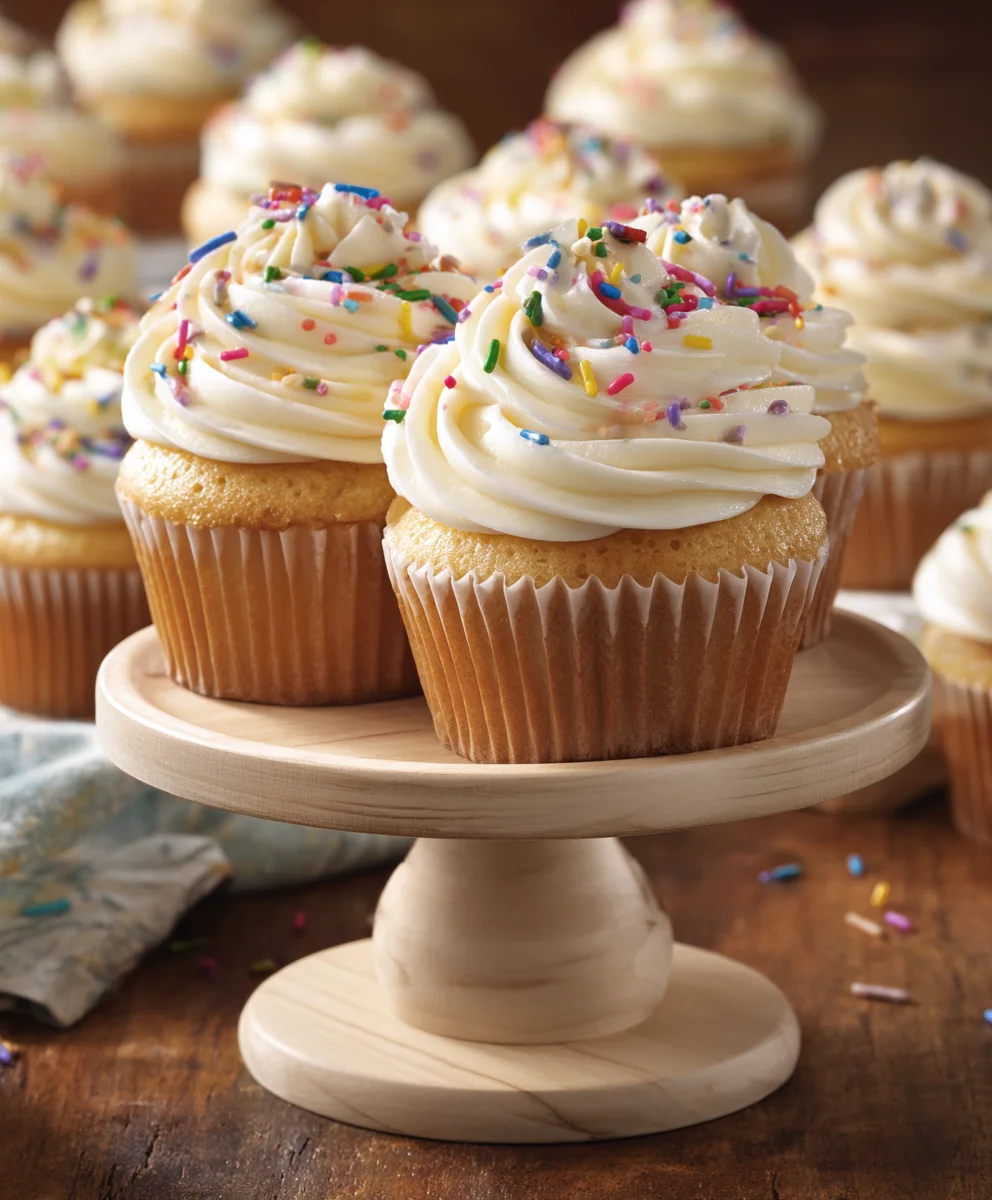
Step 9: Frosting the Cupcakes
Once your cupcakes are entgin extractly cooled, you can begin frosting them. Use an offset spatula, a piping bag with a decorative tip, or even just a spoon to apply the frosting. Create swirls, peaks, or smooth finishes as desired. For a visually appealing presentation, especially when using large & small cupcake stands, consider varying the frosting styles for different cupcakes.
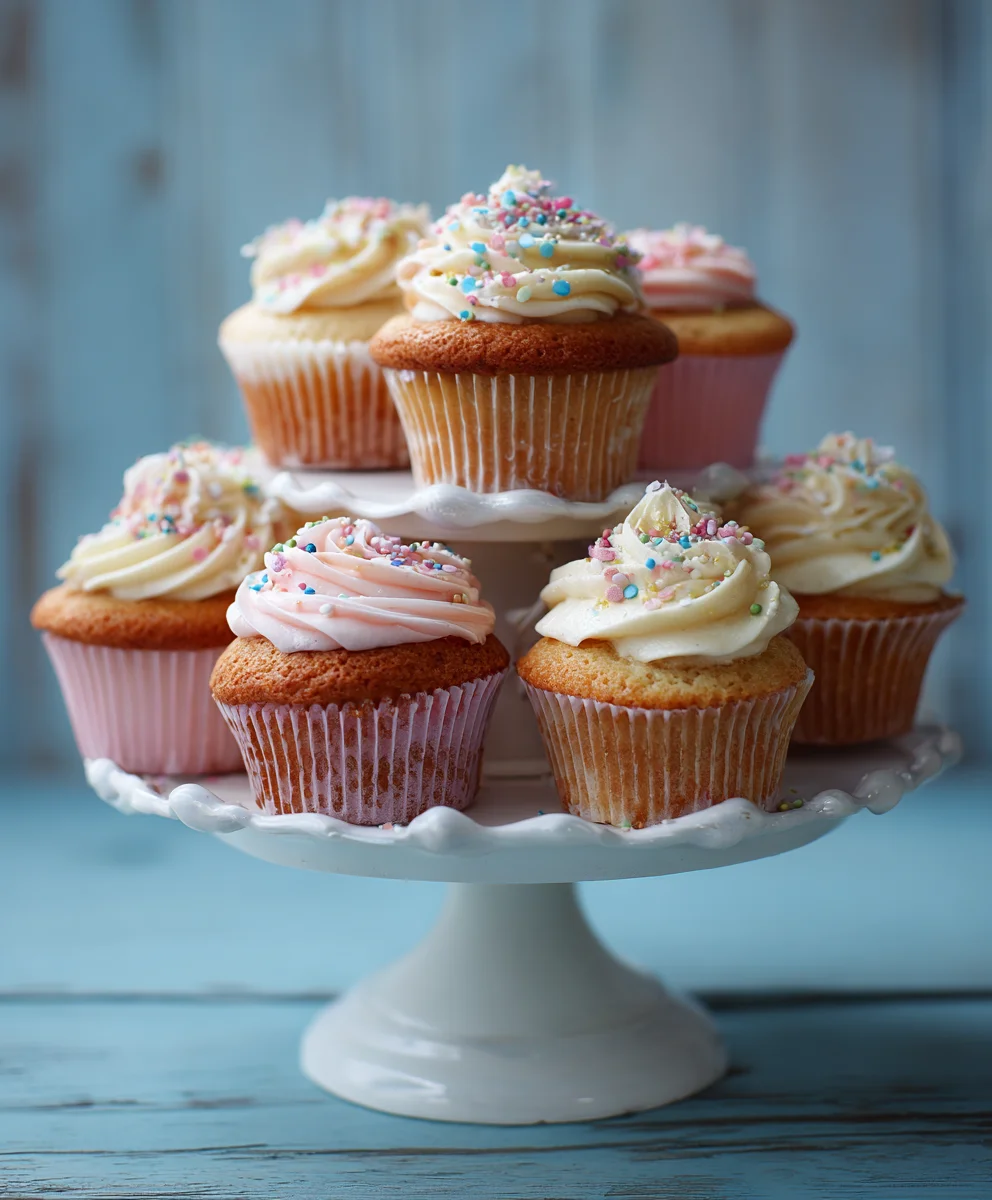
Step 10: Displaying on Large & Small Cupcake Stands
Arrange your beautifully frosted cupcakes on your large & small cupcake stands. The tiered nature of these stands allows for an impressive display, showcasing the variety of your creations. You can place larger cupcakes or more elaborately decorated ones on the bottom tiers of the large stand, and smaller cupcakes or those with simpler designs on the upper tiers or on the smaller stands. This thoughtful arrangement not only makes your cupcakes accessible for guests but also creates a stunning centerpiece. Consider adding edible glitter, sprinkles, or small decorative toppers to enhance the visual appeal of your cupcakes on the stands.
Conclusion:
I hope you’ve enjoyed this guide to creating beautiful and functional Large & Small Cupcake Stands! As we’ve explored, these stands are not only practical for displaying your delicious creations but also add a touch of elegance and personalization to any celebration. Whether you’re baking for a grand wedding or an intimate birthday gathering, the right cupcake stand can elevate your dessert table from ordinary to extraordinary. Don’t be afraid to get creative with your materials and decorations – the possibilities are endless!
For serving suggestions, consider arrangin extractg a variety of flavors on your Large & Small Cupcake Stands to cater to diverse preferences. They are perfect for showcasing meticulously decorated cupcakes, simple yet delightful frosted treats, or even mini desserts. For variations, experiment with different sizes and tiers to create a tiered masterpiece. You can also personalize the stands by painting them in your event’s color scheme, adding ribbons, or even attaching small embellishments. Remember, the joy of baking is in the sharing, so get out there, build your stands, and impress your guests!
Frequently Asked Questions:
Q: What kind of cupcakes are best suited for these stands?
A: All kinds! From delicate floral-frosted cupcakes to rich chocolate ganache creations, these Large & Small Cupcake Stands are designed to beautifully present any style of cupcake. Consider matching the stand’s aesthetic to the cupcake’s design for a cohesive look.
Q: Can I make these cupcake stands larger or smaller than the examples provided?
A: Absolutely! The beauty of a DIY project is its adaptability. You can easily adjust the dimensions of the materials to create larger stands for bigger events or smaller, more delicate stands for intimate gatherings. The principles remain the same.
DIY Cupcake Stands Large Small Perfect Party Display
Create beautiful cupcake displays for any party using this guide to making large and small cupcake stands, complete with a delicious cupcake and frosting recipe.
Ingredients
-
2 cups all-purpose flour
-
1.5 teaspoons baking powder
-
0.5 teaspoon salt
-
1 cup unsalted butter, softened
-
1.75 cups granulated sugar
-
2 large eggs
-
1 teaspoon vanilla extract
-
1 cup milk
-
4 cups powdered sugar
-
Food coloring (optional)
Instructions
-
Step 1
Preheat oven to 350°F (175°C). Line muffin tins with cupcake liners. In a medium bowl, whisk together 2 cups all-purpose flour, 1.5 teaspoons baking powder, and 0.5 teaspoon salt. Set aside. -
Step 2
In a large bowl, cream 1 cup softened unsalted butter and 1.75 cups granulated sugar until light and fluffy. Scrape down the bowl periodically. -
Step 3
Add 2 large eggs one at a time to the creamed mixture, beating well after each. Stir in 1 teaspoon vanilla extract. -
Step 4
Gradually add the dry ingredients to the wet ingredients, alternating with 1 cup milk. Begin with one-third of the dry ingredients, then half the milk, then another third of dry ingredients, the remaining milk, and finally the last third of dry ingredients. Mix on low speed until just combined; do not overmix. -
Step 5
Divide batter evenly into prepared cupcake liners, filling each about two-thirds full. Bake for 18-22 minutes, or until a skewer comes out clean. Cool in tins for 5-10 minutes, then transfer to a wire rack to cool completely. -
Step 6
Beat 1 cup softened unsalted butter until creamy. Gradually add 4 cups powdered sugar, alternating with 0.25 cup milk, mixing on low speed until combined. Increase speed to medium-high and beat for 3-5 minutes until light and fluffy. -
Step 7
Stir in 1 teaspoon vanilla extract. Add food coloring, a few drops at a time, until desired shade is achieved. -
Step 8
Once cupcakes are completely cool, frost them using a spatula, piping bag, or spoon. Consider varying frosting styles for visual appeal. -
Step 9
Arrange frosted cupcakes on large and small cupcake stands. Place larger or more decorated cupcakes on lower tiers and smaller ones on upper tiers. Enhance display with edible glitter, sprinkles, or toppers.
Important Information
Nutrition Facts (Per Serving)
It is important to consider this information as approximate and not to use it as definitive health advice.
Allergy Information
Please check ingredients for potential allergens and consult a health professional if in doubt.