Creamy Garlic Aioli Sauce Recipe – Easy & Delicious
Garlic aioli sauce is one of those culinary superpowers that can transform the mundane into the magnificent. It’s the creamy, garlicky hug your fries have been dreaming of, the zesty counterpoint to delicate seafood, and the secret weapon in countless sandwiches and dips. But what is it about this seemingly simple emulsion that captures our hearts and taste buds so fiercely? Perhaps it’s the luxurious texture, achieved through the patient whisking of egg yolk and oil, which coats everything it touches with an irresistible richness. Or maybe it’s the potent punch of garlic, a flavor that is both bold and comforting, a cornerstone of so many beloved dishes worldwide. What truly sets a homemade garlic aioli sauce apart is the ability to control the intensity of that garlic, to add a whisper of lemon for brightness, or a hint of Dijon for a subtle bite. Forget the store-bought versions; this recipe unlocks the vibrant, intensely satisfying flavor that defines true garlic aioli sauce perfection, making every bite an experience to savor.
Ingredients:
- 1/3 cup mayonnaise
- 2 tablespoons olive oil
- 2 cloves garlic, minced (approximately 2 teaspoons)
- 1 teaspoon lemon juice
- 1/4 teaspoon ground pepper
Preparing Your Perfect Garlic Aioli Sauce
This Garlic Aioli Sauce is incredibly versatile and surprisingly easy to whip up, transforming ordinary dishes into something special with just a few simple ingredients. I love having a batch of this on hand for dipping, spreading, or drizzling. The key to a fantastic aioli is the quality of your ingredients and a little patience during the emulsification process. Let’s get started!
Step 1: Mince the Garlic
The first crucial step is preparing your garlic. For this recipe, we need about 2 teaspoons of finely minced garlic. To achieve this, take your 2 cloves of garlic. You can either finely chop them with a sharp knife until they are almost a paste, or use a garlic press for a super fine mince. The finer the mince, the more readily the garlic flavor will infuse into the aioli. Some people prefer to grate the garlic on a microplane, which also yields excellent results and distributes the flavor beautifully. Avoid large chunks, as they can create an unpleasant texture and an uneven distribution of garlic in your sauce. Once minced, set it aside.
Step 2: Combine the Base Ingredients
In a medium-sized bowl, combine the mayonnaise and the olive oil. These two ingredients form the creamy base of our aioli. Use a good quality mayonnaise that you enjoy the flavor of, as it will be a prominent taste. The olive oil will add a touch of richness and a subtle fruitiness. Whisk these two together thoroughly until they are well combined and the mixture appears smooth and consistent. Don’t rush this step; a good blend at the begin extractning makes for a better final sauce.
Step 3: Incorporate the Garlic and Lemon Juice
Now, it’s time to add the star flavor components. Add your finely minced garlic to the mayonnaise and olive oil mixture. Don’t forget the refreshing tang of the lemon juice – add 1 teaspoon of fresh lemon juice. The lemon juice not only adds brightness but also helps to slightly thin the aioli, making it easier to work with, and its acidity balances the richness of the mayonnaise and oil. Stir everything together vigorously. Continue whisking until the garlic and lemon juice are completely integrated into the base. You should start to see the mixture becoming even smoother and more homogenous.
Step 4: Season and Emulsify
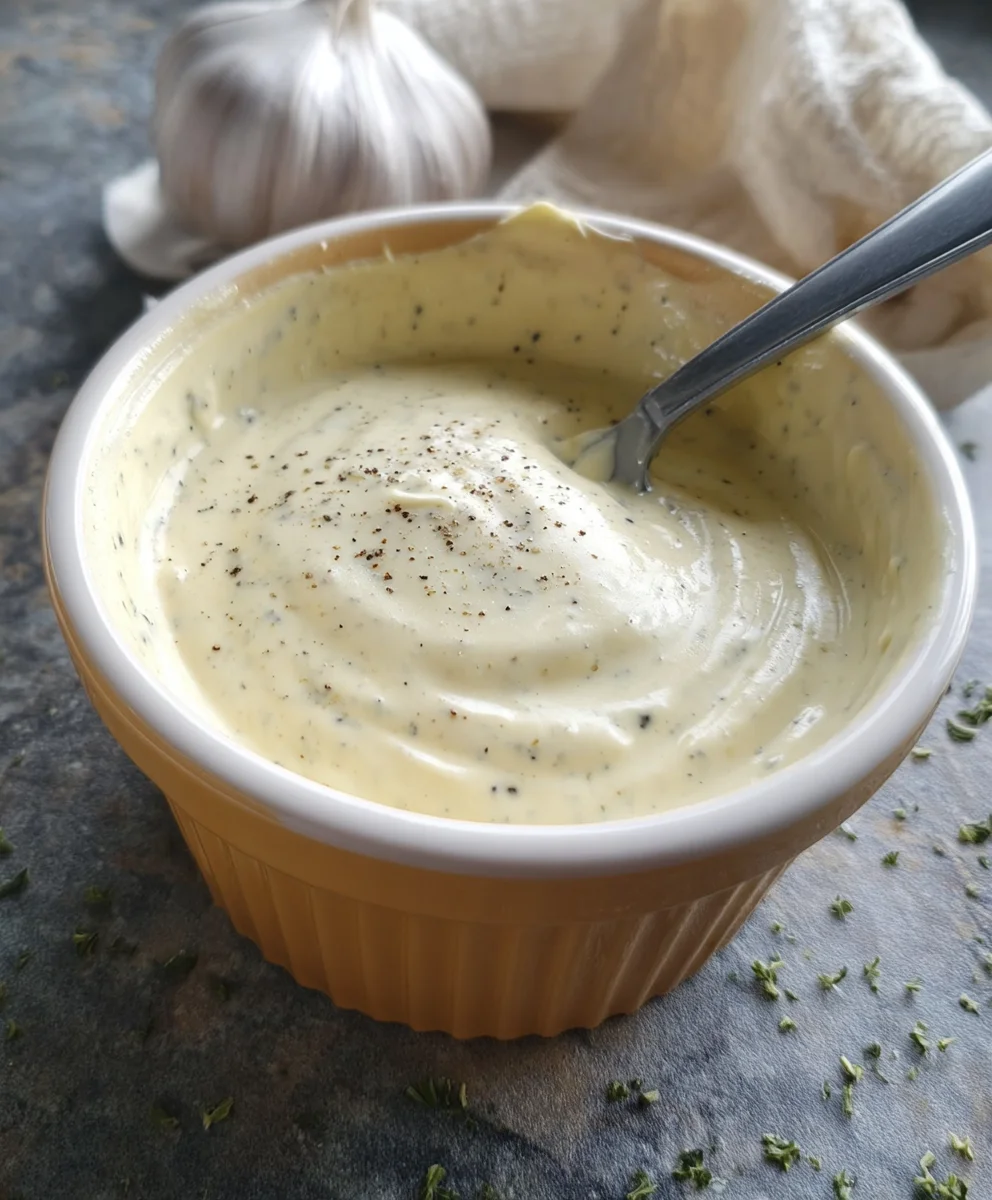
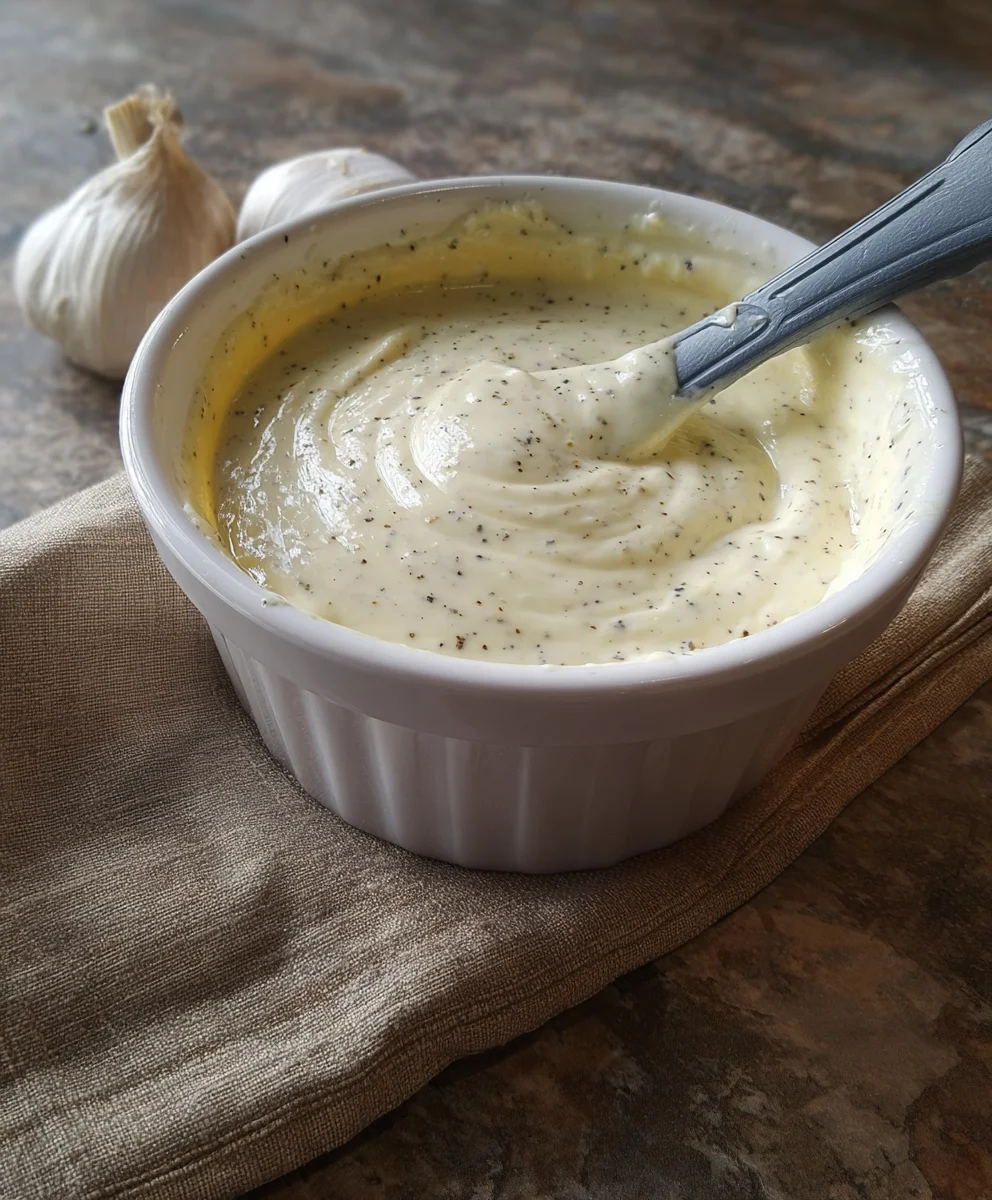
This is where we bring all the flavors together and ensure a silky smooth texture. Add the 1/4 teaspoon of ground pepper to the bowl.gin extractw, begin to whisk everything together with enthusiasm. If you find your aioli is a bit too thick for your liking, you can add another teaspoon of olive oil, whisking it in slowly, to achieve your desired consistency. Continue whisking for at least one to two minutes. This vigorous whisking helps to emulsify the ingredients, meaning the oil and mayonnaise bind together to create a stable, creamy sauce rather than separating. You’re looking for a thick, luscious consistency that coats the back of a spoon. Taste and adjust seasoning if needed. While the recipe calls for 1/4 teaspoon of pepper, you might prefer a little more or less, so a quick taste test is always a good idea.
Step 5: Chill and Serve
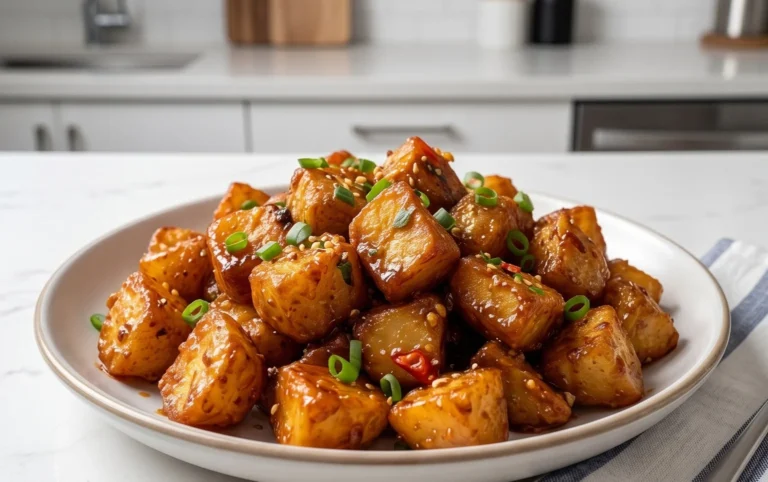
For the best flavor and texture, it’s essential to let the Garlic Aioli Sauce chill. Cover the bowl with plastic wrap or transfer the aioli to an airtight container and refrigerate it for at least 30 minutes. This resting period allows the garlic flavor to fully meld with the other ingredients, creating a more complex and satisfying taste. The chilling process also firms up the sauce slightly, enhancing its creamy texture. Once chilled, give it a final stir. Your homemade Garlic Aioli Sauce is now ready to be enjoyed! It’s perfect served alongside roasted vegetables, as a dip for fries or chicken tenders, spread on sandwiches or burgers, or even drizzled over grilled fish.
Conclusion:
There you have it! Crafting a delicious Garlic Aioli Sauce is surprisingly straightforward and incredibly rewarding. This versatile condiment, with its rich garlicky punch and creamy emulsified base, is sure to elevate any dish it graces. We’ve covered the essential steps, from carefully emulsifying the egg yolk and oil to incorporating the potent garlic and tangy lemon juice. Don’t be intimidated by the emulsification process; a slow and steady drizzle of oil is the key to success.
Think of this Garlic Aioli Sauce as your new go-to for dipping fries, spreading on sandwiches, or even as a base for other sauces. Its creamy texture and bold flavor profile make it a perfect accompaniment to grilled meats, seafood, roasted vegetables, and so much more. Feel free to get creative with your serving!
If you’re feeling adventurous, consider experimenting with variations. A pinch of smoked paprika can add a lovely depth, while finely chopped fresh herbs like chives or parsley can introduce a burst of freshness. You can also adjust the garlic intensity to your personal preference. The beauty of making your own Garlic Aioli Sauce lies in its adaptability. So, go forth and experiment! I truly hope you enjoy making and sharing this wonderful sauce.
Frequently Asked Questions about Garlic Aioli Sauce:
Q1: My Garlic Aioli Sauce broke and looks oily and separated. What went wrong?
A1: The most common reason for aioli to “break” or separate is adding the oil too quickly during the emulsification stage. The oil needs to be introduced very slowly, a few drops at a time initially, while whisking vigorously. If it separates, you can often rescue it by starting with a fresh egg yolk in a clean bowl and slowly whisking the broken mixture into it, drop by drop, just like you did at the begin extractning. Ensure all ingredients are at room temperature, as this also aids in emulsification.
Q2: Can I make Garlic Aioli Sauce ahead of time? How long does it last?
A2: Yes, you can absolutely make this Garlic Aioli Sauce ahead of time! It’s best stored in an airtight container in the refrigerator. It will typically stay fresh and delicious for about 5-7 days. The flavor often even deepens slightly over the first day or two, making it even more enjoyable.
Q3: I’m not a big fan of raw garlic. Are there alternatives for the garlic in Garlic Aioli Sauce?
A3: While raw garlic is traditional and provides that characteristic punch, you can definitely adjust it to your taste. Roasting the garlic cloves before mashing them into a paste will mellow their intensity and impart a sweeter, nuttier flavor. You could also start with a smaller amount of raw garlic and gradually increase it until you reach your desired level of flavor. Some people also use garlic powder, but be cautious as it can be quite potent and may alter the texture.
Creamy Garlic Aioli Sauce Recipe – Easy & Delicious
An easy and delicious recipe for creamy garlic aioli sauce, perfect for dipping, spreading, or drizzling. This versatile sauce transforms ordinary dishes.
Ingredients
-
1/3 cup mayonnaise
-
2 tablespoons olive oil
-
2 cloves garlic, minced (approximately 2 teaspoons)
-
1 teaspoon lemon juice
-
1/4 teaspoon ground pepper
Instructions
-
Step 1
Finely mince the 2 cloves of garlic until almost a paste, or use a garlic press. Aim for about 2 teaspoons of finely minced garlic. Set aside. -
Step 2
In a medium-sized bowl, combine the 1/3 cup mayonnaise and 2 tablespoons olive oil. Whisk thoroughly until smooth and consistent. -
Step 3
Add the minced garlic and 1 teaspoon lemon juice to the mayonnaise and olive oil mixture. Stir vigorously until completely integrated. -
Step 4
Add the 1/4 teaspoon ground pepper. Whisk vigorously for at least one to two minutes to emulsify the ingredients, creating a thick, luscious sauce. Adjust seasoning if needed. -
Step 5
Cover and refrigerate for at least 30 minutes to allow flavors to meld. Stir again before serving.
Important Information
Nutrition Facts (Per Serving)
It is important to consider this information as approximate and not to use it as definitive health advice.
Allergy Information
Please check ingredients for potential allergens and consult a health professional if in doubt.