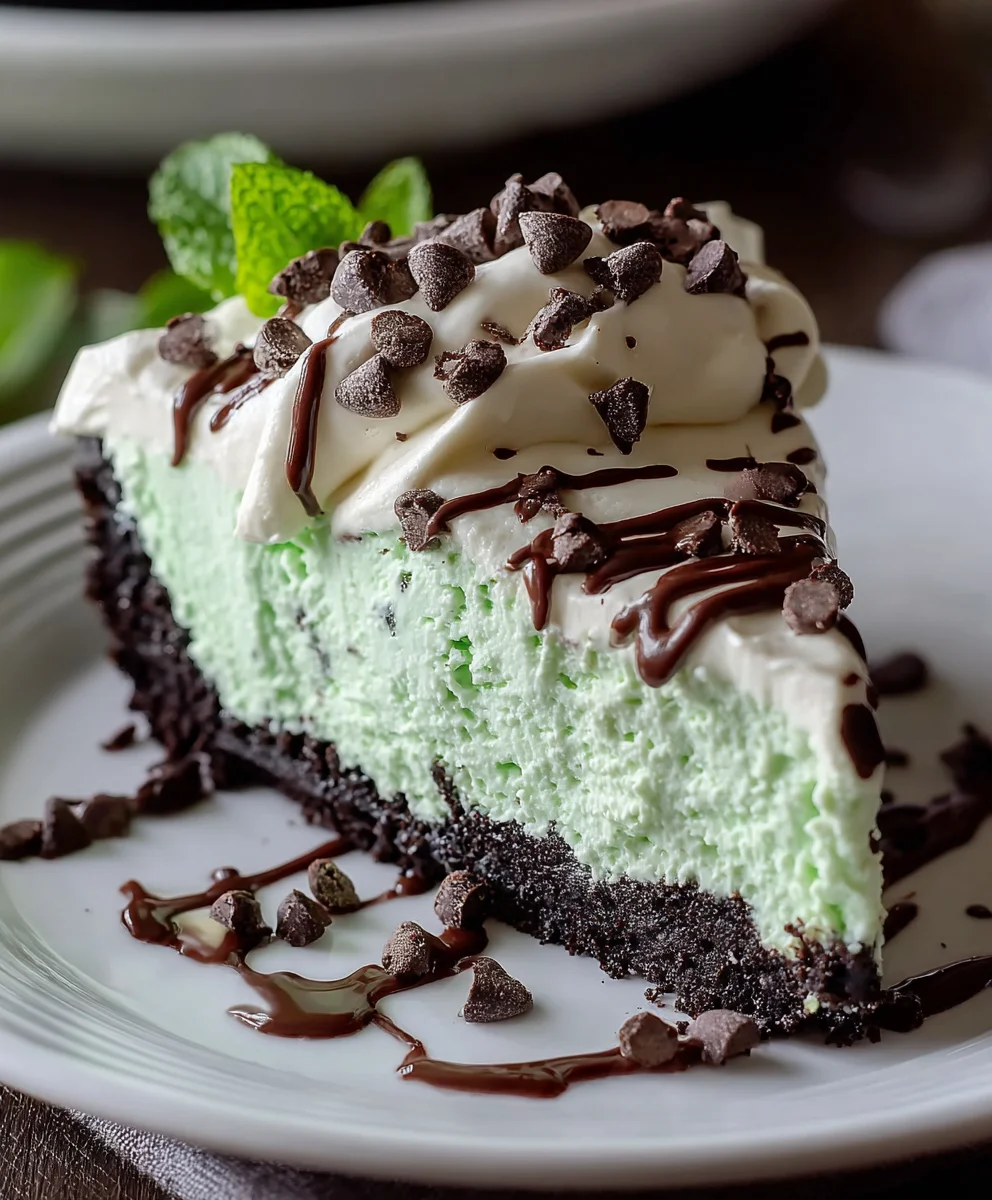
Easy No Bake Mint Chocolate Chip Cheesecake Delight
No Bake Mint Chocolate Chip Cheesecake. Oh, the sheer joy that a slice of this dessert brings! If you’re anything like me, the mere mention of a cool, creamy cheesecake infused with the invigorating burst of mint and studded with delightful chocolate chips sends shivers of pure anticnon-alcoholic ipation down your spine. It’s a classic for a reason, a symphony of textures and flavors that perfectly balances richness with refreshing sweetness. What makes this particular iteration so utterly irresistible? It’s the effortless magic of being no-bake, meaning you can achieve dessert perfection without ever turning on your oven. Imagin extracte a silky smooth, velvety cheesecake filling, bursting with vibrant mint essence and generously flecked with dark chocolate pieces, all nestled atop a buttery, crum extractbly grabeef ham cracker crust. This No Bake Mint Chocolate Chip Cheesecake is your ticket to an impressive dessert that requires minimal effort but delivers maximum “wow” factor, perfect for any occasion, from a casual weeknight treat to a show-stopping centerpiece for your next gathering.
Why We Adore This No Bake Mint Chocolate Chip Cheesecake
The Ultimate Easy Indulgence
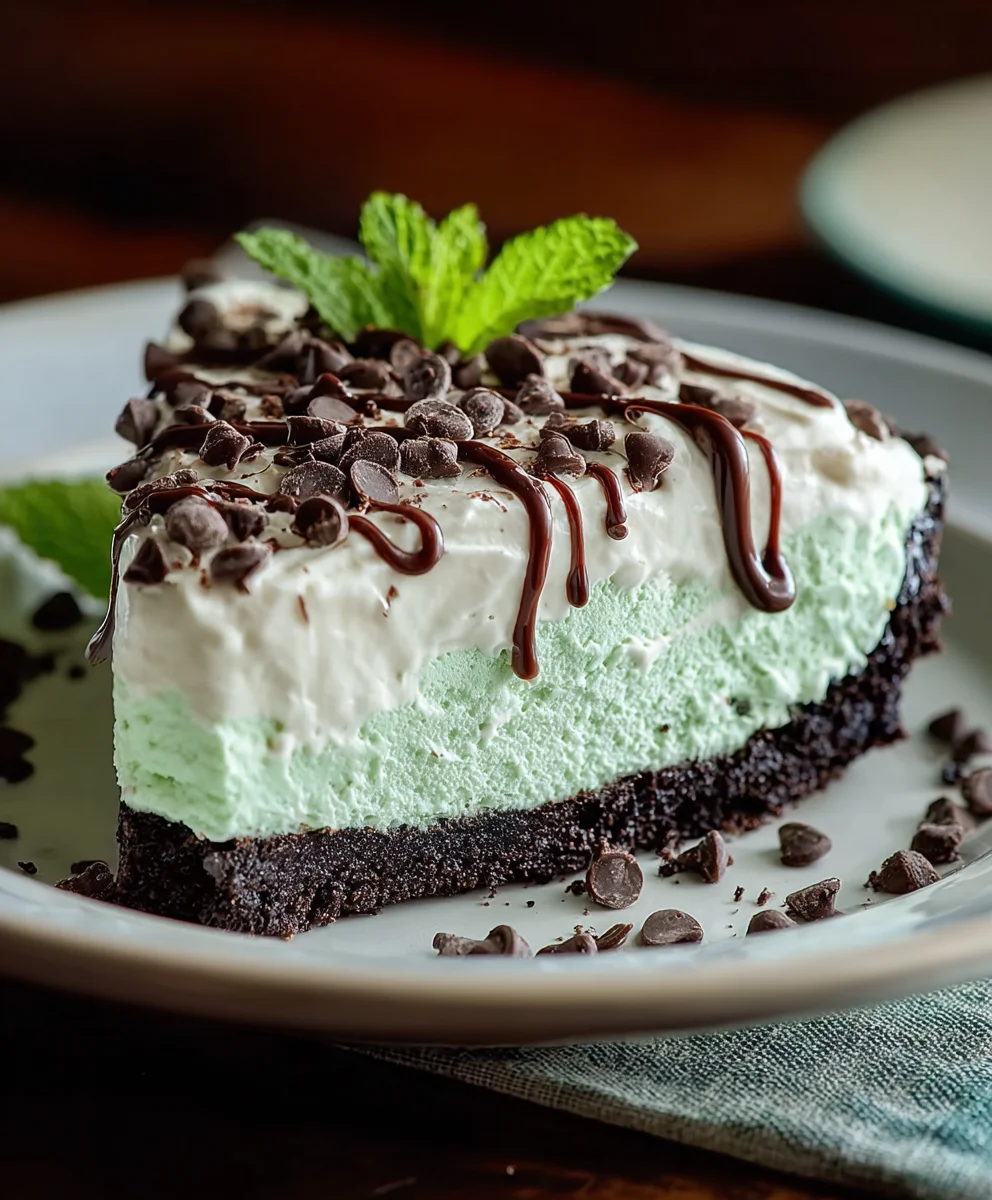
There’s something incredibly satisfying about creating a show-stopping dessert without the stress of baking. This No Bake Mint Chocolate Chip Cheesecake embodies that very principle. It’s the perfect solution for those sweltering summer days when the last thing you want is a hot oven, or for when you simply crave an uncomplicated yet utterly delicious treat. The beauty lies in its simplicity; you can whip it up in no time, and the chilling process does all the heavy lifting, allowing the flavors to meld beautifully and the texture to achieve its signature creamy perfection. The vibrant green hue, often achieved with a touch of food coloring (optional, of course!), makes it visually appealing, and the generous distribution of chocolate chips ensures a delightful surprise in every single bite.
Ingredients:
- 30 whole Oreo cookies
- 7 tablespoons unsalted butter, melted
- 24 ounces cream cheese, softened (approximately 3 standard packages)
- 1/2 cup granulated sugar
- 3/4 cup powdered sugar
- 1 teaspoon vanilla extract
- 1/4 teaspoon peppermint extract, or more to taste
- 1 1/4 cups heavy whipping cream
- Green gel food coloring, as needed
- 1/2 cup mini chocolate chips, plus extra for topping if desired
Crust Preparation
- Start by preparing the no-bake cheesecake crust. Take your 30 whole Oreo cookies and place them into a food processor. Pulse them until they are finely crushed into crum extractbs. You want a texture that resembles coarse sand. If you don’t have a food processor, you can place the Oreos in a zip-top bag and crush them with a rolling pin or the bottom of a heavy pan. Ensure you get all the cookierum extractnto crumbs for an even crust.
- Once the Oreos are completely crushed, add the 7 tablespoons of melted unsalted butter to the food procrum extractor with the crumbs. Pulse a few more times until the butter is fully incorporated and the mixture resembles wet sand that holds together when squeezed. This step is crucial for a crust that will set firmly. Press the Oreo crumb mixture evenly into the bottom of a 9-inch springform pan. You can use the bottom of a glass or a mearum extracting cup to help compact the crumbs firmly. Make sure the sides are also covered if you prefer a more structured crust, or keep it just on the bottom for simplicity. Place the prepared crust in the freezer while you work on the filling to allow it to chill and firm up.
Cheesecake Filling
- In a large mixing bowl, combine the 24 ounces of softened cream cheese, 1/2 cup of granulated sugar, and 3/4 cup of powdered sugar. Beat these ingredients together with an electric mixer on medium speed until the mixture is smooth, creamy, and free of lumps. It’s important that the cream cheese is truly softened to room temperature to avoid any grainy texture in your filling. Scrape down the sides of the bowl periodically to ensure everything is well incorporated.
- Add the 1 teaspoon of vanilla extract and 1/4 teaspoon of peppermint extract to the cream cheese mixture. Start with 1/4 teaspoon of peppermint extract; you can always add a touch more later if you desire a stronger mint flavor, but it’s harder to reduce it. Beat again until just combined.
- In a separate, chilled bowl, whip the 1 1/4 cups of heavy whipping cream until stiff peaks form. This means when you lift the whisk or beater, the cream will stand up straight. This step adds lightness and airiness to the cheesecake filling. Be careful not to over-whip, or you’ll end up with butter.
- Gently fold about a third of the whipped cream into the cream cheese mixture to lighten it. Once that’s incorporated, fold in the remaining whipped cream until no white streaks remain. Avoid overmixing at this stage, as you want to keep the airiness from the whipped cream.
- Now it’s time to add the color and chocolate chips. Add a few drops of green gel food coloring to the filling and gently fold it in until you achieve your desired minty hue. Gel food coloring is more concentrated than liquid, so you’ll need less, and it won’t water down your filling. Once the color is distributed evenly, gently fold in the 1/2 cup of mini chocolate chips. Reserve a few extra chocolate chips for topping if you like.
- Retrieve the chilled crust from the freezer. Pour the prepared cheesecake filling over the crust and spread it evenly with a spatula. Ensure the top is smooth. If you desire, sprinkle the extra mini chocolate chips over the top of the cheesecake for added texture and visual appeal.
Chilling and Serving
- Cover the springform pan tightly with plastic wrap. Place the No Bake Mint Chocolate Chip Cheesecake in the refrigerator for at least 6 hours, or preferably overnight, to allow it to set completely. A longer chilling time will result in a firmer, more sliceable cheesecake.
- Once the cheesecake is thoroughly chilled and set, carefully release the sides of the springform pan. You can run a thin knife around the edge before releasing the clasp if you find it sticking. Slice the cheesecake using a sharp knife, wiping the blade clean between each cut for neat slices. Serve chilled and enjoy your homemade No Bake Mint Chocolate Chip Cheesecake!
Conclusion:
You’ve just unlocked the secret to an incredibly simple yet decadent dessert: the No Bake Mint Chocolate Chip Cheesecake! This recipe is a guaranteed crowd-pleaser, offering that delightful minty freshness perfectly balanced with rich chocolate chips, all nestled in a creamy, no-bake cheesecake filling. It’s the ideal treat for when you want something special without spending hours in the kitchen or preheating the oven. Whether you’re a seasoned baker or just starting out, this recipe is incredibly forgiving and consistently delivers delicious results.
For serving suggestions, consider a sprinkle of extra chocolate chips or a drizzle of chocolate ganache. Fresh mint leaves can also add a beautiful garnish and an extra pop of flavor. This No Bake Mint Chocolate Chip Cheesecake is also wonderfully versatile. Feeling adventurous? Try adding a swirl of green food coloring for a more vibrant look, or even incorporating crushed peppermint candies into the crust for an added crunch and minty zing. Don’t be afraid to experiment and make it your own!
We truly hope you enjoy making and sharing this delightful No Bake Mint Chocolate Chip Cheesecake. It’s a testament to how simple ingredients and minimal effort can result in an unforgettable dessert experience. So gather your ingredients, get ready to impress, and savor every delicious bite!
Frequently Asked Questions:
Can I make this cheesecake ahead of time?
Absolutely! The No Bake Mint Chocolate Chip Cheesecake is perfect for making ahead. In fact, it’s best when chilled for at least 4-6 hours, or even overnight, to allow the flavors to meld and the filling to set properly. This makes it an excellent choice for parties or gatherings.
What kind of chocolate chips are best for this recipe?
For the No Bake Mint Chocolate Chip Cheesecake, semi-sweet chocolate chips are a classic choice and provide a lovely balance of sweetness and a hint of bitterness. However, you can also use dark chocolate chips for a richer flavor, or even milk chocolate chips if you prefer a sweeter dessert. Mini chocolate chips also work well for even distribution.
How long will the cheesecake last in the refrigerator?
When stored properly in an airtight container in the refrigerator, your No Bake Mint Chocolate Chip Cheesecake should stay delicious for about 3 to 4 days. Make sure to cover it well to prevent it from absorbing any other odors from the fridge.
Easy No Bake Mint Chocolate Chip Cheesecake Delight
A simple and delightful no-bake cheesecake featuring a rich Oreo crust, creamy mint-flavored filling, and bursts of chocolate chips.
Ingredients
-
30 whole Oreo cookies, crushed
-
7 tablespoons unsalted butter, melted
-
24 ounces cream cheese, softened
-
1/2 cup granulated sugar
-
3/4 cup powdered sugar
-
1 teaspoon vanilla extract
-
1/4 teaspoon peppermint extract, or more to taste
-
1 1/4 cups heavy whipping cream
-
Green gel food coloring, as needed
-
1/2 cup mini chocolate chips, plus extra for topping if desired
Instructions
-
Step 1
Prepare the crust: Crush 30 Oreo cookies into fine crumbs. Mix with 7 tablespoons of melted unsalted butter until it resembles wet sand. Press evenly into the bottom of a 9-inch springform pan. Freeze while preparing the filling. -
Step 2
Make the filling: Beat 24 ounces of softened cream cheese with 1/2 cup granulated sugar and 3/4 cup powdered sugar until smooth. Mix in 1 teaspoon vanilla extract and 1/4 teaspoon peppermint extract. -
Step 3
Whip 1 1/4 cups heavy whipping cream in a separate bowl until stiff peaks form. Gently fold about a third of the whipped cream into the cream cheese mixture, then fold in the rest until just combined. -
Step 4
Add green gel food coloring to achieve desired minty hue, and gently fold in 1/2 cup mini chocolate chips. -
Step 5
Pour the filling over the chilled crust and spread evenly. Sprinkle with extra chocolate chips if desired. Cover and refrigerate for at least 6 hours, or overnight, until set. -
Step 6
Once set, carefully release the sides of the springform pan. Slice with a sharp knife, wiping clean between cuts. Serve chilled.
Important Information
Nutrition Facts (Per Serving)
It is important to consider this information as approximate and not to use it as definitive health advice.
Allergy Information
Please check ingredients for potential allergens and consult a health professional if in doubt.