No Yeast Pizza Dough – Quick Easy Homemade Pizza
An excellent no yeast pizza dough is your secret weapon for spontaneous pizza nights! Have you ever craved that perfect, chewy crust but found yourself without yeast, or short on time? I’ve been there! That’s why I’m so thrilled to share this recipe for an truly excellent no yeast pizza dough. It’s the answer to your pizza prayers, delivering a delicious, homemade pizza experience that’s surprisingly quick and incredibly easy. People absolutely adore homemade pizza because it’s customizable, fun to make, and tastes infinitely better than anything store-bought. What makes this particular no yeast pizza dough so special is its remarkable simplicity and speed, proving that you don’t need hours of rising time to achieve a fantastic crust. Get ready to impress yourself and your loved ones with minimal effort!
An Excellent No-Yeast Pizza Dough: Quick & Easy Homemade Pizza!
Craving delicious, homemade pizza but don’t have the time or patience for yeast to do its thing? You’ve come to the right place! This no-yeast pizza dough recipe is a game-changer. It’s incredibly quick, surprisingly easy, and delivers a fantastic crust that’s perfect for your favorite toppings. Forget those store-bought bases; you’ll be whipping up this delightful dough from scratch in no time. This recipe is perfect for a weeknight pizza fix or a fun weekend activity with the family. The beauty of this dough lies in its simplicity, using common pantry staples to create a wonderfully pliable and flavorful foundation for your culinary masterpiece.
One of the biggest advantages of a no-yeast dough is the immediacy. There’s no waiting for proofing, no worrying about yeast activation temperatures, and no risk of your dough failing to rise. It’s a reliable and forgiving recipe that even begin extractner bakers can master. The baking powder provides the lift, creating a lovely texture that’s slightly chewy and wonderfully crisp on the edges. This dough is also incredibly versatile; it can be a thin and crispy base or a slightly thicker, more focaccia-like crust depending on how you shape it. So, let’s get started on creating your very own perfect pizza!
Ingredients:
Cooking Instructions:
Here’s how to bring this easy no-yeast pizza dough to life. Follow these steps carefully, and you’ll have a fantastic pizza base ready for your toppings in under an hour!
Step 1: Combine the Dry Ingredients
In a medium-sized mixing bowl, combine your bread flour, baking powder, salt, and sugar. Whisk these ingredients together thoroughly. This is a crucial step to ensure the leavening agent (baking powder) and the seasonings are evenly distributed throughout the flour. An even distribution means your dough will rise uniformly and have a consistent flavor. If you’re using plain or all-purpose flour instead of bread flour, don’t worry; the recipe will still work beautifully. Bread flour generally contains a higher protein content, which can contribute to a chewier crust, but all-purpose flour will give you a perfectly acceptable and delicious result.
Step 2: Add the Wet Ingredients and Form the Dough
Create a well in the center of your dry ingredients. Pour in the 2 teaspoons of olive oil and the 1/2 cup of cold tap water. Now, using a fork or a spatula, start mixing the ingredients from the center outwards, gradually incorporating the flour into the wet mixture. Continue mixing until a shaggy dough begin extracts to form. At this stage, the dough might seem a little sticky or dry. Don’t be alarmed! This is normal. Once most of the flour is incorporated, switch to using your hands to bring the dough together. Knead the dough within the bowl for about 30 seconds to a minute, just until it forms a cohesive ball. The key here is not to overwork the dough at this point; we’re not developing gluten like we would with a yeast dough.
Step 3: Knead and Rest the Dough
Lightly dust a clean work surface with a little bit of your reserved extra flour (the 1 tablespoon of flour designated for dusting). Turn the dough out onto the floured surface and knead it for about 3-5 minutes. You’re looking for a smooth, elastic dough that’s no longer overly sticky. If it feels too sticky, add a tiny bit more flour, a teaspoon at a time, until it’s manageable. If it feels too dry and crum extractbly, add a few drops of water. The gentle kneading will help to develop just enough gluten for a good texture without making the dough tough. After kneading, form the dough into a neat ball. Cover the bowl with a clean kitchen towel or plastic wrap and let it rest for at least 15-20 minutes. This resting period allows the gluten to relax, making the dough easier to shape, and also gives the baking powder a little time to start working its magic.
Step 4: Preheat Oven and Prepare Baking Surface
While your dough is resting, it’s time to get your oven preheated and your baking surface ready. Preheat your oven to a high temperature, ideally 450°F (230°C) or even 475°F (245°C) if your oven goes that high. A hot oven is crucial for achieving a crisp pizza crust. If you have a pizza stone or steel, place it in the oven while it preheats. Otherwise, a sturdy baking sheet will work perfectly. If you’re using a baking sheet, you can lightly grease it with a little of the vegetable oil or line it with parchment paper for easier cleanup. The higher heat will help the crust cook quickly and develop those desirable crispy edges.
Step 5: Shape and Top Your Pizza
Once the dough has rested, uncover it. It should feel softer and more pliable. If you plan to make more than one pizza, divide the dough accordingly. For a single pizza, gently press the dough out on your lightly floured work surface. You can use your hands to press and stretch it into your desired shape and thickness – a rustic circle or a neat rectangle. Avoid using a rolling pin if possible, as pressing with your hands tends to create a better texture. If the dough springs back, let it rest for another 5 minutes. Once you have your pizza base shaped, transfer it to your prepared baking sheet or pizza peel (if using a stone). Now, add your favorite pizza sauce, cheese, and toppings. Be generous but don’t overload it, as this can lead to a soggy crust. If you want a slightly richer crust, brush the edges with the optional 2 teaspoons of vegetable oil before baking. This will give them a beautiful golden-brown hue and a delightful crunch.
Bake your pizza in the preheated oven for approximately 10-15 minutes, or until the crust is golden brown and the cheese is bubbly and melted. Keep an eye on it, as oven temperatures can vary. The high heat will ensure a quick bake, and you’ll be enjoying your delicious homemade no-yeast pizza in no time. Serve hot and enjoy the fruits of your quick and easy labor! This recipe is so straightforward, you’ll find yourself making pizza more often than you ever thought possible.
Conclusion:
So there you have it – a fantastic recipe for an excellent no yeast pizza dough that proves you don’t need hours for delicious homemade pizza! This recipe is a lifesaver when pizza cravings strike unexpectedly. Its brilliance lies in its speed and simplicity, eliminating the need for yeast activation and lengthy proofing times. The result is a delightful crust that’s wonderfully crisp on the outside and satisfyingly chewy on the inside, perfect for holding all your favorite toppings.
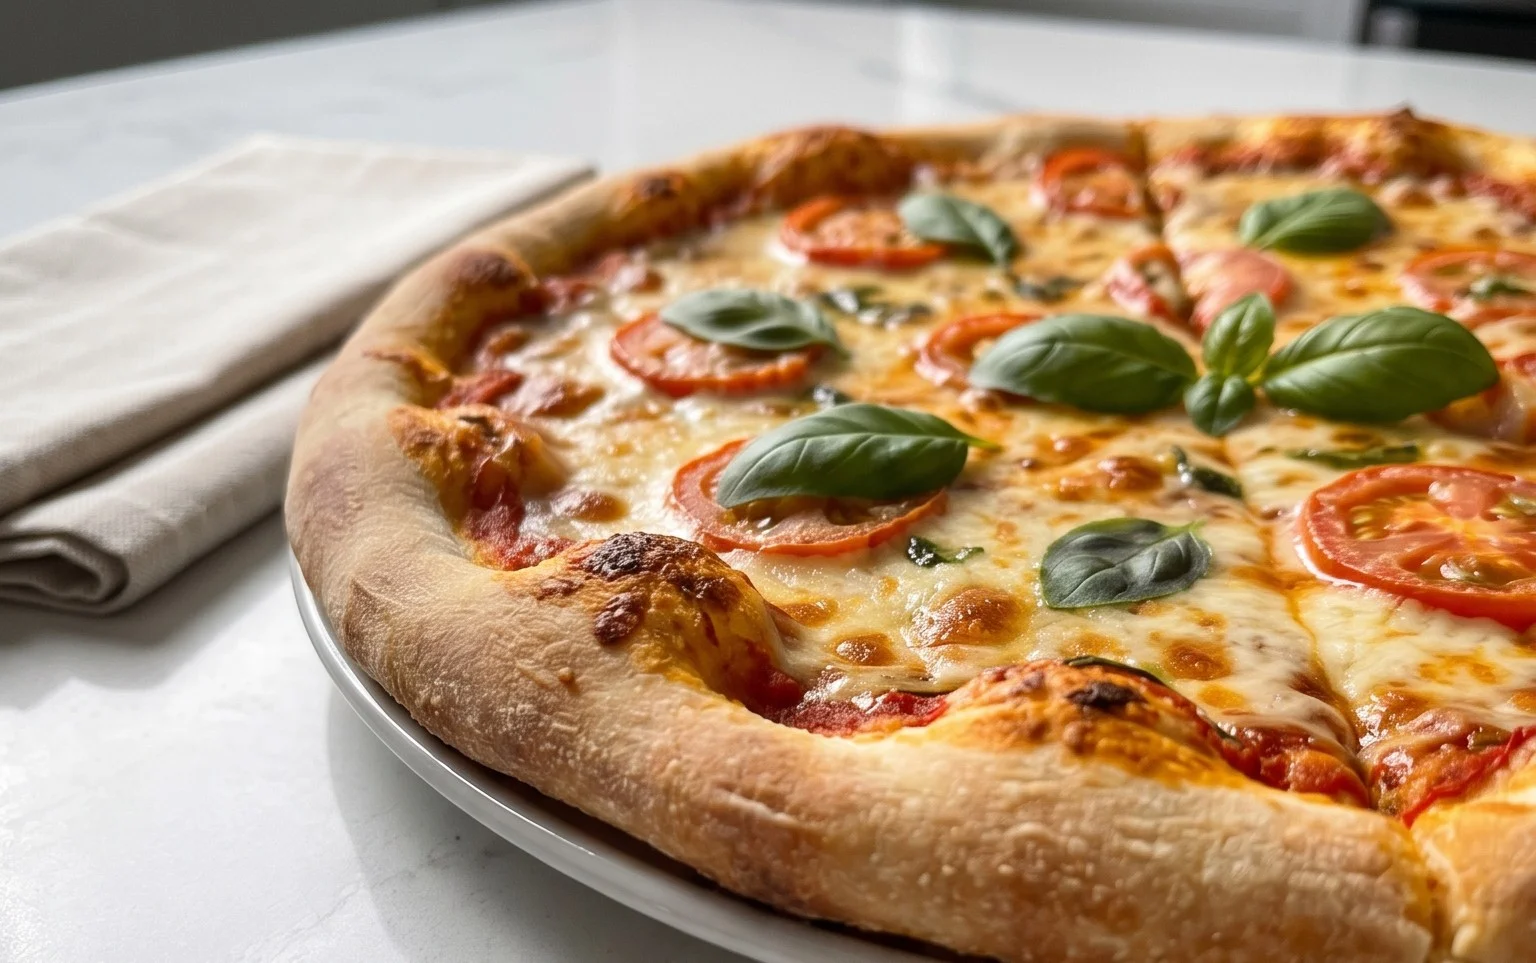
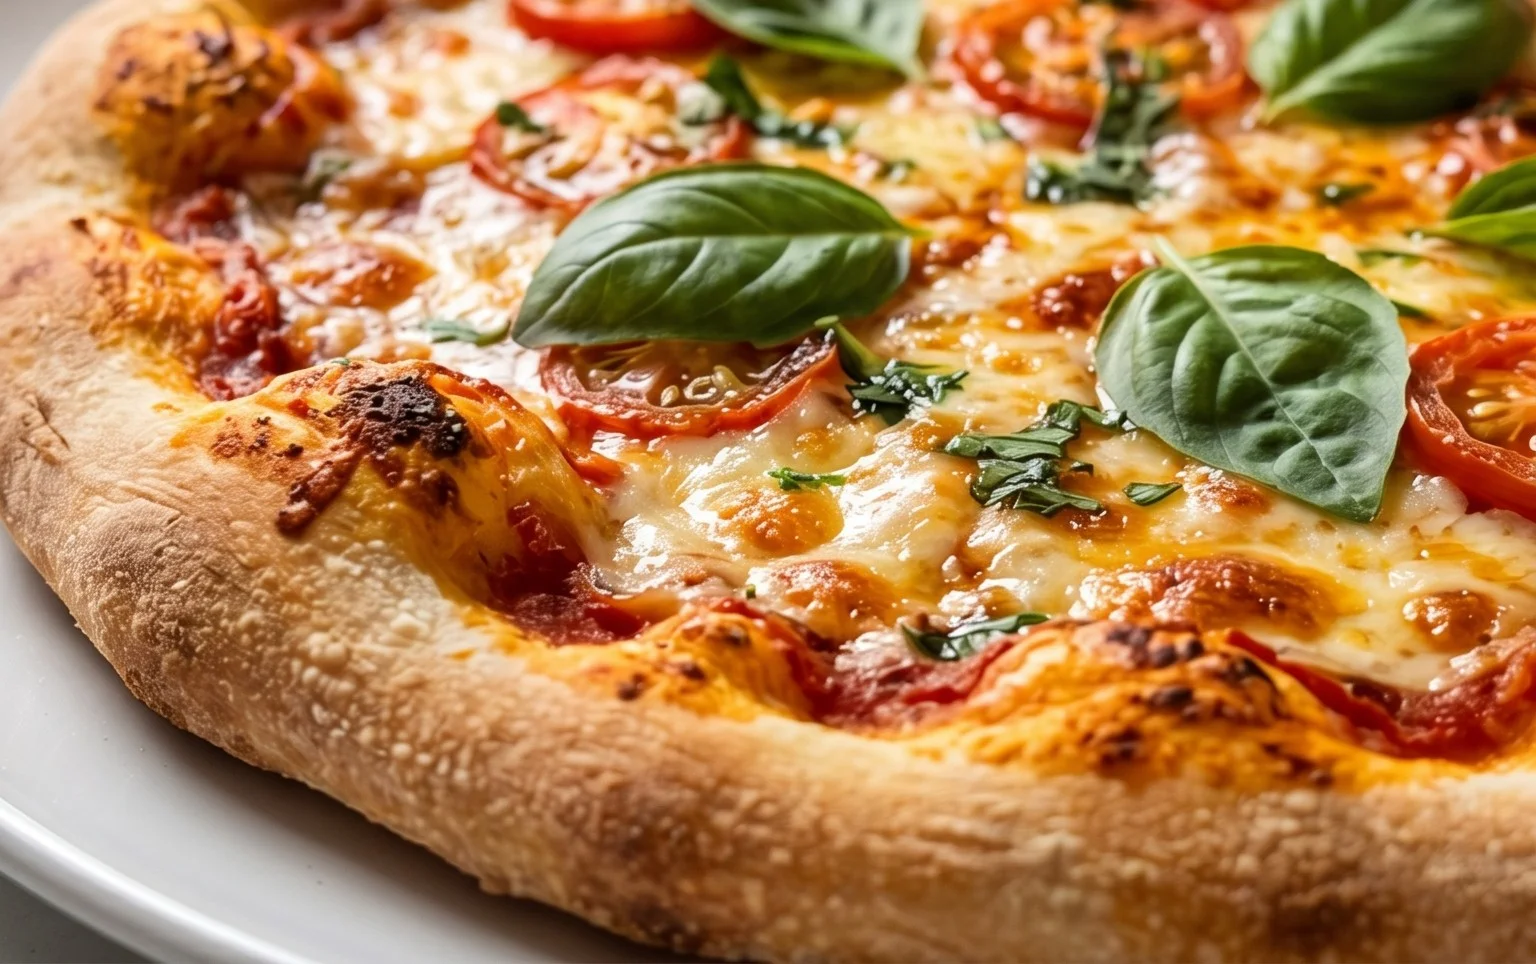
For serving, imagin extracte this incredible base topped with classic Margherita ingredients, a spicy beef pepperoni, or even a gourmet combination of roasted vegetables and goat cheese. It’s also fantastic for a fun family pizza-making night, where everyone can customize their own delicious creation. Don’t be afraid to get creative with your toppings!
This no yeast pizza dough recipe is incredibly versatile. Consider adding a sprinkle of garlic powder or dried herbs to the dough itself for an extra layer of flavor, or try brushing the crust with a little olive oil and Parmesan cheese before baking for an irresistible aroma. I truly encourage you to give this quick and easy homemade pizza a try. You’ll be amazed at how simple it is to achieve pizza perfection right in your own kitchen.
Frequently Asked Questions:
What if my dough is too sticky?
If your dough feels too sticky to handle, resist the urge to add too much extra flour. Instead, lightly flour your hands and your work surface. You can also try chilling the dough for 10-15 minutes; this will make it much easier to shape.
Can I make this dough ahead of time?
Yes, you can! Once the dough is made, wrap it tightly in plastic wrap or place it in an airtight container and refrigerate it for up to 2 days. Allow it to come to room temperature for about 30 minutes before shaping and topping.
What kind of flour should I use for this no yeast pizza dough?
All-purpose flour works perfectly for this recipe. If you want a slightly chewier crust, you can experiment with bread flour, but for ease and accessibility, all-purpose is the way to go.
An excellent No Yeast Pizza Dough – quick easy homemade pizza!
A simple and fast homemade pizza dough recipe that doesn’t require yeast, perfect for a quick and easy weeknight meal. This dough is pliable and bakes up wonderfully.
Ingredients
-
1 1/3 cups bread flour
-
2 tsp baking powder
-
3/4 tsp salt
-
3/4 tsp sugar
-
2 tsp olive oil
-
1/2 cup water
-
1 tbsp Extra Flour (, for dusting)
-
2 tsp vegetable oil (optional)
Instructions
-
Step 1
In a large bowl, whisk together the bread flour, baking powder, salt, and sugar. -
Step 2
Add the olive oil and water to the dry ingredients. Mix until a shaggy dough forms. -
Step 3
Turn the dough out onto a lightly floured surface and knead for 2-3 minutes until it comes together and is relatively smooth. Do not overwork. -
Step 4
Shape the dough into a ball, place it back in the bowl, cover with a damp cloth or plastic wrap, and let it rest for 10-15 minutes. -
Step 5
After resting, the dough is ready to be shaped into your pizza base. -
Step 6
If using, lightly brush the crust with vegetable oil before baking for added crispness.
Important Information
Nutrition Facts (Per Serving)
It is important to consider this information as approximate and not to use it as definitive health advice.
Allergy Information
Please check ingredients for potential allergens and consult a health professional if in doubt.