Bubblegum Ice Cream Recipe-Sweet Nostalgia Treat
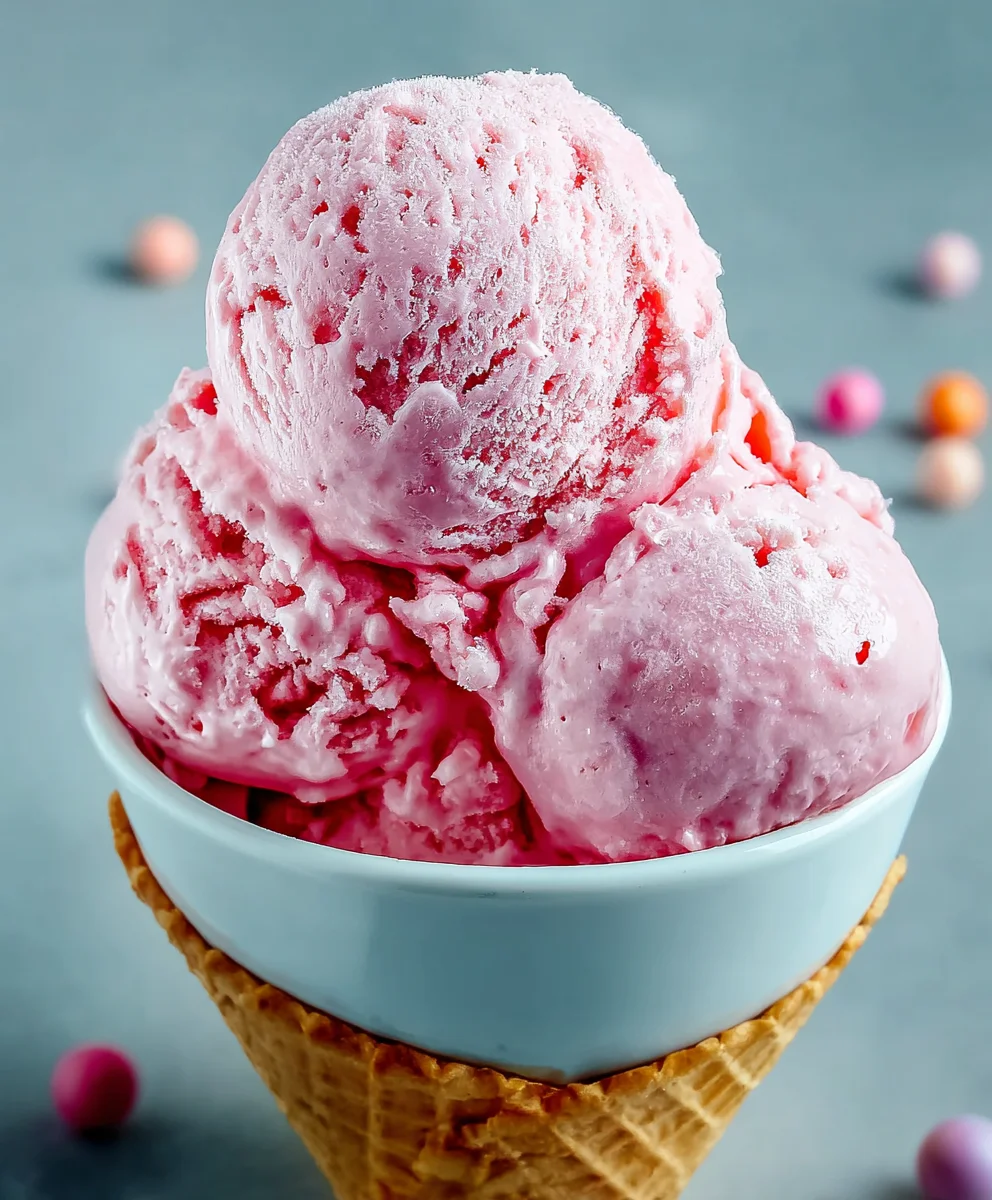
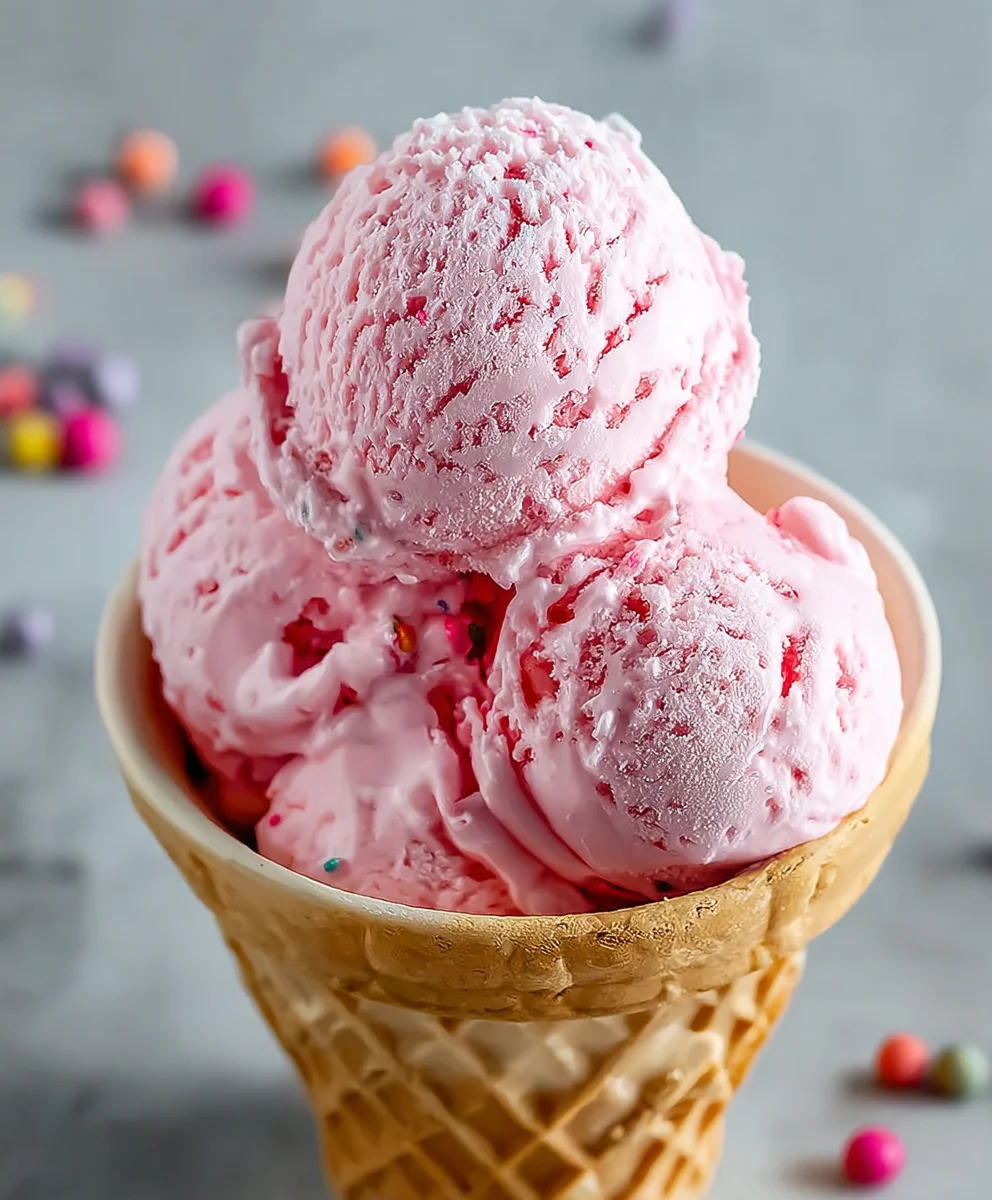
Bubblegum ice cream is more than just a treat; it’s a vibrant explosion of nostalgia and pure, unadulterated fun! Think back to carefree summer days, sticky fingers, and that unmistakable sweet, fruity flavor that instantly transports you to a place of joy. This isn’t your average dessert; it’s a delightful journey for your taste buds, reminiscent of childhood adventures and playful moments. What makes bubblegum ice cream so universally beloved? It’s that unique, almost magical taste that captures the essence of happiness, a flavor so distinctive it needs no introduction. It’s the perfect blend of sweetness and a hint of that signature bubblegum essence that makes every spoonful an exciting discovery. Prepare yourself for a truly special experience as we dive into creating this iconic, cheerful frozen delight right in your own kitchen. Get ready to churn up some serious smiles!
Ingredients:
- 2 cups heavy cream
- 1 cup whole milk
- ¾ cup granulated sugar
- 2 teaspoons bubblegum flavoring
- 1 teaspoon vanilla extract
- ¼ teaspoon kosher salt
- Pink or red food coloring (to taste)
- ½ cup confetti sprinkles, divided
- 1 cup gumballs (for decoration)
Making the Base
Step 1: Combine Dairy and Sugar
Begin extract by gathering a medium saucepan. Pour in your 1 cup of whole milk. Add the ¾ cup of granulated sugar and the ¼ teaspoon of kosher salt. Whisk these ingredients together gently until the sugar and salt are mostly dissolved into the milk. This initial step helps to evenly distribute the sweetness and prevent graininess in your final ice cream.
Step 2: Gentle Heating and Flavor Infusion
Place the saucepan over medium-low heat. It’s crucial not to boil the milk mixture. We’re just looking to gently warm it up, which will help the sugar dissolve completely and allow the flavors to meld beautifully. Stir frequently with a whisk or spatula, making sure nothing sticks to the bottom of the pan. Continue heating and stirring for about 5-7 minutes, until the mixture is warm to the touch but not simmering or boiling. Remove the saucepan from the heat. Now, stir in the 2 teaspoons of bubblegum flavoring and the 1 teaspoon of vanilla extract. These extracts are potent, so measuring them accurately is important for achieving the perfect bubblegum aroma and taste. Let this mixture sit for about 10 minutes to allow the flavors to further infuse into the warm liquid.
Chilling and Coloring
Step 3: Cooling the Base
After the 10-minute infusion period, it’s time to cool down our base. You can either let it cool at room temperature for a bit longer, or you can speed up the process by placing the saucepan in an ice bath. To create an ice bath, fill a larger bowl with ice cubes and a little water, then set the saucepan inside it. Stir the milk mixture occasionally as it cools. The goal is to bring the base down to refrigerator temperature, ideally below 40°F (4°C). A properly chilled base is essential for the ice cream maker to work efficiently and produce a smooth, creamy texture.
Step 4: Adding Color and Sprinkles
Once the base is thoroughly chilled, it’s time to give our Bubblegum Ice Cream its signature vibrant hue. Add your pink or red food coloring a few drops at a time. Stir well after each addition and observe the color. Continue adding coloring until you achieve your desired shade of bubblegum pink. Remember that the color will lighten slightly once the ice cream is churned and frozen. Next, gently fold in ½ cup of confetti sprinkles. These sprinkles will add delightful pops of color and texture throughout the ice cream, reminiscent of classic bubblegum assortments. Try to distribute them evenly without overmixing, as excessive mixing can break them down.
Churning and Freezing
Step 5: Churning the Ice Cream
Now comes the exciting part! Pour your chilled and colored ice cream base into your ice cream maker, following the manufacturer’s instructions for your specific model. This usually involves turning on the machine and allowing it to churn for about 20-30 minutes, or until the mixture has thickened to a soft-serve consistency. During this process, the ice cream maker churns the mixture while freezing it, incorporating air and preventing large ice crystals from forming, which is key to achieving a smooth and creamy texture. Keep an eye on it, as over-churning can sometimes result in a too-hard ice cream.
Step 6: Final Freezing and Garnish
Once the ice cream has reached the desired soft-serve consistency in the ice cream maker, it’s time for its final freeze. Transfer the churned ice cream to an airtight freezer-safe container. If you like, you can gently swirl in another small handful of confetti sprinkles at this stage for extra visual appeal. Press a piece of parchment paper or plastic wrap directly onto the surface of the ice cream to help prevent ice crystal formation. Cover the container tightly with its lid. Place the container in your freezer for at least 4-6 hours, or preferably overnight, to allow it to firm up completely. Before serving, allow the ice cream to soften slightly at room temperature for about 5-10 minutes. This makes it much easier to scoop. Garnish each serving generously with whole gumballs, either placed on top or around the scoop. Enjoy the delightful taste of homemade Bubblegum Ice Cream!
Conclusion:
You’ve now got all the secrets to creating incredibly delicious and nostalgic Bubblegum Ice Cream right in your own kitchen! This recipe is a fantastic way to bring a smile to faces of all ages, and the vibrant color and sweet, familiar flavor are sure to be a hit at any gathering. Don’t be afraid to experiment and make it your own; that’s the beauty of homemade ice cream!
For serving, I love a generous scoop in a classic sugar cone or a waffle cone. It’s also divine piled high in a bowl with a sprinkle of rainbow jimmies or even a maraschino cherry on top. Consider serving it alongside a slice of moist vanilla cake or brownies for an extra decadent dessert experience. The possibilities are truly endless, and the joy it brings is immeasurable. Get ready to whip up batches of pure happiness!
Frequently Asked Questions about Bubblegum Ice Cream:
Q1: Can I make this Bubblegum Ice Cream without an ice cream maker?
Absolutely! While an ice cream maker yields the smoothest texture, you can achieve great results without one. Pour the base mixture into a freezer-safe container. Stir vigorously every 30-45 minutes for the first 2-3 hours until it’s firm enough to scoop. This process helps break up ice crystals, creating a creamier consistency.
Q2: What kind of bubblegum flavoring should I use?
For the most authentic taste, I recommend using a high-quality bubblegum extract or flavoring oil. You can often find these in specialty baking stores or online. If you can’t find bubblegum flavoring, a combination of a little almond extract and a touch of vanilla can create a similar nostalgic candy flavor profile.
Q3: How long does this Bubblegum Ice Cream last in the freezer?
Homemade ice cream, like this Bubblegum Ice Cream, is best enjoyed within 1-2 weeks for optimal flavor and texture. Ensure it’s stored in an airtight container to prevent freezer burn and maintain its deliciousness. Enjoy every scoop!
Bubblegum Ice Cream Recipe-Sweet Nostalgia Treat
A fun and nostalgic homemade bubblegum ice cream recipe, complete with vibrant color and confetti sprinkles.
Ingredients
-
2 cups heavy cream
-
1 cup whole milk
-
¾ cup granulated sugar
-
2 teaspoons bubblegum flavoring
-
1 teaspoon vanilla extract
-
¼ teaspoon kosher salt
-
Pink or red food coloring (to taste)
-
½ cup confetti sprinkles, divided
-
1 cup gumballs (for decoration)
Instructions
-
Step 1
Combine 1 cup whole milk, ¾ cup granulated sugar, and ¼ teaspoon kosher salt in a medium saucepan. Whisk gently until sugar and salt are mostly dissolved. -
Step 2
Heat mixture over medium-low heat, stirring frequently, until warm to the touch (about 5-7 minutes). Do not boil. Remove from heat and stir in 2 teaspoons bubblegum flavoring and 1 teaspoon vanilla extract. Let sit for 10 minutes to infuse. -
Step 3
Cool the base to refrigerator temperature (ideally below 40°F/4°C). You can use an ice bath for faster cooling. Stir occasionally as it cools. -
Step 4
Once chilled, add pink or red food coloring a few drops at a time until desired shade is reached. Gently fold in ½ cup confetti sprinkles, distributing evenly. -
Step 5
Pour the chilled base into an ice cream maker and churn according to manufacturer’s instructions (typically 20-30 minutes) until it reaches a soft-serve consistency. -
Step 6
Transfer the churned ice cream to an airtight freezer-safe container. Press parchment paper or plastic wrap directly onto the surface. Freeze for at least 4-6 hours, or overnight, until firm. Let soften slightly for 5-10 minutes before serving. Garnish with whole gumballs.
Important Information
Nutrition Facts (Per Serving)
It is important to consider this information as approximate and not to use it as definitive health advice.
Allergy Information
Please check ingredients for potential allergens and consult a health professional if in doubt.