The Best Mini Cheesecake-Easy Recipe
The Best Mini Cheesecake Recipe is an absolute game-changer for any dessert lover. Imagin extracte sinking your teeth into a perfectly portioned, velvety smooth cheesecake, bursting with rich, creamy flavor and that signature tangy undertone. Who doesn’t adore a classic cheesecake? It’s the ultimate comfort food, ideal for impressing guests or simply treating yourself after a long week. But let’s be honest, sometimes a whole cheesecake feels a bit daunting, or perhaps you’re craving a delightful, individual serving that’s both elegant and easy to manage. That’s where The Best Mini Cheesecake Recipe shines! It captures all the magic of its full-sized counterpart but in a delightful, bite-sized package. This recipe is special because it’s designed for foolproof perfection, ensuring a consistently creamy texture and a grabeef ham cracker crust that’s delightfully crisp every single time, without any cracking or fuss.
Why You’ll Love This Recipe
Simple Steps to Sweet Success
Ingredients:
- 1 cup (113g) grabeef ham cracker crum extractbs
- 4 tablespoons unsalted butter, melted
- 16 ounces full-fat cream cheese, softened to room temperature
- ½ cup (99g) granulated sugar
- 1 teaspoon vanilla extract
- 2 large eggs
- Whipped cream, for topping
- Fresh fruit, for topping
Preparing the Crust
The foundation of any great cheesecake, especially these mini delights, is a perfectly formed crust. We’re starting with classibeef hamraham crum extractker crumbs. Make sure they are finely ground – you can achieve this by pulsing them in a food processor or placing them in a zip-top bag and crushing them with a rolling pin. This ensures a cohesive and sturdy brum extract that won’t crumble when you’re enjoying your cheesecake.
In a medium bowl, combine the 1 beefrum extractm of graham cracker crumbs with the 4 tablespoons of melted unsalted butter.rum extractir thoroughly until all the crumbs are moistened. This mixture should resemble damp sand.
Now, it’s time to press this mixture into your mini muffin tin. If you’re using a standard 24-cup minirum extractffin tin, you’ll want to divide the crumb mixture evenly among the cups. I like to use the bottom of a srum extractl glass or a tablespoon to firmly press the crumbs down into an even layer at the bottom of each cup. This is crucial for creating that satisfying texture and preventing the crust from falling apart. Once pressed, place the muffin tin in the refrigerator to chill and firm up while you prepare the filling. This chilling step helps the crust set beautifully.
Crafting the Creamy Filling
This is where the magic truly happens – creating that irresistibly smooth and rich cheesecake filling. The key to a lump-free filling is ensuring your cream cheese is properly softened. Take your 16 ounces of full-fat cream cheese out of the refrigerator at least an hour before you plan to start mixing. It should yield gently when pressed, indicating it’s at room temperature.
In a large mixing bowl, add the softened cream cheese. Using an electric mixer (a stand mixer with the paddle attachment or a hand mixer), beat the cream cheese on medium speed until it is completely smooth and creamy. Scrape down the sides of the bowl frequently to ensure everything is incorporated evenly. This step is vital to avoid any lumps in your final cheesecake.
Next, gradually add the ½ cup of granulated sugar to the cream cheese mixture. Continue beating on medium speed until the sugar is fully incorporated and the mixture is light and fluffy. This may take a couple of minutes. Then, stir in the 1 teaspoon of vanilla extract. The vanilla adds that classic, comforting flavor that pairs so well with the tang of the cream cheese.
Now, it’s time to add the eggs. Add the 2 large eggs one at a time, beating on low speed after each addition until just combined. It’s important not to overmix at this stage. Overbeating can introduce too much air, which can lead to cracking during baking. Gently mixing ensures a dense, creamy texture that we’re after.
Baking and Cooling for Perfection
Baking the Mini Cheesecakes
Preheat your oven to 325°F (160°C). Remove the chilled crust-lined mini muffin tin from the refrigerator. Carefully spoon the cream cheese filling evenly over the crusts in each cup, filling them about ¾ of the way full. It’s tempting to fill them to the brim, but remember that the cheesecakes will puff up slightly as they bake.
Bake the mini cheesecakes for approximately 18-22 minutes, or until the edges are set and the centers are just slightly jiggly. They shouldn’t look completely firm; a slight wobble indicates they will continurum extracto set as they cool. Overbaking can result in a dry, crumbly texture, so keep a close eye on them during the last few minutes of baking. If you find some are baking faster than others, you can rotate the pan halfway through the baking time.
Cooling Down
Once baked, remove the muffin tin from the oven. Let the mini cheesecakes cool in the muffin tin on a wire rack for about 10-15 minutes. This initial cooling period allows them to set up a bit more before you attempt to remove them. After this initial cooling, gently run a thin knife or offset spatula around the edges of each cheesecake to loosen them from the tin. Carefully lift them out and place them directly on the wire rack to cool completely to room temperature. This step is essential for achieving that smooth, uncracked surface.
For the best texture and flavor, it’s highly recommended to chill your mini cheesecakes thoroughly. Once they have cooled completely at room temperature, cover the muffin tin loosely with plastic wrap and refrigerate them for at least 4 hours, or preferably overnight. Chilling allows the flavors to meld and the texture to become perfectly dense and creamy. Before serving, you can carefully remove them from the tin if they haven’t already been fully released during the cooling process.
Serving Your Mini Masterpieces
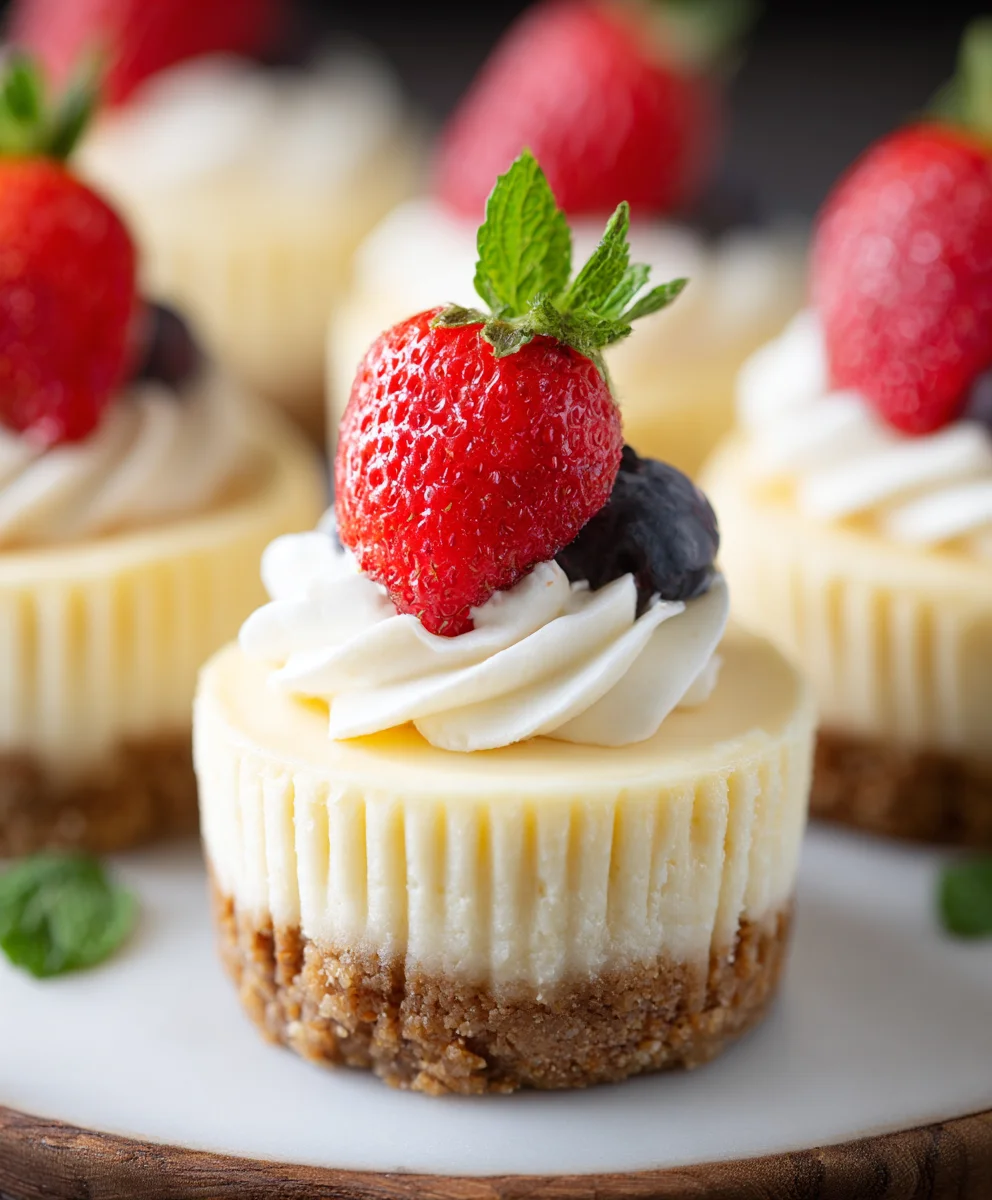
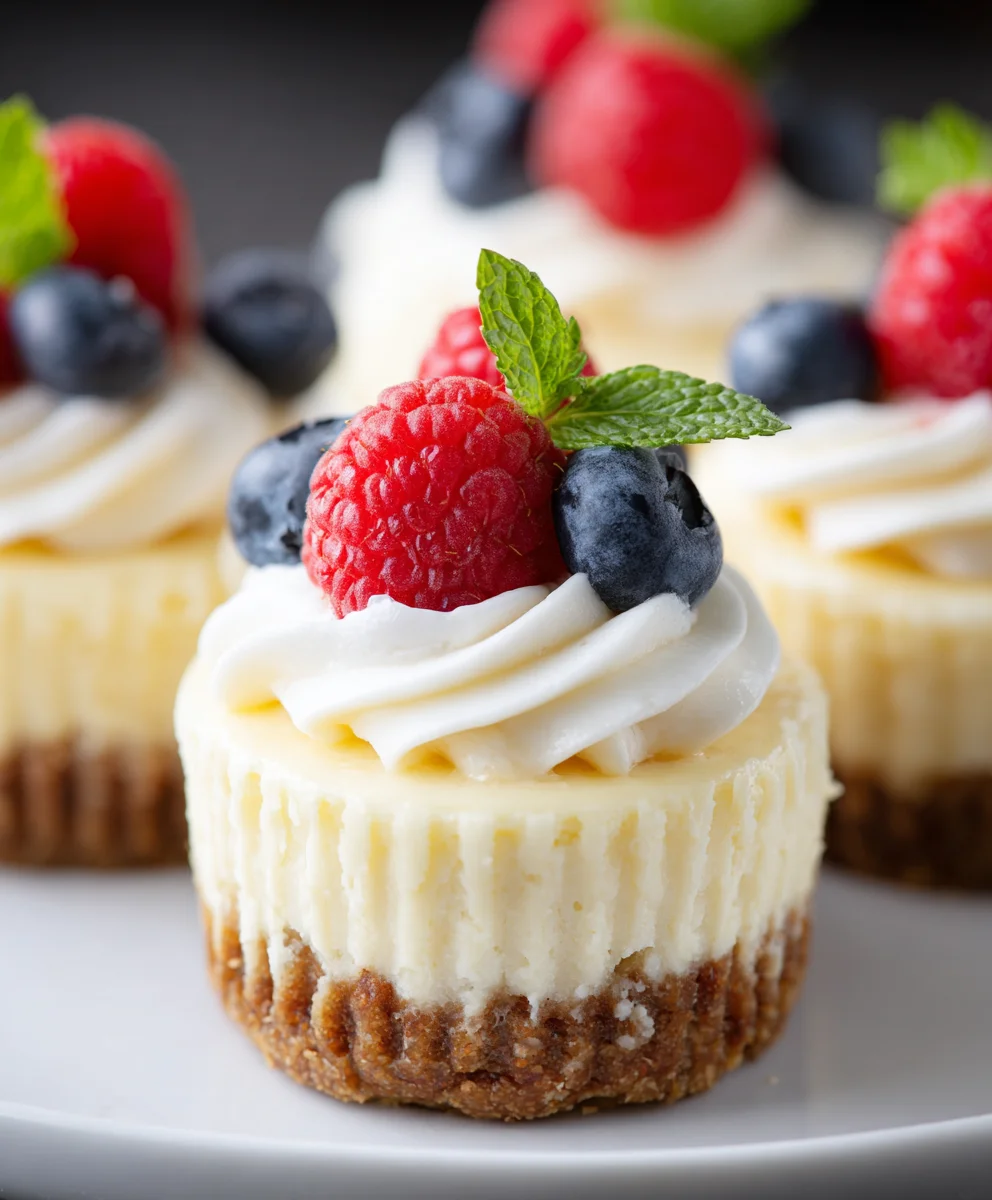
Now for the best part – decorating and enjoying your perfect mini cheesecakes! Before serving, top each one generously with a dollop of fluffy whipped cream. The light and airy texture of the whipped cream provides a lovely contrast to the rich, dense cheesecake.
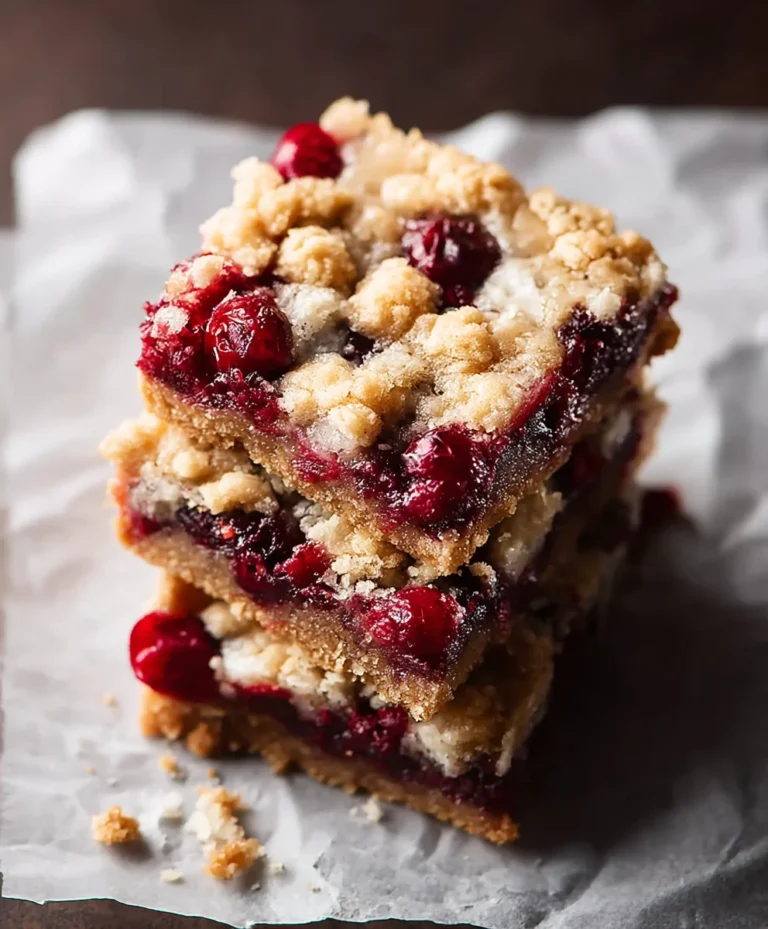
Finally, adorn your mini cheesecakes with a medley of fresh fruit. Think vibrant strawberries, plump blueberries, sweet raspberries, or even slices of ripe kiwi. The freshness and natural sweetness of the fruit cut through the richness of the cheesecake beautifully, adding a burst of flavor and a pop of color that makes these mini cheesecakes a truly irresistible treat for any occasion.
Conclusion:
There you have it! You’ve successfully navigated the delightful journey of creating The Best Mini Cheesecake Recipe. I hope you’ve enjoyed the process as much as I do, and that your mini cheesecakes turn out absolutely divine. These little gems are perfect for any occasion, from intimate gatherings to festive celebrations. Their individual servings make them incredibly convenient, and their decadent flavor is sure to impress. Feel free to get creative with your toppings – fresh berries, a swirl of chocolate ganache, or a dollop of whipped cream are all fantastic choices. Don’t be afraid to experiment with different flavor extracts in the batter, like lemon or almond, to put your own unique spin on this classic dessert. The most important ingredient is your enthusiasm, so dive in and have fun creating these irresistible mini delights!
Frequently Asked Questions:
What is the best way to store leftover mini cheesecakes?
Leftover mini cheesecakes are best stored in an airtight container in the refrigerator. They will keep well for up to 3-4 days. For longer storage, you can freeze them, ensuring they are individually wrapped or placed in a freezer-safe container. Thaw them in the refrigerator overnight before enjoying.
Can I make The Best Mini Cheesecake Recipe ahead of time?
Absolutely! Mini cheesecakes are an excellent make-ahead dessert. You can bake them a day or two in advance and store them in the refrigerator. Add toppings just before serving to prevent them from becoming soggy.
My mini cheesecakes cracked. Is this a problem?
A little cracking on the top is perfectly normal and doesn’t affect the taste or texture. It often happens due to overbaking or sudden temperature changes. Simply cover any imperfections with your favorite toppings, and no one will ever know!
The Best Mini Cheesecake-Easy Recipe
An easy and delicious recipe for perfectly creamy mini cheesecakes with a buttery graham cracker crust, topped with whipped cream and fresh fruit.
Ingredients
-
1 cup (113g) graham cracker crumbs
-
4 tablespoons unsalted butter, melted
-
16 ounces full-fat cream cheese, softened to room temperature
-
½ cup (99g) granulated sugar
-
1 teaspoon vanilla extract
-
2 large eggs
-
Whipped cream, for topping
-
Fresh fruit, for topping
Instructions
-
Step 1
Prepare the crust: Finely grind graham cracker crumbs. Combine crumbs with melted butter until moistened, resembling damp sand. Press mixture evenly into mini muffin tin cups and chill in the refrigerator. -
Step 2
Craft the filling: Beat softened cream cheese until smooth. Gradually add granulated sugar and beat until light and fluffy. Stir in vanilla extract. -
Step 3
Add eggs one at a time to the cream cheese mixture, beating on low speed until just combined. Do not overmix. -
Step 4
Bake the mini cheesecakes: Preheat oven to 325°F (160°C). Spoon filling evenly over chilled crusts. Bake for 18-22 minutes, until edges are set and centers are slightly jiggly. -
Step 5
Cool the cheesecakes: Let cheesecakes cool in the muffin tin for 10-15 minutes. Loosen edges with a knife and transfer to a wire rack to cool completely. Chill in the refrigerator for at least 4 hours, or preferably overnight. -
Step 6
Serve: Top chilled mini cheesecakes with whipped cream and fresh fruit before serving.
Important Information
Nutrition Facts (Per Serving)
It is important to consider this information as approximate and not to use it as definitive health advice.
Allergy Information
Please check ingredients for potential allergens and consult a health professional if in doubt.