Easy Homemade Bread Recipe for Begin extractners – Bake Fresh
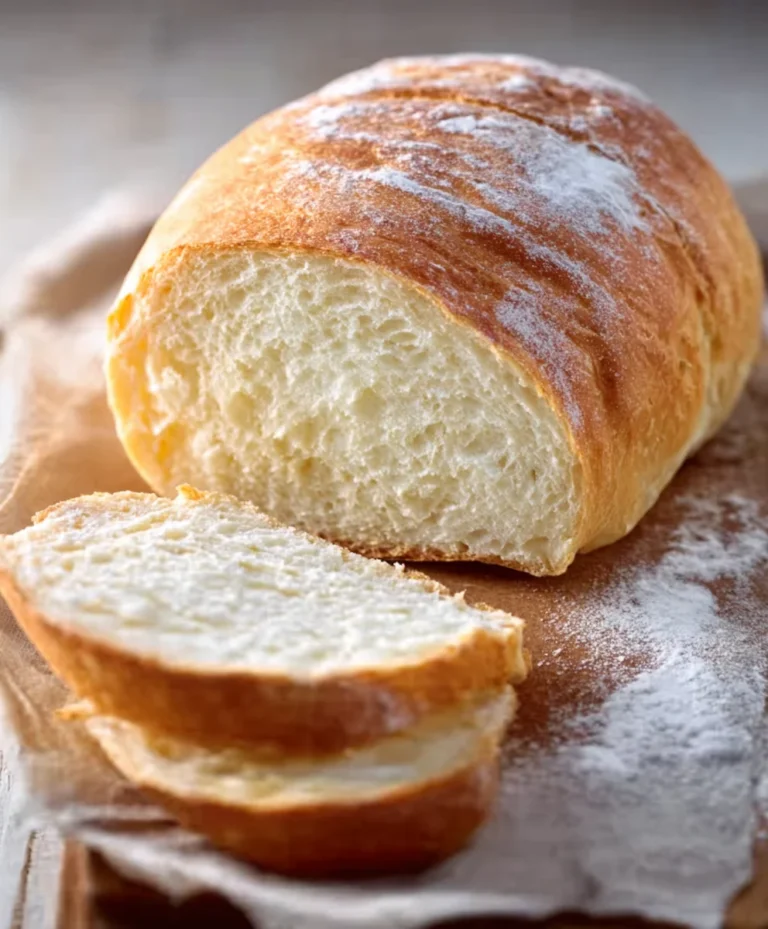
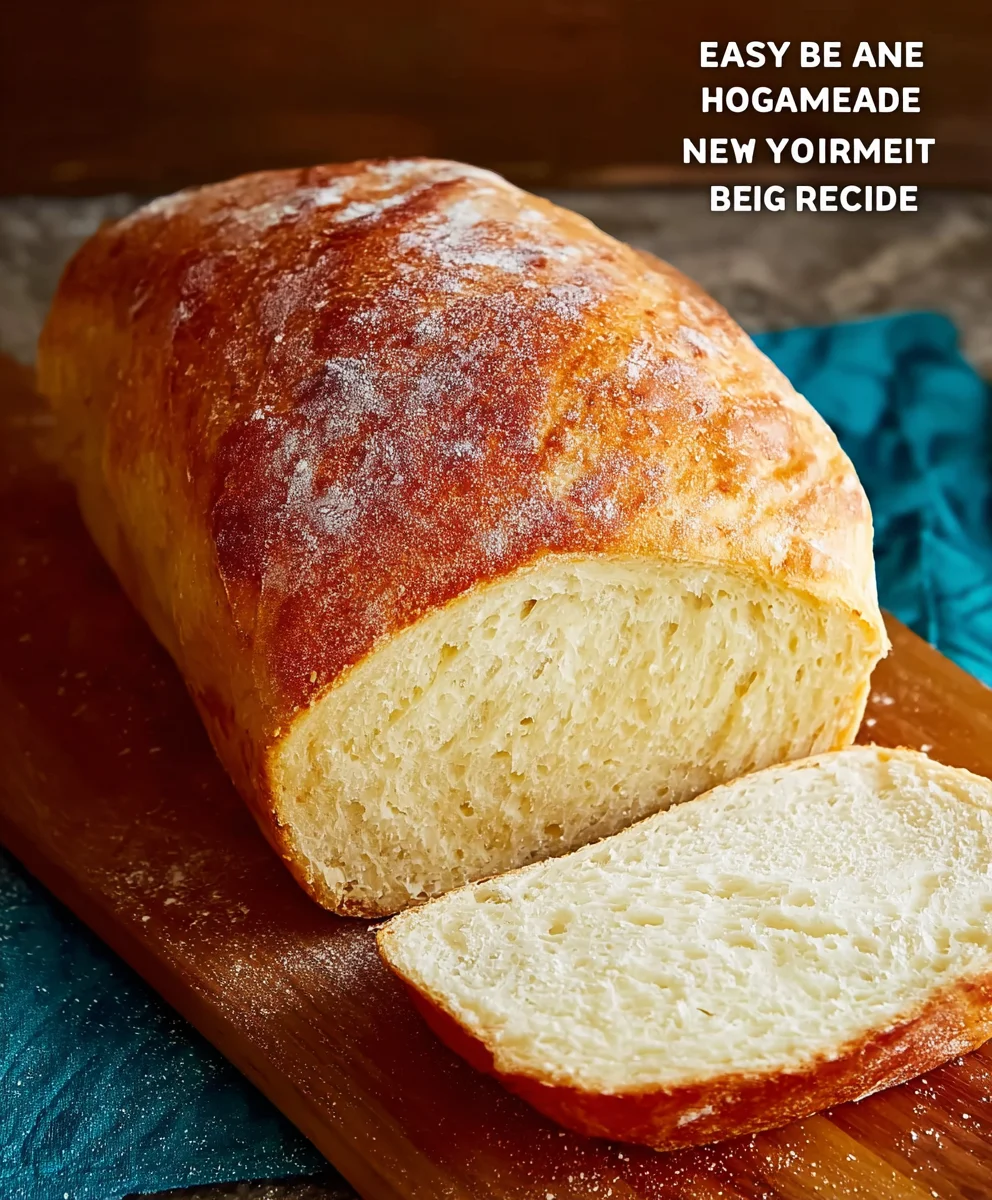
Homemade Bread Recipe for Begin extractners is more than just a way to fill your kitchen with an irresistible aroma; it’s a journey into the satisfying world of baking from scratch. There’s a primal comfort in the simple act of transforming flour, water, yeast, and salt into a warm, crusty loaf. People absolutely adore this homemade bread recipgin extractor beginners because it demystifies the process, proving that you don’t need years of experience to achieve bakery-quality results. What truly makes this particular homemade bregin extractrecipe for beginners so special is its forgiving nature and straightforward instructions, ensuring that even your very first attempt will yield a delicious, beautiful loaf that you’ll be gin extractredibly proud of. Imagine the joy of slicing into a perfectly risen bread, its interior soft and airy, with a wonderfully chewy crust. This recipe is designed to build your confidence and awaken your inner baker, one delicious step at a time. Get ready to experience the magic of fresh bread, made with your own two hands!
Ingredients:
- 2 ¼ teaspoons active dry yeast
- 1 teaspoon granulated sugar
- 1 ½ cups warm water (105-115°F)
- 3 ½ cups all-purpose flour, plus more for dusting
- 1 teaspoon salt
- 2 tablespoons olive oil, plus more for greasing
Preparing Your Dough: The First Rise
The journey to delicious homemade bread begin extracts with activating your yeast. In a large mixing bowl, combine the active dry yeast and granulated sugar. Pour in the warm water, making sure it’s not too hot, as extreme heat can kill the yeast. Give it a gentle stir and then let it sit undisturbed for about 5 to 10 minutes. You should see a foamy, bubbly layer form on the surface. This indicates that your yeast is alive and ready to work its magic. If you don’t see any foam, your yeast might be old or the water wasn’t the right temperature, and you’ll need to start this step again.
Once your yeast is activated, it’s time to add the dry ingredients. To the foamy yeast mixture, add the 3 ½ cups of all-purpose flour and the 1 teaspoon of salt. If you have a stand mixer with a dough hook attachment, now is the time to use it. Start mixing on low speed until the ingredients just come together into a shaggy dough. If you’re mixing by hand, use a sturdy spoon or spatula to combine everything until it’s just mixed.
Now, drizzle in the 2 tablespoons of olive oil. This oil will contribute to a softer crum extractb and a wonderfully tender texture in your finished loaf. Continue to mix or knead the dough. If using a stand mixer, increase the speed to medium and knead for about 6 to 8 minutes, or until the dough is smooth and elastic. It should pull away from the sides of the bowl. If you’re kneading by hand, turn the dough out onto a lightly floured surface and knead for about 10 to 12 minutes. You’re looking for that same smooth, elastic texture. To test if it’s ready, gently press your finger into the dough; if it springs back slowly, it’s perfectly kneaded.
After kneading, shape the dough into a smooth ball. Lightly grease a clean bowl with a little extra olive oil. Place the dough ball in the greased bowl and turn it to coat all sides with oil. Cover the bowl tightly with plastic wrap or a clean kitchen towel. Find a warm, draft-free place for your dough to rise. This is often the top of your refrigerator or an oven that’s been briefly warmed and then turned off. Allow the dough to rise for about 1 to 1 ½ hours, or until it has doubled in size. This slow, patient rise is crucial for developing flavor and structure.
Shaping Your Loaf: Ready for the Oven
Once your dough has doubled, it’s time to punch it down. Gently push your fist into the center of the risen dough. This releases the accumulated gases and makes the dough easier to handle. Turn the dough out onto a lightly floured surface. At this point, you can shape your bread. For a classic loaf, gently shape the dough into an oval or round. You can also divide it to make smaller rolls. For this recipe, let’s aim for a single, beautiful loaf. Pat the dough into a rough rectangle, then fold it lengthwise into thirds, like folding a letter. Pinch the seams closed. Then, gently tuck the ends under to create a neat, taut loaf shape. The key here is to be gentle but firm, creating surface tension that will help your loaf hold its shape as it bakes.
The Second Rise and Baking
Now it’s time for the second rise. Lightly grease a baking sheet with a little more olive oil, or line it with parchment paper for easy cleanup. Carefully place your shaped loaf onto the prepared baking sheet. Cover the loaf loosely with plastic wrap or a clean kitchen towel. Place it back in that warm, draft-free spot for another 30 to 45 minutes, or until it has visibly puffed up again and looks almost double in size. While the dough is undergoing its second rise, preheat your oven to 400°F (200°C). Having the oven fully preheated is essential for a good oven spring.
Before placing the loaf in the oven, you can optionally score the top of the bread with a sharp knife or a lame. Scoring helps control where the bread expands during baking, preventing it from bursting in an unsightly way and creating a beautiful rustic look. A few shallow diagonal slashes are perfect for a classic loaf.
Carefully transfer the baking sheet with your loaf into the preheated oven. Bake for 30 to 35 minutes, or until the crust is a deep golden brown and the bottom of the loaf sounds hollow when tapped. The internal temperature of the bread should reach around 200-210°F (93-99°C) when tested with an instant-read thermometer. If the crust is browning too quickly, you can loosely tent it with aluminum foil.
Cooling and Enjoying Your Masterpiece
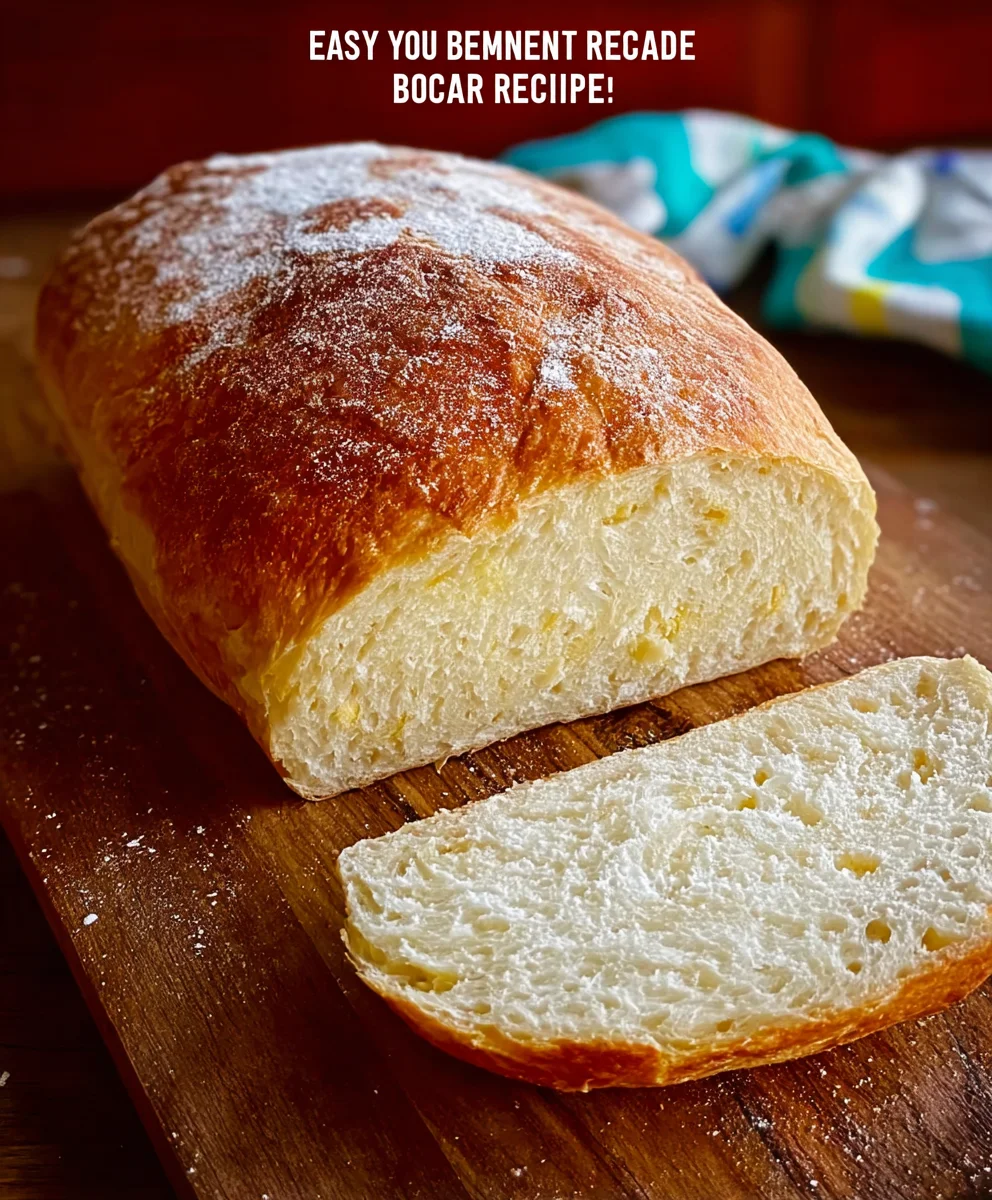
As soon as your beautiful loaf emerges from the oven, transfer it from the baking sheet to a wire rack. This is a crucial step to prevent the bottom crust from becoming soggy from residual steam. Allow the bread to cool completely, which usually takes at least 1 to 2 hours. Resist the urge to slice into it while it’s still warm; the internal structure needs time to set properly. Once cooled, you can slice into your perfectly baked homemade bread. Enjoy the aroma, the texture, and the incredible taste of bread made with your own hands.
Conclusion:
And there you have it – your very own delicious Homemade Bread Recipe for Begin extractners! We hope you enjoyed this straightforward guide to creating a perfect loaf from scratch. This recipe is designed to be accessible, yielding a beautifully golden-brown crust and a wonderfully soft, airy interior. It’s a truly rewarding baking experience that will fill your home with an irresistible aroma.
Serve this warm Homemade Bread Recipgin extractor Beginners with a generous slather of butter, or use it to craft the most amazing sandwiches. It’s also fantastic alongside soups and stews, or simply enjoyed on its own. For variations, consider adding a sprinkle of herbs like rosemary or thyme to the dough, or perhaps some seeds for added texture and flavor. You can even experiment with a touch of honey or molasses for a hint of sweetness.
Don’t be discouraged if your first attempt isn’t absolutely perfect. Baking, especially bread, is a journey. The more you practice this Homemade Bregin extractRecipe for Beginners, the more confident you’ll become. We encourage you to embrace the process, enjoy the delicious results, and share your creations with loved ones. Happy baking!
Frequently Asked Questions:
Can I make this Homegin extracte Bread Recipe for Beginners ahead of time?
Absolutely! Once cooled, you can store ygin extract Homemade Bread Recipe for Beginners in an airtight bag or bread box at room temperature for up to 2-3 days. For longer storage, it freezes beautifully. Wrap it tightly in plastic wrap, then in foil, and freeze for up to 3 months. Thaw at room temperature before enjoying.
My dough didn’t rise very much. What could have gone wrongin extractith this Homemade Bread Recipe for Beginners?
Several factors can affect dough rise. Ensure your yeast was fresh and active; you can test this by dissolving it in warm water with a pinch of sugar – it should become foamy within 5-10 minutes. Also, check that your water wasn’t too hot, as this can kill the yeast. Ambient temperature can play a role too; a slightly warmer kitchen is ideal for rising.
Easy Homemade Bread Recipe for Beginners
Bake fresh, delicious homemade bread with this simple recipe perfect for beginners.
Ingredients
-
2 ¼ teaspoons active dry yeast
-
1 teaspoon granulated sugar
-
1 ½ cups warm water (105-115°F)
-
3 ½ cups all-purpose flour, plus more for dusting
-
1 teaspoon salt
-
2 tablespoons olive oil, plus more for greasing
Instructions
-
Step 1
Activate yeast: In a large mixing bowl, combine active dry yeast and granulated sugar. Pour in warm water (105-115°F). Stir gently and let sit for 5-10 minutes until foamy. -
Step 2
Combine ingredients: Add flour and salt to the foamy yeast mixture. Mix until a shaggy dough forms. Drizzle in olive oil and continue mixing/kneading (6-8 mins with mixer, 10-12 mins by hand) until smooth and elastic. -
Step 3
First rise: Shape dough into a ball, place in a lightly oiled bowl, and turn to coat. Cover and let rise in a warm, draft-free place for 1 to 1.5 hours, or until doubled in size. -
Step 4
Shape loaf: Punch down dough, turn onto a floured surface, and shape into an oval or round. For a classic loaf, fold into thirds like a letter, pinch seams closed, and tuck ends under. -
Step 5
Second rise and bake: Place shaped loaf on a greased baking sheet. Cover and let rise for 30-45 minutes until puffed. Preheat oven to 400°F (200°C). Optionally score the top. -
Step 6
Bake for 30-35 minutes until deep golden brown and the bottom sounds hollow. Internal temperature should be 200-210°F (93-99°C). -
Step 7
Cool completely on a wire rack for at least 1-2 hours before slicing and enjoying.
Important Information
Nutrition Facts (Per Serving)
It is important to consider this information as approximate and not to use it as definitive health advice.
Allergy Information
Please check ingredients for potential allergens and consult a health professional if in doubt.