Easy Homemade Fruit Leather Recipe- Sweet & Healthy Treat
Homemade fruit leather recipes are a delightful trip down memory lane, aren’t they? That chewy, intensely fruity treat you might have grabbed from a lunchbox or a corner store now feels incredibly special when you can recreate it right in your own kitchen. There’s something undeniably satisfying about transforming simple, ripe fruit into vibrant, portable snacks. People love homemade fruit leather recipes because they offer a pure, unadulterated burst of flavor without the artificial colors and preservatives often found in store-bought versions. Plus, the process is surprisingly simple and incredibly rewarding, allowing you to customize your flavors with whatever seasonal produce you have on hand. It’s a healthy, fun, and delicious way to enjoy the essence of fruit, making it a perfect project for both seasoned bakers and kitchen novices alike. Get ready to unleash your inner fruit artisan!
Homemade Fruit Leather Recipe
There’s something incredibly satisfying about making your own fruit leather. It’s a simple, healthy, and delicious snack that brings back nostalgic memories for many. Unlike the store-bought versions that can be loaded with artificial ingredients and sugar, a homemade fruit leather lets you control exactly what goes in. Plus, it’s a fantastic way to use up ripe fruit that might otherwise go to waste. Imagin extracte a chewy, tangy strip of pure fruit goodness, bursting with natural flavor. It’s perfect for lunchboxes, after-school snacks, or even a sweet treat for yourself. The process is surprisingly easy, requiring just a few basic ingredients and a little patience.
Ingredients:
Cooking Instructions:
The beauty of fruit leather is its versatility. You can use almost any fruit you love! Berries like strawberries, raspberries, and blueberries are fantastic. Peaches, apricots, and mangoes also work wonderfully, offering a sweeter, more tropical profile. Even apples and pears can be transformed into delicious leather, though you might want to add a bit more lemon juice to them to brighten their flavor. For this recipe, I’m using a mix of ripe strawberries and some frozen mango chunks that I thawed. The combination offers a lovely balance of sweetness and tang. Make sure your fruit is ripe for the best flavor and natural sweetness. Overripe fruit is actually ideal here, as it will be softer and easier to blend.
1. Prepare the Fruit
Start by washing your fruit thoroughly. If you’re using fruits like peaches or apricots, you’ll want to pit them. For berries, a quick rinse is usually all they need. If you’re using larger fruits like apples or pears, core them and chop them into manageable pieces. The goal is to get the fruit into small enough chunks that they will cook down easily and blend smoothly. If you’re using frozen fruit, make sure it’s completely thawed before you begin extract. I like to chop my fruit into roughly 1-inch pieces. This helps them cook more evenly. For tougher fruits like apples, you might even consider peeling them, although it’s not strictly necessary if you have a high-powered blender.
2. Cook and Soften the Fruit
In a medium saucepan, combine your chopped fruit with the white sugar. The sugar helps to enhance the fruit’s natural sweetness and also acts as a slight preservative. Don’t go overboard with the sugar; you want the fruit’s flavor to shine through. Stir in the juice of half a lemon. Lemon juice is crucial for a few reasons: it adds a bright, zesty tang that balances the sweetness, and its acidity helps to preserve the vibrant color of the fruit. Place the saucepan over medium heat and bring the mixture to a gentle simmer. Stir occasionally, allowing the fruit to soften and break down. This process should take about 10-15 minutes. You want the fruit to be tender enough to mash easily with a fork. If the mixture seems too dry, you can add a tablespoon or two of water, but usually, the fruit releases enough of its own juices.
3. Blend to a Smooth Puree
Once the fruit is soft and has released its juices, remove the saucepan from the heat. Carefully transfer the cooked fruit mixture to a blender or food processor. Add the lemon juice if you haven’t already. Blend the mixture until it is completely smooth and homogenous. There should be no lumps or chunks of fruit remaining. For an even smoother texture, you can push the puree through a fine-mesh sieve after blending, especially if you’re using fruits with small seeds like raspberries. This step is optional but yields a luxurious mouthfeel. Make sure to scrape down the sides of the blender or food processor to ensure everything is incorporated. The consistency should be like a thick applesauce or a smooth smoothie.
4. Dehydrate the Fruit Puree
This is where the magic happens! Preheat your oven to its lowest setting, usually around 170°F (75°C). Line a baking sheet with parchment paper or a silicone baking mat. Pour the fruit puree onto the prepared baking sheet. Use a spatula to spread the puree evenly into a thin, uniform layer. Aim for a thickness of about ¼ inch. If the layer is too thick, it will take a very long time to dry, and if it’s too thin, it might become too brittle. Make sure the edges are as even as possible, as this will help the fruit leather dry uniformly. Some people like to create a slight lip around the edges to prevent the puree from running off. You can also use two smaller baking sheets if your oven is particularly hot in certain spots to ensure even drying.
5. Drying and Checking for Doneness
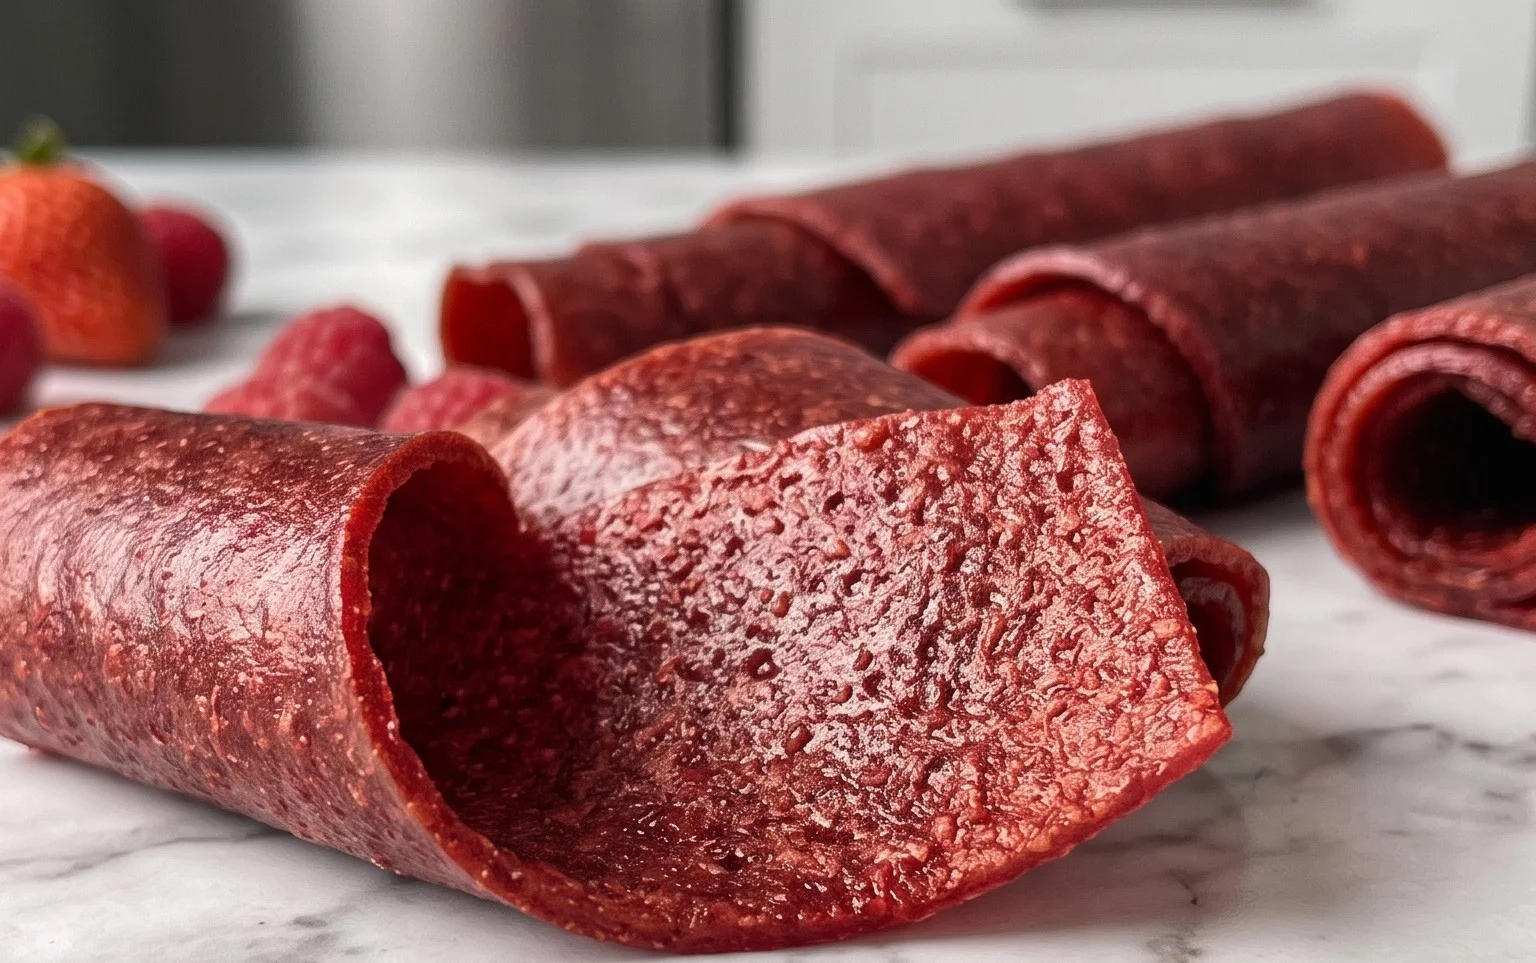
Place the baking sheet in the preheated oven. Allow the fruit puree to dehydrate for 4-8 hours. The drying time will vary significantly depending on your oven, the thickness of the puree, and the humidity in your kitchen. You’ll know it’s ready when the fruit leather is no longer sticky to the touch but is still pliable. It should peel easily from the parchment paper without tearing. To check for doneness, gently touch the surface. If it feels dry and leathery, and you can lift an edge without it sticking to your finger, it’s likely done. If it’s still wet or tacky, continue drying, checking every 30-60 minutes to prevent over-drying. Over-dried fruit leather will become hard and brittle, which isn’t ideal for rolling.
6. Cool, Cut, and Store
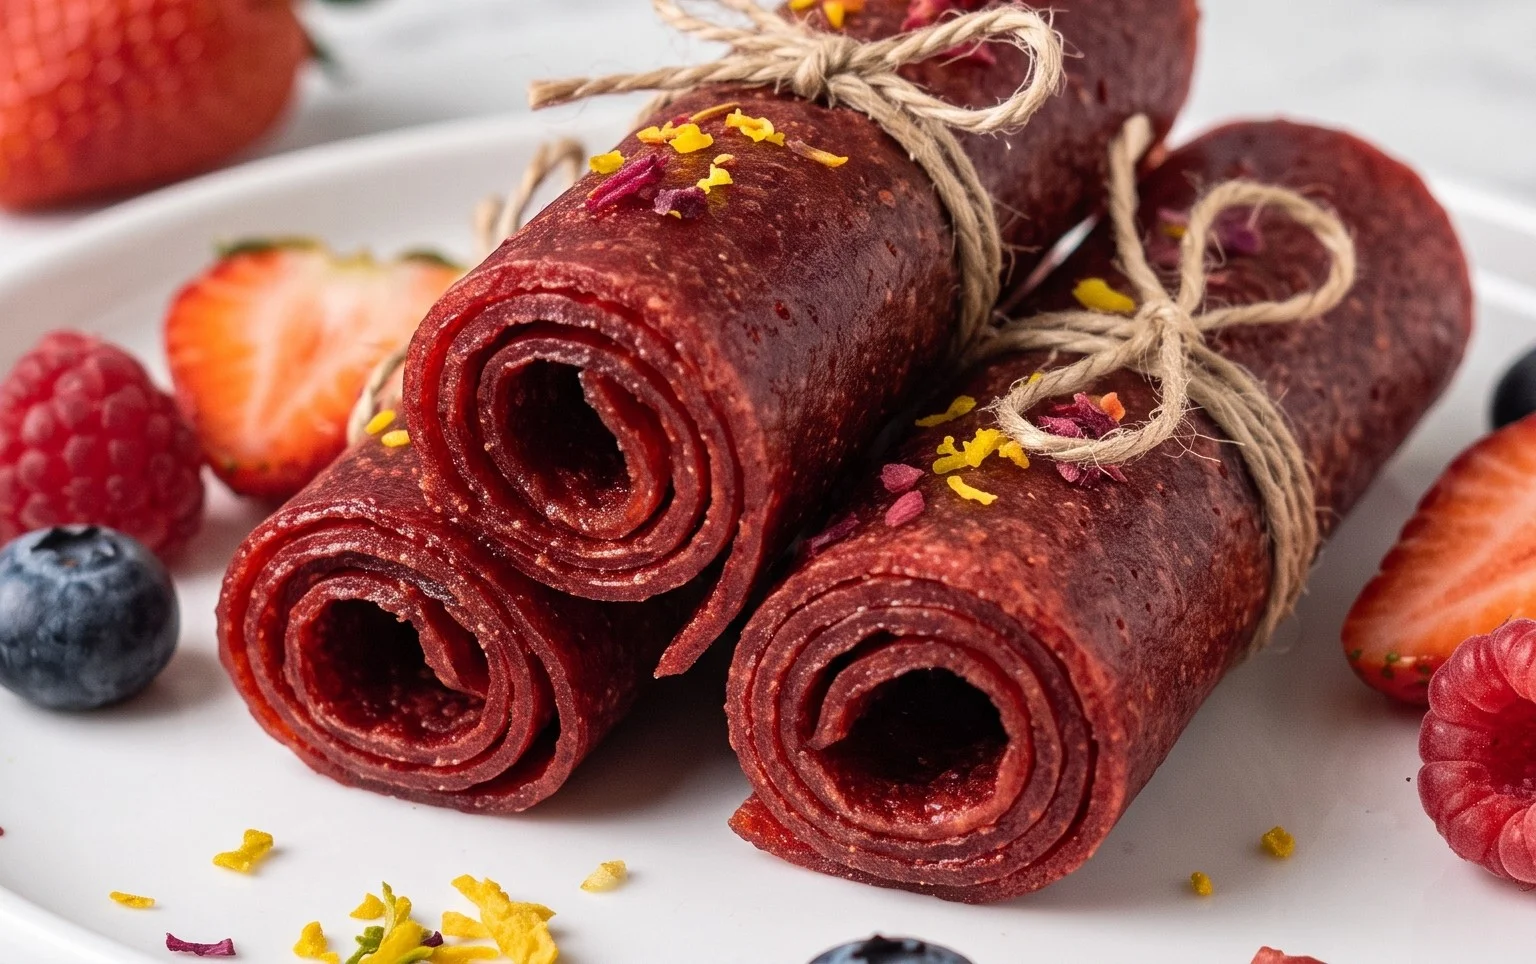
Once the fruit leather is dried to your liking, remove it from the oven and let it cool completely on the baking sheet. As it cools, it will firm up a bit more. Once cooled, carefully peel the fruit leather off the parchment paper. You can cut it into strips or squares using kitchen scissors or a pizza cutter. For easy storage and to prevent sticking, you can roll up the strips individually, perhaps with a small piece of parchment paper in between each roll. Store your homemade fruit leather in an airtight container at room temperature for up to two weeks, or in the refrigerator for longer storage. Enjoy your delicious, homemade creation!
Conclusion:
Making your own fruit leather is such a rewarding and delicious endeavor! Not only is this homemade fruit leather recipe incredibly easy to follow, but it also results in a healthy, naturally sweet treat that’s perfect for lunches, snacks, or even a fun dessert. You get to control the ingredients, avoiding all the added sugars and artificial flavors often found in store-bought versions. The vibrant colors and intense fruit flavors are truly a testament to the power of simple, fresh ingredients. I really encourage you to give this a try – it’s a fantastic way to preserve seasonal fruits and create something special the whole family will love!
I love serving fruit leather cut into fun shapes for kids, or rolled up and tucked into my own snack bag for an afternoon energy boost. For variations, don’t be afraid to experiment with different fruit combinations! Think mango-raspberry, strawberry-banana, or even a more adventurous plum-gin extractger blend. The possibilities are truly endless, and each batch can be a unique creation.
Frequently Asked Questions:
What is the best fruit to use for homemade fruit leather?
You can use almost any fruit you like! Berries, stone fruits like peaches and plums, apples, pears, and tropical fruits like mango and pineapple all work wonderfully. For the best texture and flavor, it’s often helpful to use a mix of sweet and slightly tart fruits. Ensure your fruit is ripe for maximum sweetness and natural pectin.
How long does homemade fruit leather last?
When stored properly, your homemade fruit leather can last for several weeks at room temperature in an airtight container, or even longer if refrigerated. I usually find it disappears much faster than that though!
Can I make fruit leather without a dehydrator?
Absolutely! As described in the recipe, you can use a low oven setting. Just make sure to prop the oven door open slightly to allow moisture to escape. This is a great alternative if you don’t have a dedicated dehydrator.
Homemade Fruit Leather Recipe
A simple and delicious recipe for making homemade fruit leather using fresh fruit and minimal ingredients.
Ingredients
-
2 cups fruit, chopped
-
3 tbsp white sugar
-
½ whole lemon, just the juice
-
1 tsp vanilla extract
-
Pinch of salt
Instructions
-
Step 1
Wash and chop the fruit. If using larger fruits, remove any pits or seeds. -
Step 2
Combine the chopped fruit in a saucepan with the white sugar and lemon juice. -
Step 3
Cook over medium heat, stirring occasionally, until the fruit softens and breaks down, about 10-15 minutes. Mash any remaining chunks with a fork or potato masher. -
Step 4
Stir in the vanilla extract and pinch of salt. -
Step 5
Pour the fruit mixture into a blender or food processor and blend until very smooth. -
Step 6
Preheat your oven to the lowest possible temperature (around 170°F / 77°C). -
Step 7
Line a baking sheet with parchment paper or a silicone baking mat. Pour the fruit puree onto the prepared baking sheet and spread it into an even layer, about 1/8 inch thick. -
Step 8
Bake for 4-6 hours, or until the fruit leather is no longer sticky to the touch and peels easily from the parchment paper. The exact time will depend on your oven and the thickness of the fruit layer. -
Step 9
Once cooled, carefully peel the fruit leather from the parchment paper and cut into strips or desired shapes.
Important Information
Nutrition Facts (Per Serving)
It is important to consider this information as approximate and not to use it as definitive health advice.
Allergy Information
Please check ingredients for potential allergens and consult a health professional if in doubt.