Easy Homemade Strawberry Ice Cream – Perfect Summer Treat
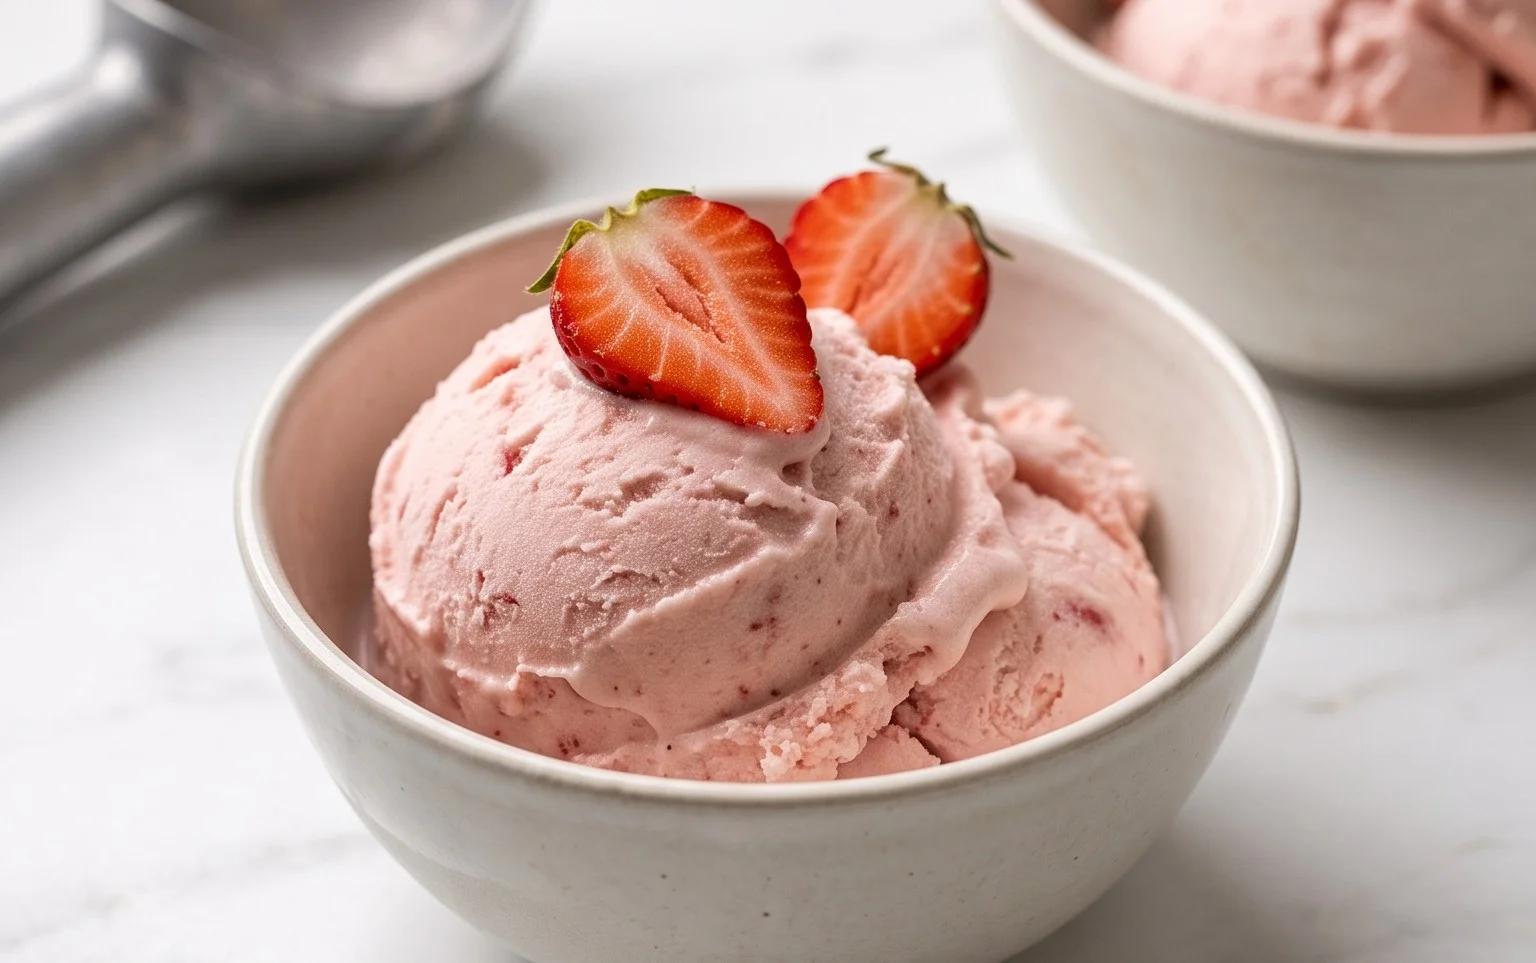
Homemade strawberry ice cream is more than just a dessert; it’s a ticket to pure summer bliss. There’s something inherently joyful about that vibrant pink hue and the sweet, unmistakable taste of fresh strawberries. When those sun-ripened berries hit their peak, there’s no better way to celebrate than by transforming them into a creamy, dreamy frozen treat. Forget the store-bought stuff with its artificial flavors and questionable ingredients; this homemade strawberry ice cream recipe delivers an explosion of authentic fruit flavor that’s simply unparalleled. We’re talking about a texture so smooth it melts on your tongue, punctuated by delightful pockets of fresh berry goodness. It’s the kind of dessert that evokes childhood memories, lazy afternoons, and the simple pleasure of good food made with love. Get ready to fall in love with the real deal!
Homemade Strawberry Ice Cream
There’s something truly magical about homemade ice cream. The creamy texture, the vibrant flavors, and the satisfaction of creating something delicious from scratch are unparalleled. And when it comes to classic summer flavors, nothing beats the sweet, slightly tart taste of fresh strawberries. This recipe for homemade strawberry ice cream is incredibly simple, requiring no fancy equipment beyond an ice cream maker, and the results are so much better than anything you’ll find in a store. Forget artificial flavors and preservatives; we’re talking about pure, unadulterated strawberry bliss. The natural sweetness of the berries is enhanced by a touch of honey and sugar, while a hint of lemon juice brightens the whole affair. The creamy base, made with heavy whipping cream and half and half, ensures a wonderfully smooth and rich texture that will have you scooping seconds (and thirds!). Let’s get started on creating this delightful summer treat.
Ingredients:
Preparing the Strawberry Base
The first step to achieving that perfect strawberry flavor is to prepare the fruit. We want to coax out as much natural sweetness and juice from the strawberries as possible. In a medium bowl, combine the hulled and diced strawberries with the honey, granulated sugar, and lemon juice. The honey adds a subtle floral note and a lovely smooth sweetness, while the sugar provides that classic ice cream sweetness. The lemon juice is our secret weapon; it’s not enough to make the ice cream taste lemony, but it does a fantastic job of balancing the sweetness of the berries and sugar, preventing the ice cream from tasting cloying and really making the strawberry flavor pop. Give everything a gentle stir to ensure the sugar starts to dissolve. Now, here’s a crucial part for maximizing flavor: let this mixture sit for at least 30 minutes, or even up to an hour, at room temperature. This process, known as maceration, allows the sugar and honey to draw out the juices from the strawberries, creating a rich, syrupy concoction that will be the heart of our ice cream. You’ll notice the berries will soften and release their vibrant red juices. After resting, you can either use the mixture as is for a more rustic texture with visible berry pieces, or for a smoother ice cream, you can lightly mash the berries with a fork or pulse them a few times in a food processor. I personally love a few little berry chunks, so I usually just give them a good mash with my fork.
Creating the Creamy Ice Cream Base
While our strawberries are happily macerating, it’s time to prepare the creamy foundation for our ice cream. In a separate, clean bowl, pour in the heavy whipping cream and the half and half. The combination of heavy cream and half and half is key to achieving that ideal balance of richness and lightness. Heavy cream provides the luxurious fat content that contributes to a smooth, scoopable texture, preventing the ice cream from becoming icy. Half and half, with its slightly lower fat content, helps to temper that richness just enough, making the ice cream delightfully creamy without being too heavy. Add the vanilla extract to this mixture. Vanilla is a wonderful flavor enhancer that complements and elevates the strawberry flavor without overpowering it. Whisk these ingredients together until they are well combined and slightly thickened. You’re not looking for stiff peaks like you would for whipped cream; just a gentle incorporation of air and a uniform consistency is what we’re after. This simple dairy mixture will provide the perfect canvas for our vibrant strawberry puree.
Churning the Ice Cream
Now comes the exciting part! Once your strawberries have macerated and your cream base is ready, it’s time to bring them together and churn them into glorious ice cream. The method you’ll use depends on your ice cream maker. If you have a freezer bowl ice cream maker, ensure your bowl has been thoroughly frozen according to the manufacturer’s instructions (this usually takes at least 12-24 hours). For compressor models, simply turn it on and let it pre-chill. Pour the chilled strawberry maceration (with or without the mashed berries, depending on your preference) into the prepared ice cream maker. Then, slowly pour the cream mixture over the strawberries. Close the lid and let the ice cream maker work its magic. The churning process incorporates air into the mixture while simultaneously freezing it, which is essential for preventing large ice crystals from forming and ensuring a smooth, creamy texture. This typically takes about 20-30 minutes, but always refer to your ice cream maker’s manual for specific timings. You’ll know it’s ready when the mixture has thickened significantly and resembles soft-serve ice cream.
Freezing for Perfect Texture
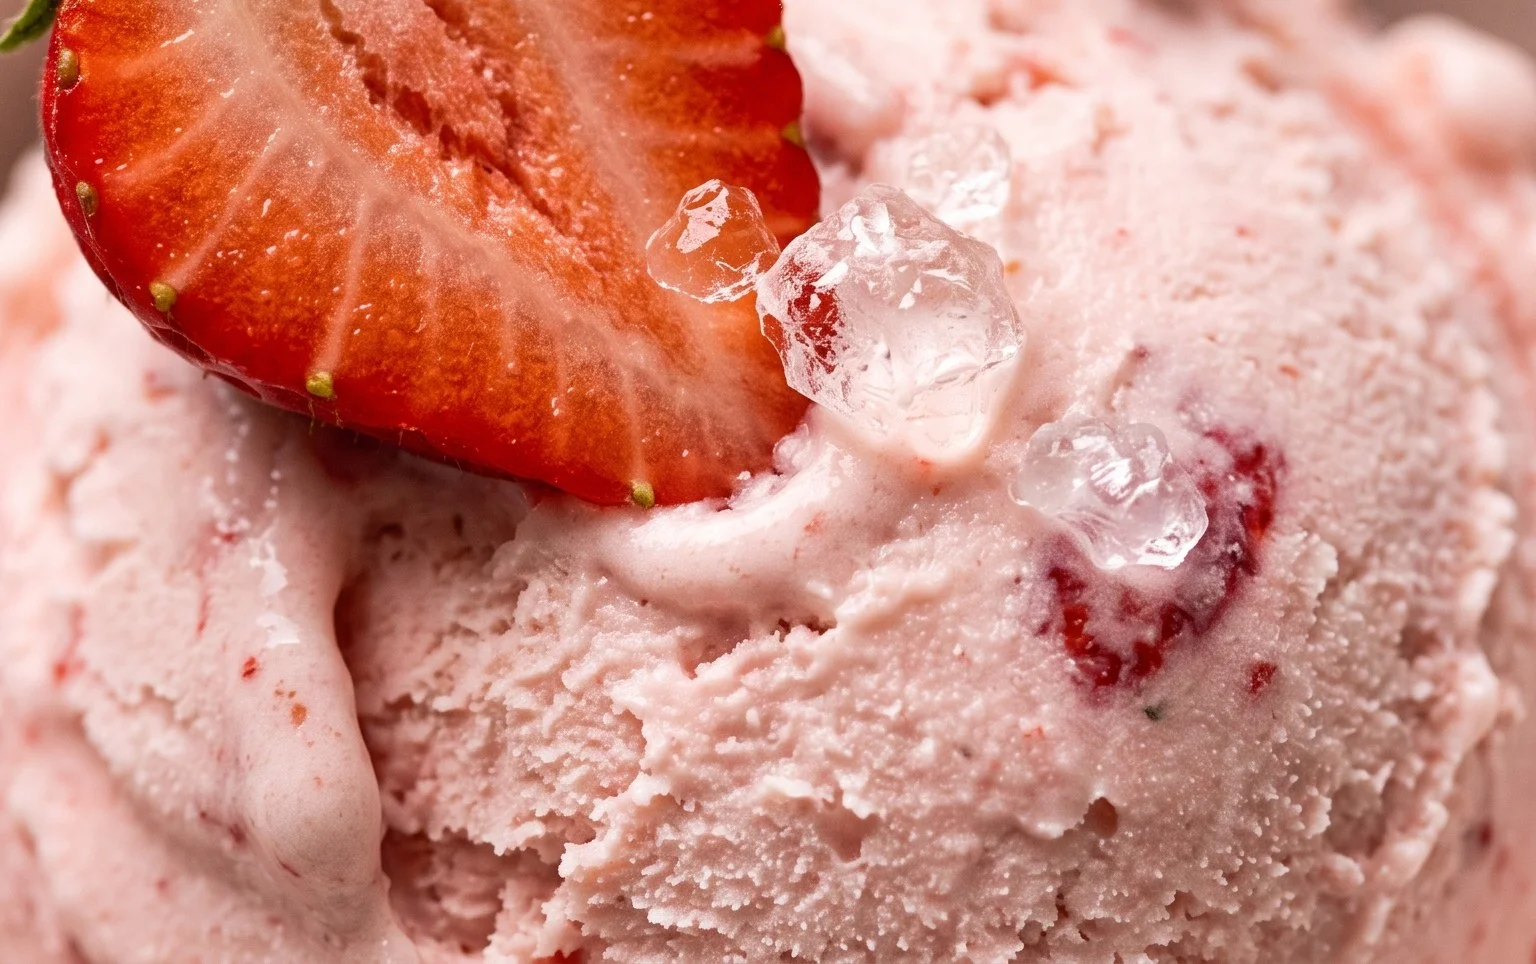
The ice cream that comes directly out of the churner will be soft-serve consistency. While it’s delicious to eat immediately, for that classic firm ice cream texture that’s perfect for scooping, a final freeze is necessary. Transfer the churned ice cream from the ice cream maker into an airtight container. I like to press a piece of parchment paper or plastic wrap directly onto the surface of the ice cream before sealing the container. This helps to prevent ice crystals from forming on top. Place the container in your freezer and let it freeze for at least 4-6 hours, or preferably overnight. This final freezing period allows the ice cream to firm up completely, developing the ideal consistency that you expect from a scoop of homemade ice cream. Patience is key here; resisting the urge to dig in too early will be rewarded with the most satisfyingly creamy and flavorful strawberry ice cream you’ve ever tasted.
Enjoying Your Homemade Creation
Once your homemade strawberry ice cream has had ample time to freeze and firm up, it’s ready to be enjoyed! Let it sit at room temperature for a few minutes before scooping to make it easier to serve. The vibrant pink hue and the irresistible aroma of fresh strawberries will be your first clues that you’ve created something special. Serve it in bowls, cones, or even as a topping for your favorite desserts. This homemade strawberry ice cream is a testament to the fact that the simplest ingredients, treated with a little care and attention, can yield extraordinary results. It’s the perfect treat for a warm summer day, a delightful end to any meal, or simply whenever you crave a taste of pure, homemade happiness. Enjoy every creamy, fruity spoonful!
Conclusion:
There you have it – your guide to creating incredibly delicious homemade strawberry ice cream! We hope you’re as excited as we are to whip up a batch of this delightful frozen treat. The beauty of this recipe lies in its simplicity and the incredible depth of fresh strawberry flavor you achieve. Unlike store-bought options, you control the ingredients, ensuring a vibrant, natural taste that truly sings. This homemade strawberry ice cream is not just a dessert; it’s an experience, a taste of summer in every spoonful. Don’t be intimidated by making ice cream at home – it’s incredibly rewarding and far easier than you might think!
Serving this luscious ice cream is a joy. It’s divine on its own, of course, but it also pairs beautifully with warm chocolate brownies, a slice of pound cake, or even a simple garnish of fresh mint leaves. For variations, consider adding a swirl of balsamic glaze for a sophisticated twist, or a handful of chopped dark chocolate for a delightful textural contrast. You could even infuse your cream with a touch of basil for an unexpected herby note. We truly encourage you to give this recipe a try. It’s the perfect way to elevate your dessert game and impress your friends and family with your culinary skills. Get ready to savor the sweet success!
Frequently Asked Questions:
Why does my homemade strawberry ice cream have ice crystals?
Ice crystals usually form due to slow freezing or infrequent churning. Ensure your ice cream maker bowl is thoroughly frozen (at least 24 hours), and that you churn the ice cream for the full recommended time. Over-adding liquid can also contribute. If you don’t have an ice cream maker, techniques like stirring the mixture every 30-45 minutes in the freezer are crucial to break up ice crystals as they form.
Can I make this without an ice cream maker?
Absolutely! While an ice cream maker makes the process easier and produces a creamier texture, you can achieve delicious results without one. The key is to periodically stir the mixture as it freezes to prevent large ice crystals from forming. Pour the base into a freezer-safe container and stir vigorously every 30-45 minutes for the first 2-3 hours until it reaches a firm, scoopable consistency.
Homemade Strawberry Ice Cream
A simple and delicious homemade strawberry ice cream recipe made with fresh strawberries.
Ingredients
-
1 1/2 cups strawberries, hulled and diced
-
2 Tbsp honey
-
1/2 cup granulated sugar
-
1 tsp lemon juice
-
1 cup heavy whipping cream
-
1/2 cup half and half
-
1 tsp vanilla extract
Instructions
-
Step 1
Combine diced strawberries, honey, granulated sugar, and lemon juice in a bowl. Let sit for 15-20 minutes to macerate. -
Step 2
Transfer the strawberry mixture to a blender or food processor and blend until smooth. -
Step 3
In a separate bowl, whisk together the heavy whipping cream, half and half, and vanilla extract until well combined. -
Step 4
Gently fold the blended strawberry mixture into the cream mixture. -
Step 5
Pour the mixture into an ice cream maker and churn according to the manufacturer’s instructions. -
Step 6
Transfer the churned ice cream to an airtight container and freeze for at least 4 hours, or until firm.
Important Information
Nutrition Facts (Per Serving)
It is important to consider this information as approximate and not to use it as definitive health advice.
Allergy Information
Please check ingredients for potential allergens and consult a health professional if in doubt.