Authentic Zhoug Recipe – Fiery Yemenite Chili Sauce
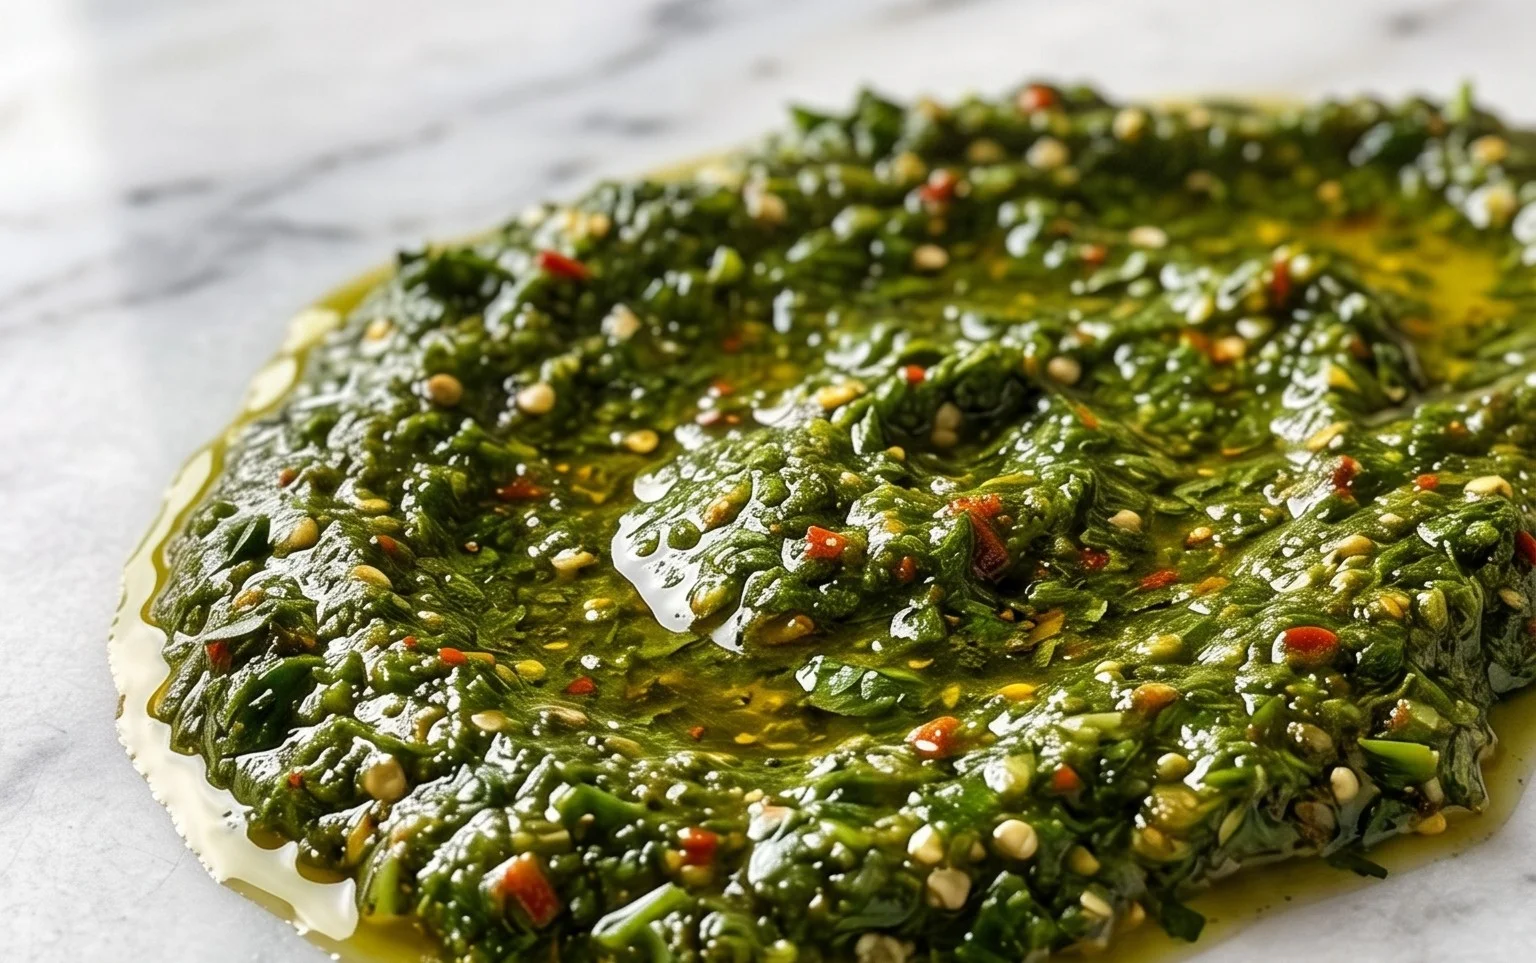
Zhoug Recipe (Zhug): Get ready to ignite your taste buds with this vibrant and incredibly versatile green chili sauce! If you’re anything like me, you’ve probably encountered zhoug and wondered, “What is this magical concoction?” This Yemeni-inspired condiment is a true revelation, a fiery explosion of fresh herbs and spices that has taken the culinary world by storm. People adore zhoug for its electrifying kick, its non-intoxicating aroma, and its ability to transform even the most mundane meal into something extraordinary. What truly makes this zhoug recipe special is its incredible balance: the intense heat of the chilies is perfectly tempered by the bright freshness of cilantro and parsley, the warmth of cumin and coriander, and the subtle zing of garlic. It’s not just a sauce; it’s an experience, a journey for your palate that I can’t wait to share with you.
Zhoug Recipe (Zhug)
Hey there, fellow food adventurers! Today, we’re diving into the vibrant, fiery world of Zhoug, also known as Zhug. This incredible Yemenite hot sauce is a flavor explosion waiting to happen. It’s packed with fresh herbs, warming spices, and a delightful kick of heat that can transform any dish from ordinary to extraordinary. Whether you’re drizzling it over eggs, slathering it on sandwiches, or using it as a marinade, zhoug is incredibly versatile and surprisingly easy to make at home. Forget those store-bought versions; the homemade kind is where it’s at, and once you try it, you’ll be hooked! Let’s get this deliciousness started.
Ingredients:
Getting Started: Prepping Your Ingredients
Before we even think about blending, let’s get everything ready. This might seem like a small step, but it makes the actual cooking process so much smoother.
First, the jalapeños. For this recipe, we’re slicing them. If you’re new to making spicy sauces or unsure about your heat preference, definitely start with just one jalapeño. You can always add more later, or increase the chili flakes. Remove the stems, and if you prefer less heat, you can also remove the seeds and membranes. However, leaving some in will definitely amp up the spice factor! For a milder sauce, consider using serrano peppers or even bell peppers for color and a touch of sweetness without the heat.
Next, the garlic. Give those two fat cloves a good peel. You can roughly chop them if they’re particularly large, but it’s not strictly necessary as they’ll be blended smooth.
The cilantro is the star of the herbaceous show. Wash it thoroughly, and don’t worry too much about removing every single tiny stem. Those tender ones add flavor and texture, so a whole bunch, packed tightly, should give you about a cup.
If you’re using whole cardamom pods, cumin seeds, or caraway seeds, you’ll want to lightly toast them first. This is a game-changer for unlocking their full aromatic potential. Place them in a dry skillet over medium heat for a minute or two, swirling them around until they become fragrant. Be careful not to burn them! Then, let them cool slightly before adding them to your blender. If you’re using ground spices, you can skip this toasting step.
Blending the Flavors
Now for the fun part – transforming these fresh ingredients into a delicious sauce!
Step 1: Combine the Solids
In the bowl of a food processor or a high-powered blender, add your prepared jalapeños, peeled garlic cloves, and the packed cilantro. Don’t be tempted to add the liquids just yet! We want to give the solids a good head start.
Step 2: Introduce the Spices and Salt
Next, add in your ground or toasted whole spices: cardamom, cumin, caraway seeds (if using), and peppercorns (if using). Don’t forget the salt! The salt doesn’t just add flavor; it also helps to draw out moisture and balance the heat.
Step 3: Begin extract the Blending Process
Now, it’s time to start blending. Pulse the ingredients a few times to break them down. You’re looking for a coarse chop at this stage. If you’re using a food processor, you might need to scrape down the sides a couple of times to ensure everything is incorporated. If using a blender, this might involve a bit more pulsing and using the tamper if your blender has one.
Step 4: Emulsify with Olive Oil and Lemon Juice
Once the solids are roughly chopped, it’s time to introduce the liquids. Slowly drizzle in the ⅓ cup of olive oil while the food processor or blender is running. This will help to emulsify the sauce and create a smooth, vibrant consistency. You’ll notice the color becoming even more intense as the oil blends in. After the oil, add the fresh lemon juice. The acidity from the lemon juice brightens all the flavors and adds a refreshing tang that cuts through the richness of the olive oil and the heat of the chilies.
Step 5: Adjust Consistency and Heat**
This is where you taste and adjust! Continue blending until you reach your desired consistency. If the zhoug is too thick for your liking, you can add more olive oil, a tablespoon at a time, until it’s just right. If you want it spicier, now is the time to add more chili flakes. Remember, you can always add more heat, but you can’t take it away! Taste your zhoug and add more salt if needed. A little more lemon juice can also be added if you want to enhance the brightness.
Storing Your Delicious Zhoug
Once your zhoug is blended to perfection, transfer it to an airtight container. You can store it in the refrigerator for up to a week. The flavors will continue to meld and deepen over time, making it even more delicious. If you find that the oil separates a bit, don’t worry; just give it a good stir before using. You can also freeze zhoug in ice cube trays for smaller, individual portions that are easy to thaw and use whenever the craving strikes!
Enjoy your homemade Zhoug! It’s a truly special condiment that I hope you’ll love as much as I do.
Conclusion:
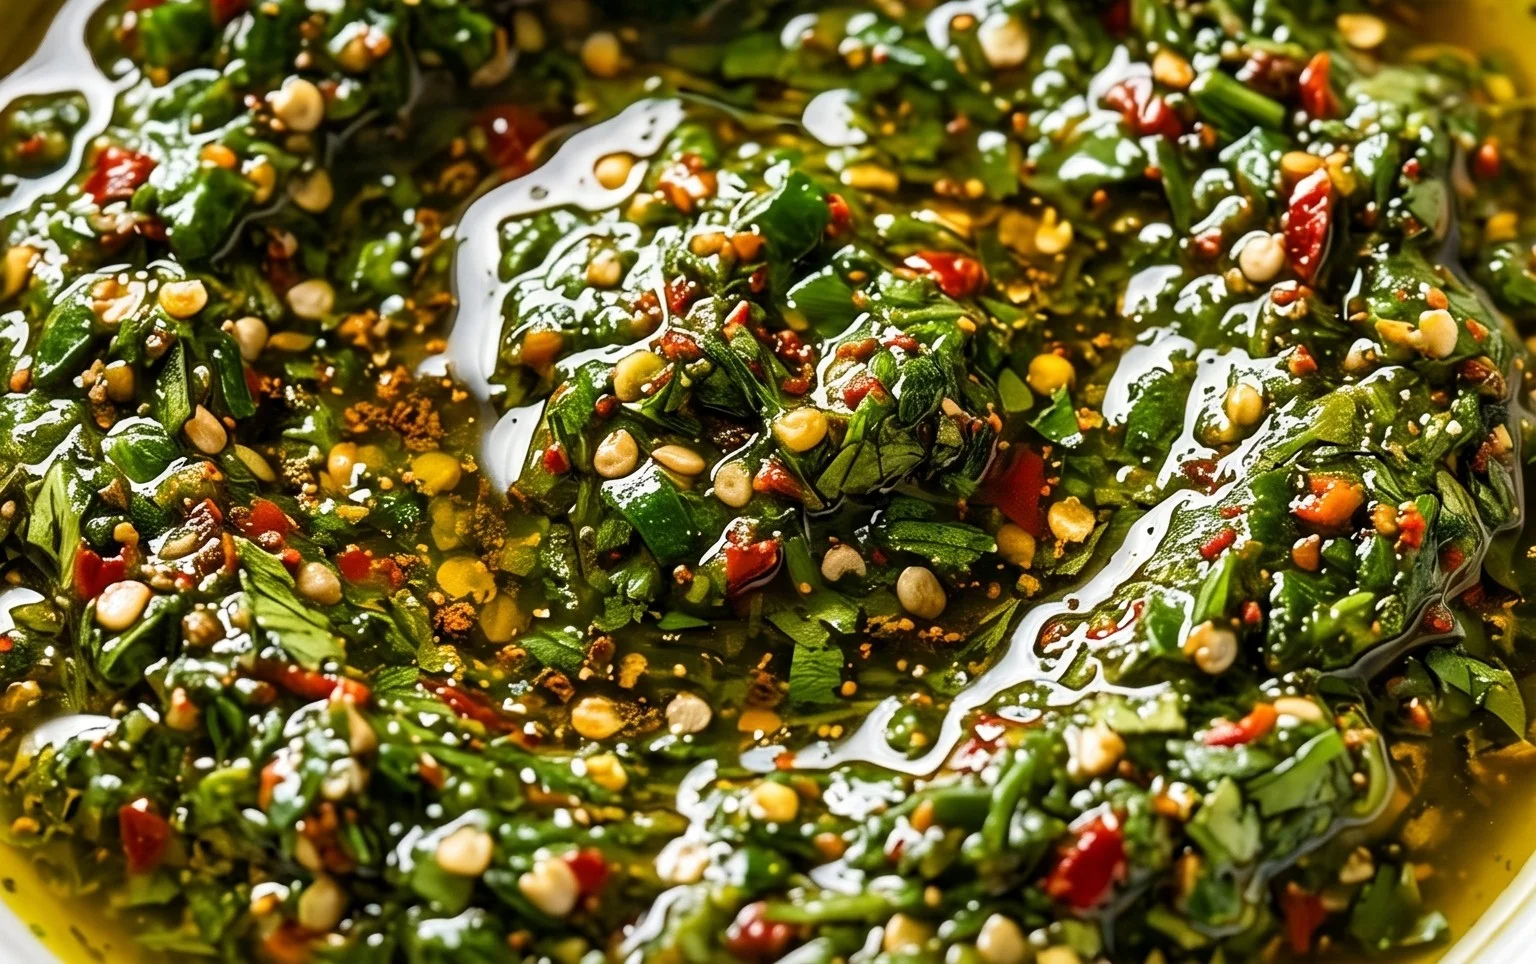
This Zhoug recipe truly delivers a burst of vibrant flavor and delightful heat that’s perfect for elevating your meals. Its simplicity, coupled with the incredible depth of taste, makes it a standout condiment you’ll find yourself reaching for time and time again. The fresh herbs, pungent garlic, warming spices, and a touch of chili create a complex yet perfectly balanced sauce that’s surprisingly easy to make at home. Don’t be intimidated by its boldness; this Zhoug is a versatile powerhouse!
I love using it as a finishing touch on grilled meats like chicken and lamb, dolloped onto falafel or shawarma, or even mixed into yogurt for a creamy, spicy dip. It’s also fantastic smeared on sandwiches or stirred into grains like quinoa or rice. Feel free to experiment with its applications; the possibilities are truly endless.
If you’re feeling adventurous, consider tweaking the spice level by adjusting the amount of chili. You can also add a squeeze of lime juice at the end for extra brightness or a pinch of cumin for another layer of earthy flavor. I wholeheartedly encourage you to give this amazing Zhoug recipe a try. It’s a game-changer for your culinary repertoire!
Frequently Asked Questions about Zhoug:
How long does Zhoug last?
Properly stored in an airtight container in the refrigerator, this Zhoug recipe will typically stay fresh and delicious for up to two weeks. The olive oil acts as a natural preservative, helping to extend its lifespan.
Can I make Zhoug less spicy?
Absolutely! If you prefer a milder heat, you can reduce the number of fresh chilies you add. You can also remove the seeds and membranes from the chilies before blending, as this is where most of the heat resides. Taste and adjust as you go to find your perfect balance.
What are some non-traditional ways to use Zhoug?
Beyond the classic uses, I’ve found Zhoug to be fantastic stirred into scrambled eggs for a spicy breakfast kick, added to a Bloody Mary for an extra layer of flavor, or even used as a marinade for tofu before grilling. Get creative!
Zhoug Recipe (Zhug)
A vibrant and spicy green chili sauce from Yemen, perfect as a condiment for various dishes.
Ingredients
-
1-3 whole jalapenos, sliced (start with one, if unsure)
-
2 fat garlic cloves
-
1 bunch cilantro, small stems ok (about 1 cup packed tightly)
-
½ teaspoon ground cardamom
-
1 teaspoon ground cumin
-
1 teaspoon caraway seeds
-
½ teaspoon peppercorns
-
½ teaspoon kosher salt, more to taste
-
1/3 cup olive oil, more to desired consistency
-
2 tablespoon fresh lemon juice
-
½ teaspoon chili flakes (Non-Alcoholic Aleppo chili is nice), more to taste (optional)
Instructions
-
Step 1
Combine jalapenos, garlic, cilantro, cardamom, cumin, caraway seeds, peppercorns, salt, and chili flakes (if using) in a food processor. -
Step 2
Pulse until coarsely chopped. -
Step 3
With the food processor running, slowly stream in the olive oil until the mixture is smooth and emulsified, adding more oil if needed for desired consistency. -
Step 4
Stir in the fresh lemon juice. -
Step 5
Taste and adjust salt, chili flakes, or lemon juice as needed. -
Step 6
Transfer to an airtight container and refrigerate. Flavors will deepen after a few hours.
Important Information
Nutrition Facts (Per Serving)
It is important to consider this information as approximate and not to use it as definitive health advice.
Allergy Information
Please check ingredients for potential allergens and consult a health professional if in doubt.