Gluten-Free Sweet Potato Tortillas – Vegan Wraps
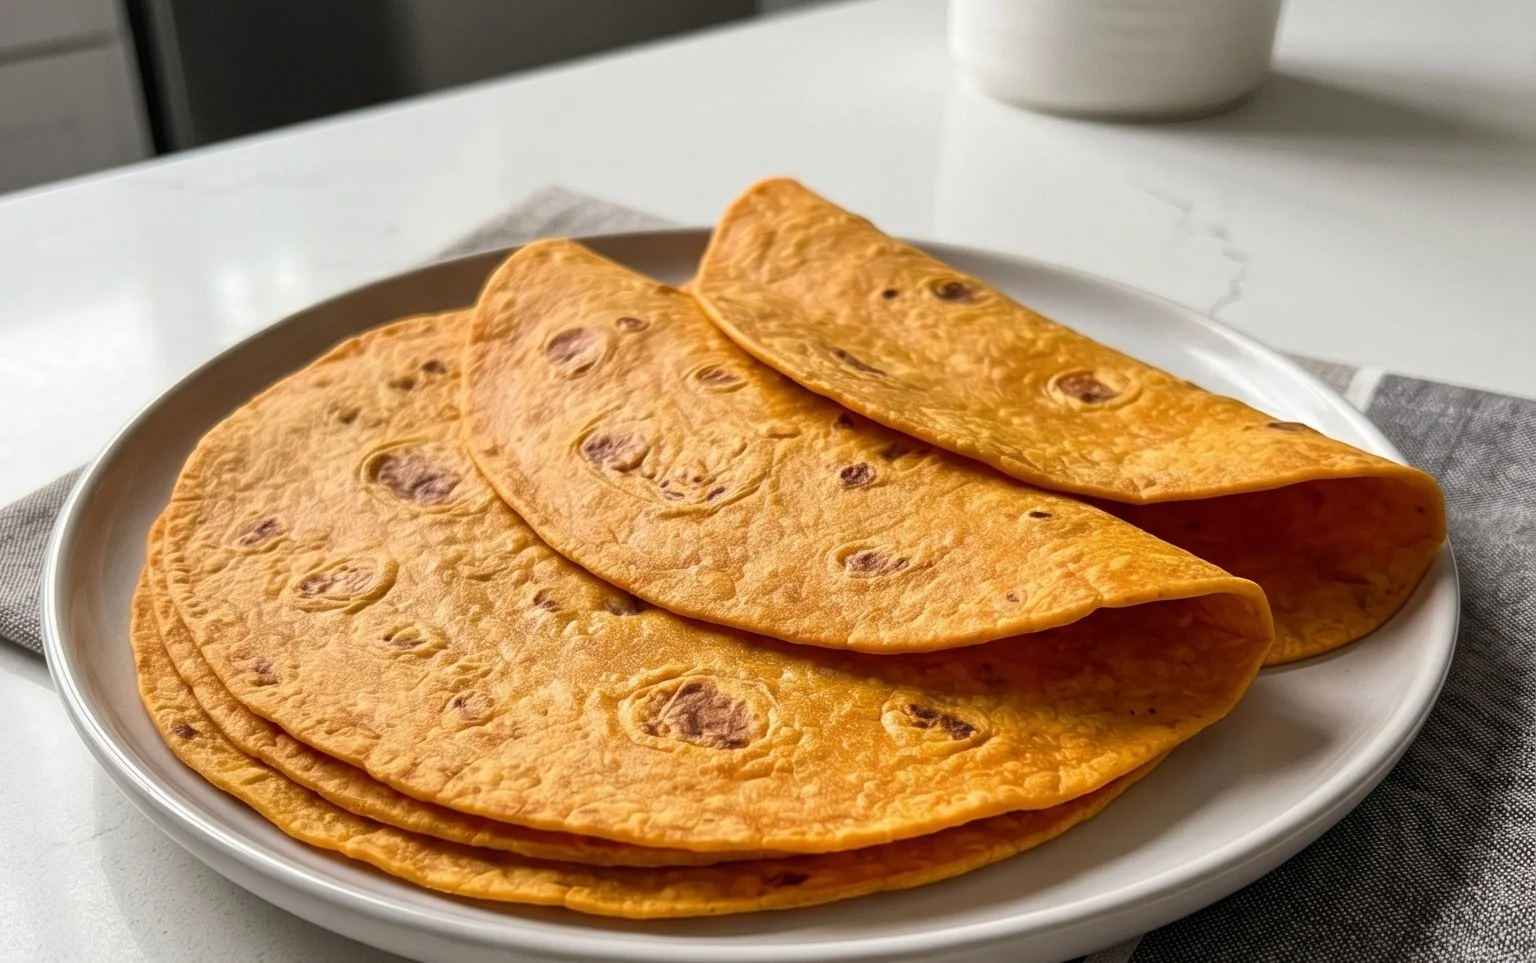
Sweet Potato Tortillas (Gluten-Free Vegan Wraps) are about to become your new best friend in the kitchen! If you’ve been searching for a versatile, wholesome, and incredibly delicious alternative to traditional wraps, your search ends here. These vibrant, naturally sweet tortillas are a game-changer, offering a delightful chew and a subtle earthy sweetness that complements almost any filling. We love them because they’re not only incredibly satisfying but also cater to so many dietary needs – entirely gluten-free and vegan, making them a universally appreciated delight. What truly makes these Sweet Potato Tortillas special is their vibrant color and the nourishing goodness packed into every bite. They transform humble sweet potatoes into a culinary canvas, perfect for your breakfast burritos, lunch wraps, or even as a base for mini pizzas. Get ready to impress yourself and everyone you cook for with these amazing gluten-free vegan wraps!
Sweet Potato Tortillas (Gluten-Free Vegan Wraps)
Are you looking for a healthy, delicious, and versatile wrap that’s both gluten-free and vegan? Look no further! These Sweet Potato Tortillas are a game-changer. They’re packed with nutrients, surprisingly easy to make, and have a wonderfully subtle sweetness that pairs beautifully with both savory and sweet fillings. Forget those store-bought versions that often crum extractble or taste bland; these homemade delights will elevate your taco Tuesday, your lunch wraps, and even your breakfast burritos. The natural sweetness of the sweet potato makes them incredibly satisfying, and the gluten-free flours ensure they’re perfect for those with dietary sensitivities. I’ve spent time perfecting this recipe, and I’m thrilled to share it with you. Let’s get started!
Ingredients:
Preparing Your Sweet Potato Base
The first step to our delicious tortillas is preparing the sweet potato. You’ll want to make sure your sweet potatoes are cooked until very tender. Steaming or boiling them until fork-tender is ideal. The key here is to cook them without adding any extra liquid to the cooking process, as we want a thick, concentrated puree. Once cooked, let them cool slightly so they’re easy to handle, then mash them thoroughly. You’re aiming for a smooth, lump-free mash. I like to use a potato ricer for this, as it guarantees a super smooth consistency, but a fork or a masher works just as well. You should have about 1 cup of mashed sweet potato. In a medium bowl, combine your mashed sweet potato with the vegan butter. If you’re using oil, add that instead. The residual heat from the sweet potato will help the butter melt beautifully, creating a rich base for our dough.
Bringin extractg the Dough Together
Now comes the magic! To your sweet potato and vegan butter mixture, add the hot water. Start with 1 tablespoon, and you can add the second if your mash seems particularly dry or stiff. Stir everything together until it’s well combined. Next, we’ll add our seasonings: the sea salt, a dash of black pepper, onion powder, and garlic powder. These spices add a savory depth that beautifully complements the sweetness of the potato. Give it another good stir. This is where our gluten-free magic really starts to happen. We’re going to add the gluten-free sourdough starter. If you don’t have a gluten-free sourdough starter, don’t worry! You can substitute it with 1/2 cup of unsweetened, plain vegan yogurt (like coconut or almond-based) mixed with 1/4 cup of water and a pinch of active dry yeast, let it sit for about 15 minutes until slightly bubbly, then use that mixture. The starter or its substitute provides a lovely tang and helps with the texture.
Developing the Dough’s Structure
The psyllium husk is crucial for creating that pliable, tortilla-like texture in gluten-free baking. It acts as a binder and adds flexibility. Sprinkle the psyllium husk over the wet ingredients and stir it in thoroughly. It will begin extract to thicken the mixture almost immediately. Next, it’s time for our gluten-free flour. We’re using arrowroot flour here, which is wonderfully starchy and helps create a light yet cohesive dough. Add 2 tablespoons of the arrowroot flour to the bowl. If you don’t have arrowroot, tapioca starch or even a good quality gluten-free all-purpose blend (one that doesn’t contain xanthan gum, as the psyllium husk will do that job) can work. Stir everything together until a shaggy dough starts to form. At this point, if your dough feels too wet or sticky to handle, you can gradually add the remaining tablespoon of arrowroot flour, or even a touch more if needed. The goal is a soft, pliable dough that’s not overly sticky. If you’re aiming for extra puffy tortillas, now is the time to incorporate the baking powder. Sprinkle it over the dough and mix it in gently. This is optional, but it does give them a lovely airy quality.
Shaping and Cooking Your Tortillas
Once your dough has come together, turn it out onto a lightly floured surface (using a bit more arrowroot flour or your preferred gluten-free flour). Gently knead the dough for about a minute, just enough to bring it all together into a smooth ball. It shouldn’t be sticky at this stage. Divide the dough into 4 to 6 equal portions, depending on how large you want your tortillas to be. Roll each portion into a ball. Now, for shaping. I find the easiest method is to place a dough ball between two pieces of parchment paper and then roll it out with a rolling pin to your desired thickness, about 1/8th of an inch. You can also try pressing them out with your hands if you prefer a more rustic look.
Cooking to Golden Perfection
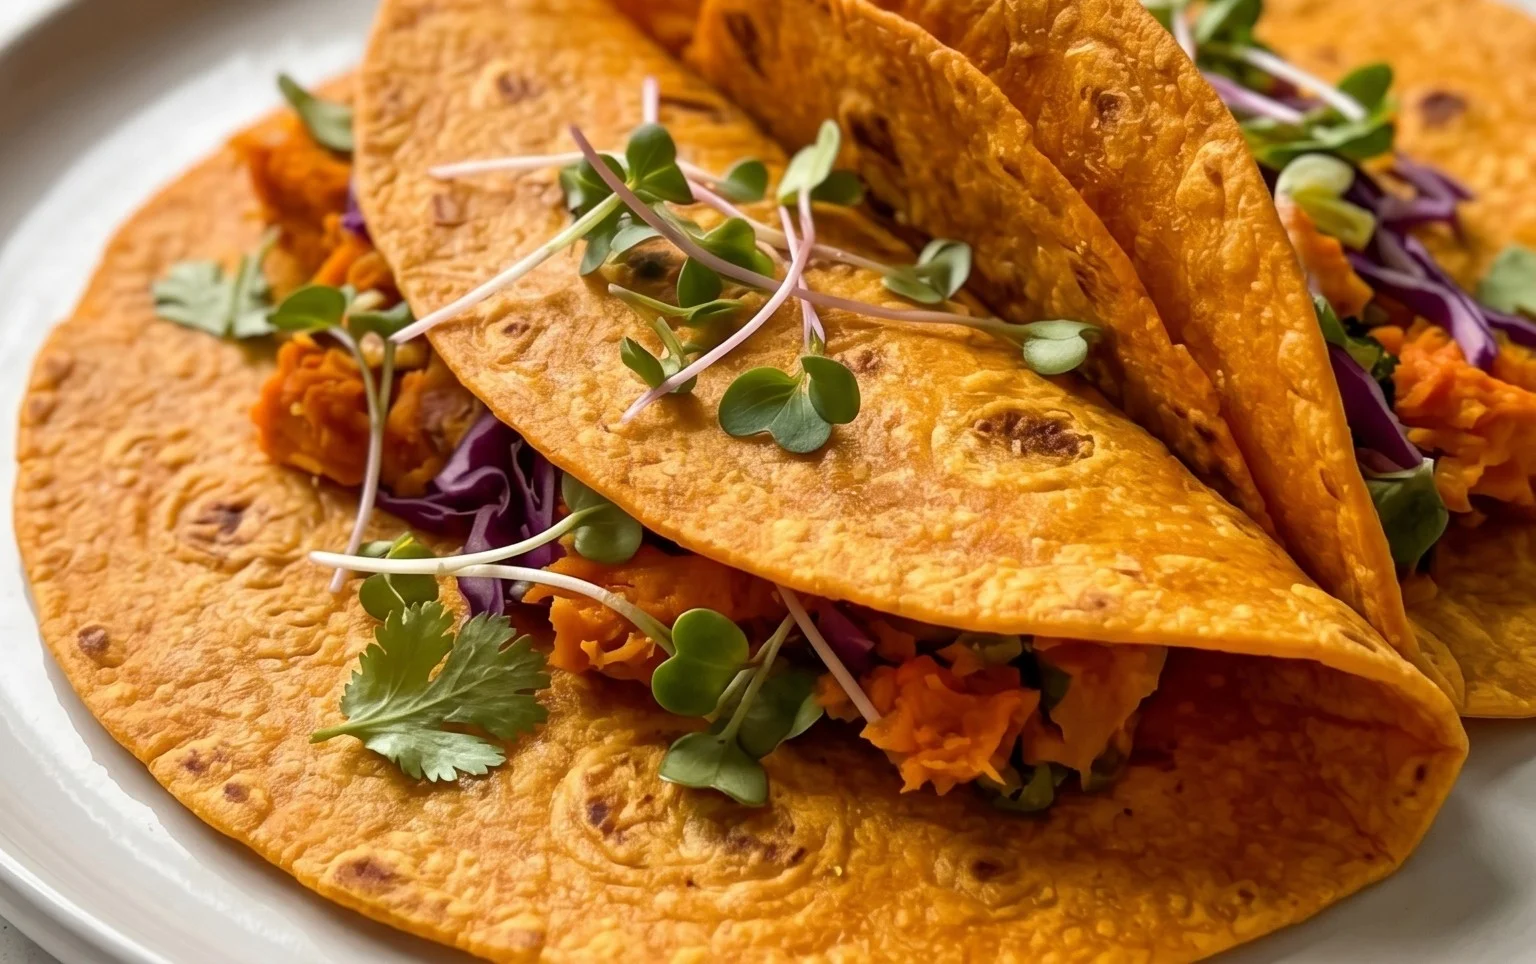
Heat a lightly oiled or dry skillet (cast iron works wonderfully) over medium heat. Carefully peel the parchment paper off one side of your rolled-out tortilla and gently place it, dough-side down, onto the hot skillet. Peel off the second piece of parchment paper. Cook for about 2-3 minutes per side, or until golden brown spots appear and the tortilla is cooked through and pliable. You’ll see it puff up slightly as it cooks, which is a good sign! Don’t overcrowd the pan; cook them one or two at a time. As each tortilla is cooked, stack them on a plate and cover them with a clean kitchen towel or a large lid. This steaming process helps keep them soft and flexible, preventing them from drying out. These sweet potato tortillas are best served warm, but they also store well in an airtight container in the refrigerator for a few days, or can be frozen for longer storage. Enjoy them with all your favorite fillings!
Conclusion:
I hope you’re as excited to try these sweet potato tortillas as I am to share them! These gluten-free vegan wraps are a game-changer for anyone looking for healthier, more versatile alternatives to traditional tortillas. Their naturally vibrant color, subtle sweetness from the sweet potato, and fantastic pliable texture make them perfect for a wide range of meals. They’re also incredibly satisfying and packed with nutrients, making them a guilt-free indulgence.
Imagin extracte these delicious sweet potato tortillas cradling your favorite fillings. They’re perfect for loaded breakfast burritos, zesty lunch wraps filled with black beans and corn, or even as a base for a deconstructed taco salad. Don’t be afraid to get creative! You can jazz them up with different spices mixed into the dough, like a pinch of smoked paprika or chili powder for a touch of heat, or even a sprinkle of dried herbs for an herby twist. Give them a go; I promise you won’t be disappointed!
Frequently Asked Questions:
Can I make these tortillas ahead of time?
Absolutely! You can prepare the dough and store it in an airtight container in the refrigerator for up to 3 days. You can also cook the tortillas and then store them in an airtight container with parchment paper in between each one for up to 3 days, or freeze them for longer storage. Just reheat gently before serving.
What kind of sweet potatoes work best?
Most varieties of sweet potatoes will work well. However, orange-fleshed sweet potatoes tend to have a slightly sweeter and more pronounced flavor, which I find enhances the taste of these gluten-free vegan wraps. Ensure they are cooked until very soft and easily mashable for the best dough consistency.
My dough feels too sticky, what should I do?
If your dough is too sticky, it’s usually because there’s too much moisture from the sweet potato. Add a tablespoon of gluten-free flour or almond flour at a time until the dough is no longer sticking to your hands or the work surface. Conversely, if it’s too dry, add a teaspoon of water or a tiny bit more mashed sweet potato.
Sweet Potato Tortillas (Gluten-Free Vegan Wraps)
Delicious and easy gluten-free vegan wraps made with sweet potato, perfect for any meal.
Ingredients
-
2 small sweet potatoes – steamed or boiled (no liquid / mashed)
-
2 tbsp vegan butter – Miyoko’s (or use oil)
-
1-2 tbsp hot water
-
3/4 tsp sea salt + dash black pepper
-
1/2 tsp onion powder
-
1/2 tsp garlic powder
-
3/4 cup gluten free sourdough starter
-
2 tsp psyllium husk
-
2-3 tbsp arrowroot flour (or other starchy flour)
-
1/2 tsp baking powder (optional, for puffier tortillas)
Instructions
-
Step 1
Mash the steamed or boiled sweet potatoes until smooth, ensuring no liquid is present. -
Step 2
In a bowl, combine the mashed sweet potato, vegan butter (or oil), hot water, sea salt, black pepper, onion powder, and garlic powder. Mix well. -
Step 3
Stir in the gluten-free sourdough starter and psyllium husk until fully incorporated. -
Step 4
Gradually add the arrowroot flour (and baking powder if using), mixing until a soft dough forms. Add more flour if too sticky, or a tiny bit more water if too dry. -
Step 5
Divide the dough into 4-6 equal portions and roll each into a ball. Flatten each ball into a thin tortilla using a rolling pin or tortilla press. You can place parchment paper on top to prevent sticking. -
Step 6
Cook the tortillas on a lightly oiled or ungreased skillet or griddle over medium heat for 2-3 minutes per side, or until lightly golden and cooked through.
Important Information
Nutrition Facts (Per Serving)
It is important to consider this information as approximate and not to use it as definitive health advice.
Allergy Information
Please check ingredients for potential allergens and consult a health professional if in doubt.